


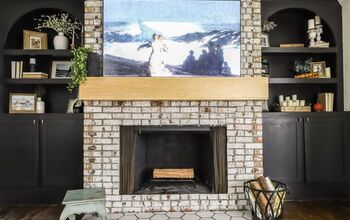
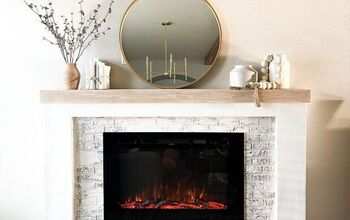
DIY Marble Fireplace Hearth

Learn how to update a drab hearth with a glamorous marble hearth in a herringbone pattern!
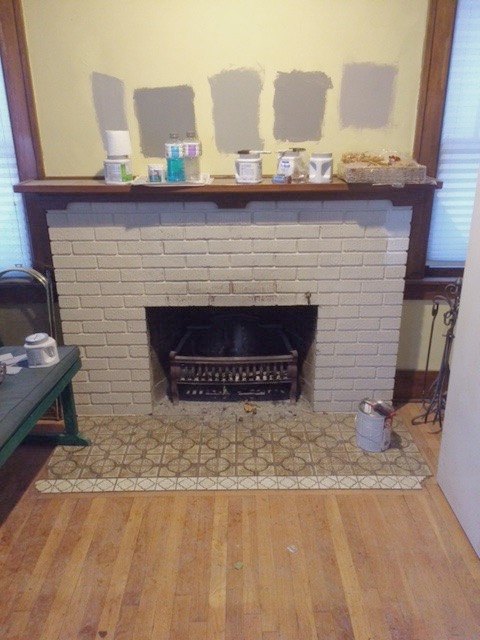
Before tiling an existing hearth, you need to remove the existing tile. Depending on the adhesive used, you will need a pry bar and hammer. I thought this would take forever, but lucky for me, the previous owners did a lousy job of installing the tile. They used some sort of construction glue, so the tiles popped right up.
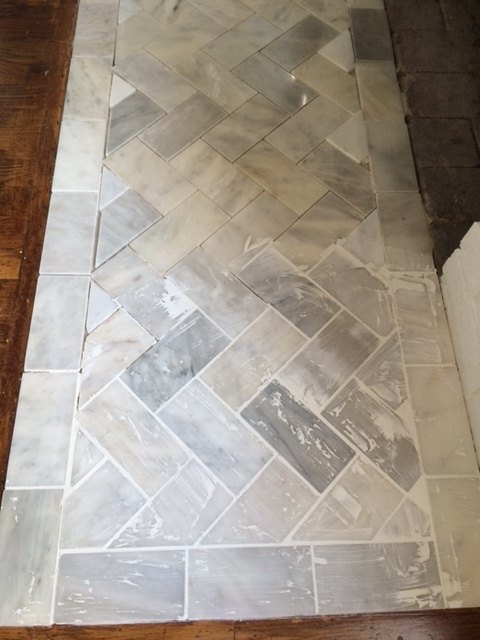
I laid out the tile to find the pattern I liked. I decided I wanted to have a border of the marble tile around the hearth, then have the herringbone design on the inside. You will want to lay out the tile first because there is variation with natural stone. You don't want two dark tiles next to each other. Now it is time to cut the tile. You will have to purchase a special tile saw that is specially designed for natural stone. Once the thinset sets, it is time to grout.
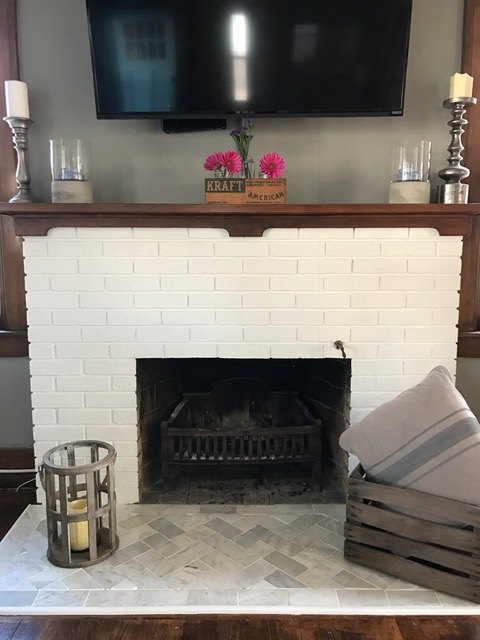
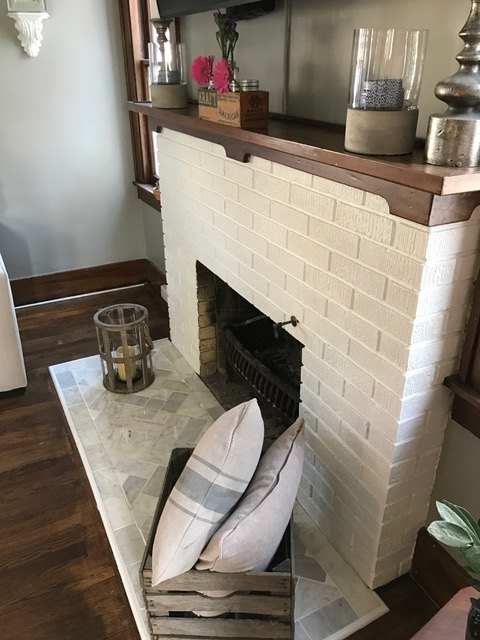
I like to use pre-mixed grout- it makes the process less messy. I added some white molding around the tile. To make it look seamless, you will want to add a bead of caulk around the moldings.
Overall, the only costs for this update are the tile, grout, moldings, and new blade. We had the grout and thinset. I think overall, we spent under $100 on this project. Isn't it cozy?
Resources for this project:


Frequently asked questions
Have a question about this project?