


Front Porch Pergola

The front of my house needed a drastic facelift and some curb appeal. I really disliked how plain it looked, so this is what I came up with. Staining the brick, adding fresh landscaping and a newly built front porch pergola really seemed to do the trick. Hope you enjoy!
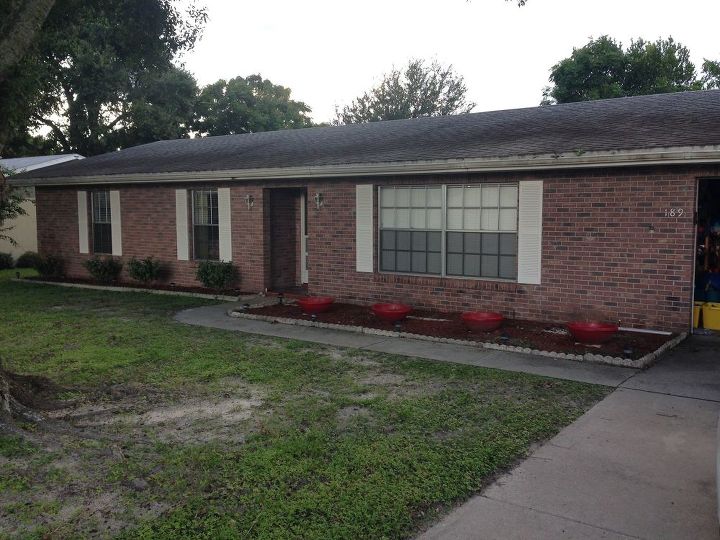
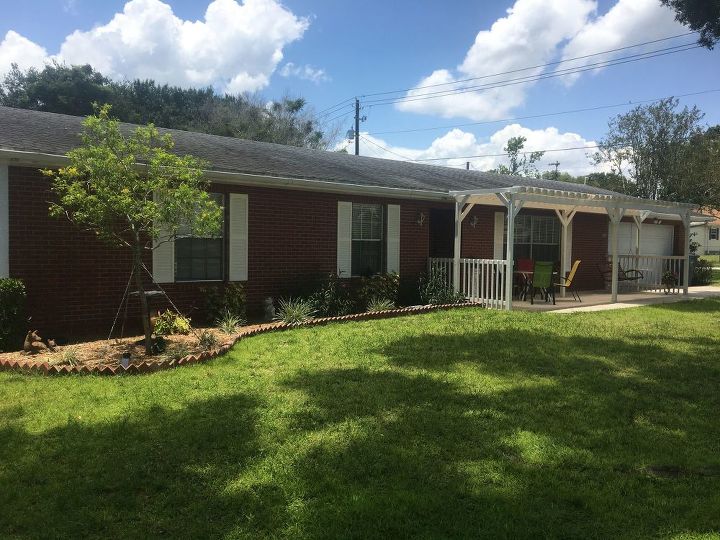
These first two pictures are before. Very plain and unappealing.
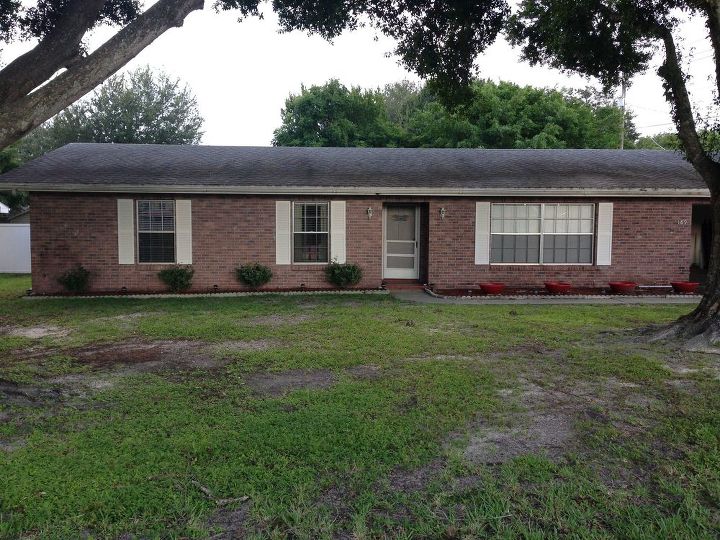
Before: Pic 2

I used a semi-transparent concrete stain (English Brick) from Home Depot to give the brick some life again. Here is a side-by-side comparison of before and after.
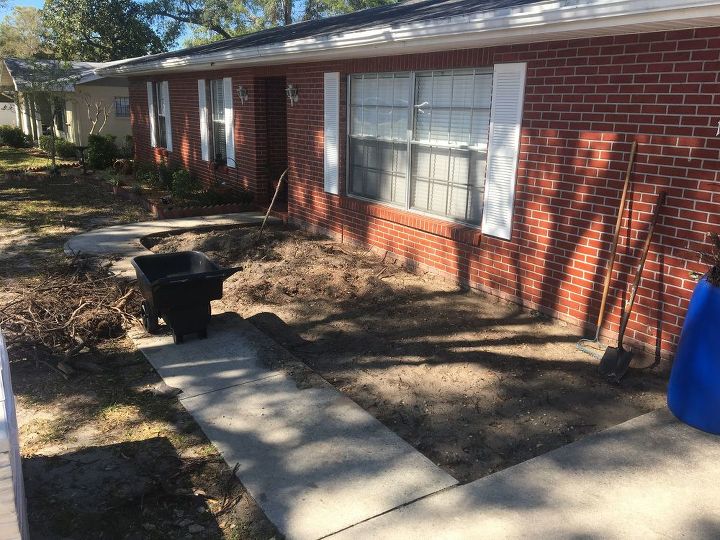
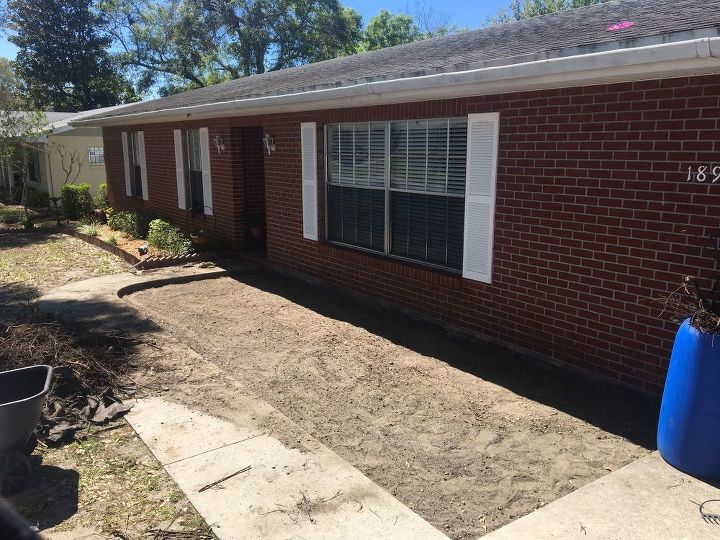
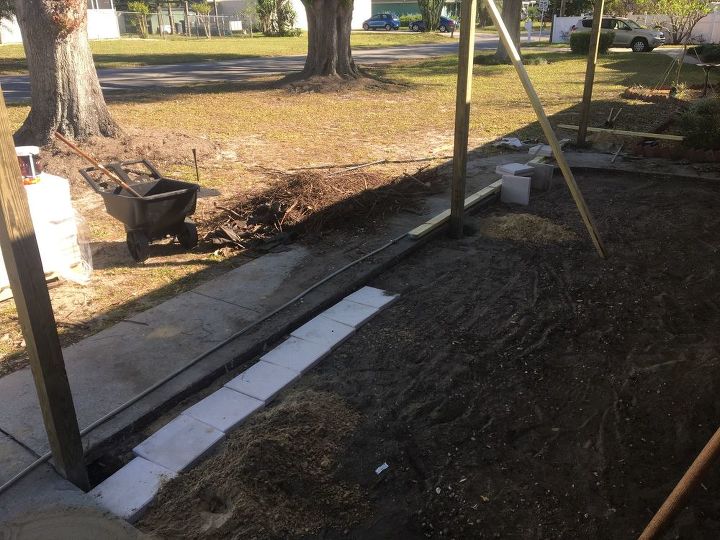
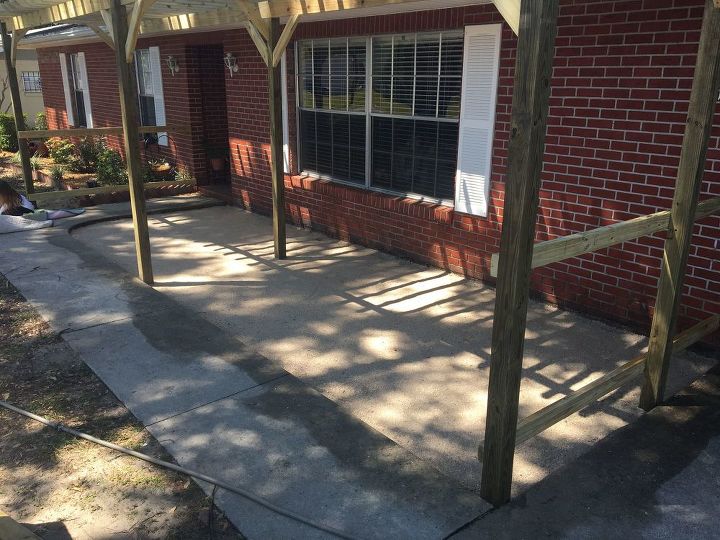
Next couple of pictures are clearing the old landscaping and roots to drop the level of the dirt so the new patio stones will be flush with the existing sidewalk/driveway. I didn't want a step up or trip hazard.
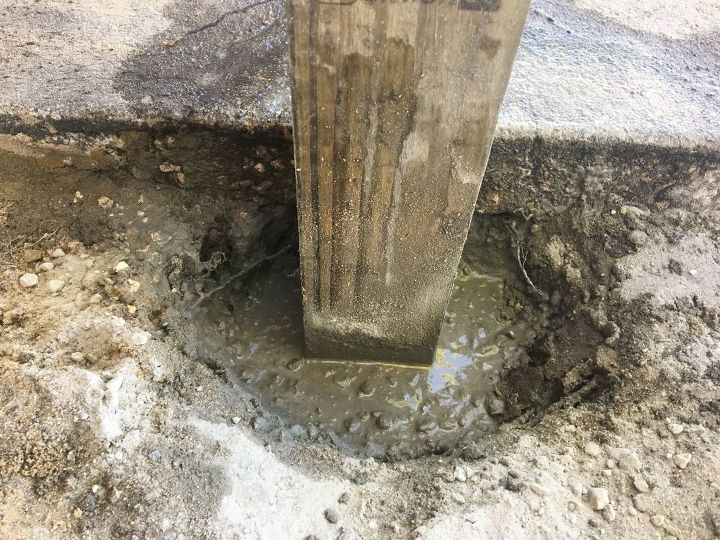
Laying out and setting the 4x4 pressure treated pergola posts in concrete.
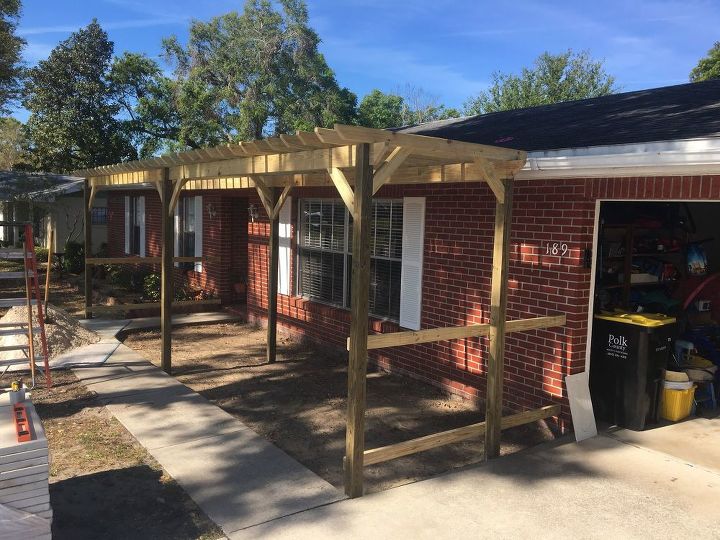
Posts set and assembled the remaining structure of the pergola all with PT lumber. I did a lot of research on how pergolas are constructed and designed mine to meet the size and layout that I desired. You will notice that I added the rear posts so I did not have to attach it to the house, therefore not having to worry about the loads. engineering and permitting that would be required. It's actually it's own stand alone structure.
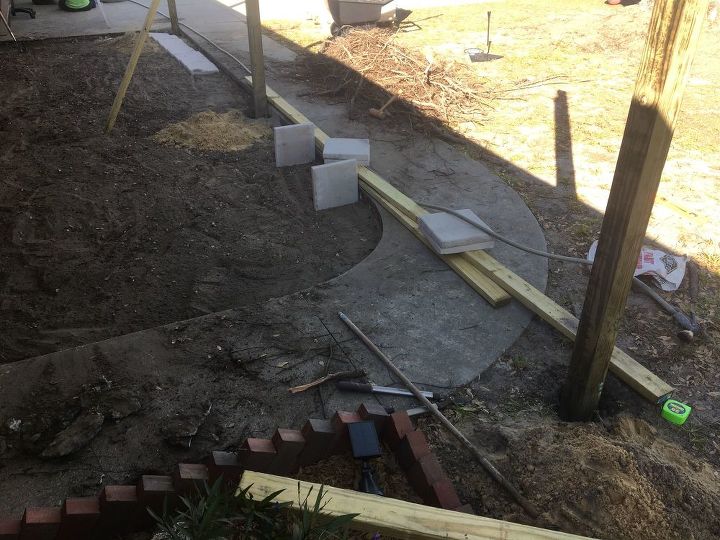
Added paver base and leveling sand to prepare for the patio stones. There are plenty of tutorials out there on how to prep, lay and set pavers.
- Patio stones complete.
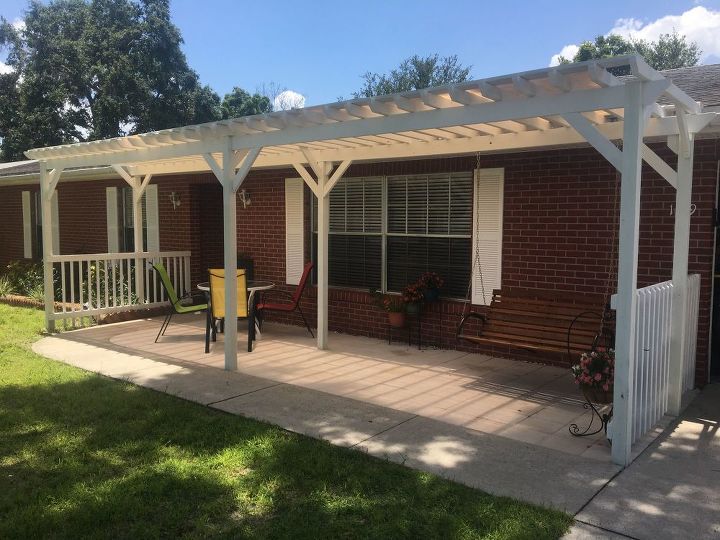
- Stained pergola white after several weeks of letting the pressure treated lumber dry out.
- Added furniture, plants and a swing I purchased on Amazon.
- Added fabric shade canopy on top. Also Amazon.
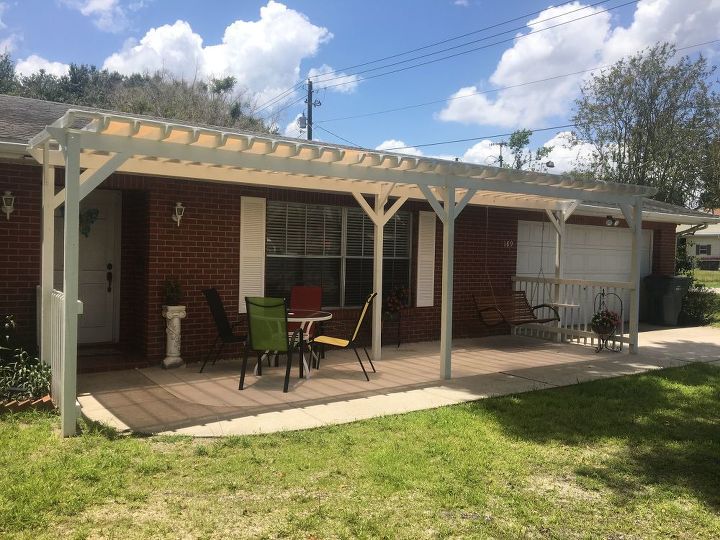
Another angle.
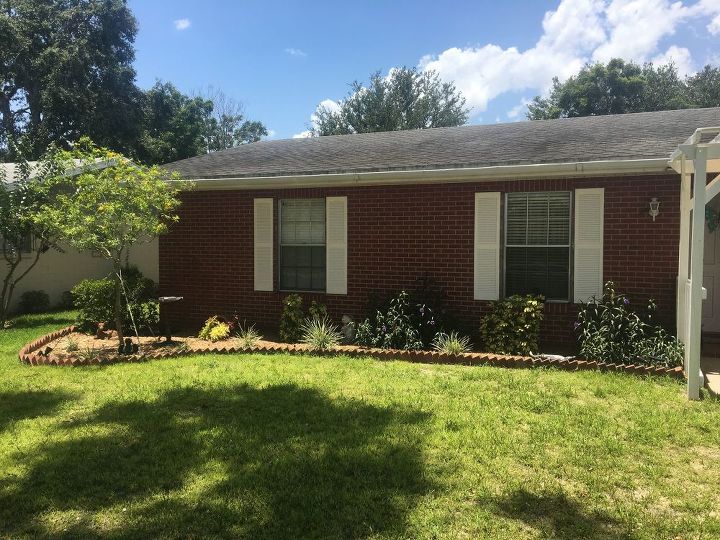
Fresh landscaping. Even managed to get some grass to grow :-)
Done!

Before and after.
There are far too many materials to list below. Most came from Lowe's, with a 10% off coupon and $75 to have everything delivered to your house. Very convenient! If you have any questions about a specific item, just ask.
Most of the work took about a week, working mostly on the weekend and a few evenings after work. I put 8 weeks because I waited a few weeks before painting it to let the pressure treated lumber dry out some. It's not a good idea to paint fresh PT wood immediately. Even though I used stain instead of paint I still waited awhile. A good rule of thumb is checking PT lumber by spraying water on it and checking for absorption before painting. It should be very dry.
Thanks for looking :-)
Resources for this project:
See all materials


Comments
Join the conversation
-
Great job and beautiful.
-
Great addition to the home. If you want to preserve the wood and like white, try Henry's paint, it is a plastic paint for houses and RV's, I think they carry it at Lowes. I plan on painting the backside of my house on the remaining wood siding with Henry's and doing it white to reflect heat. I don't want to spend more on high-end siding that I have on the rest of my house.. You don't see the back of my house and it is the hottest... JUST THOUGHT I'D SHARE THIS!!


Frequently asked questions
Have a question about this project?
very pretty! but posts, even pressure-treated, should not be set in concrete cuz it accelerates rotting of the wood. or did you use a waterproof sleeve? still, i wish you years of enjoyment from your beautiful project.
Did you have to power wash the bricks before staining them?
It is soSO beautiful, thanx for sharing.