Boogie Board Makeover

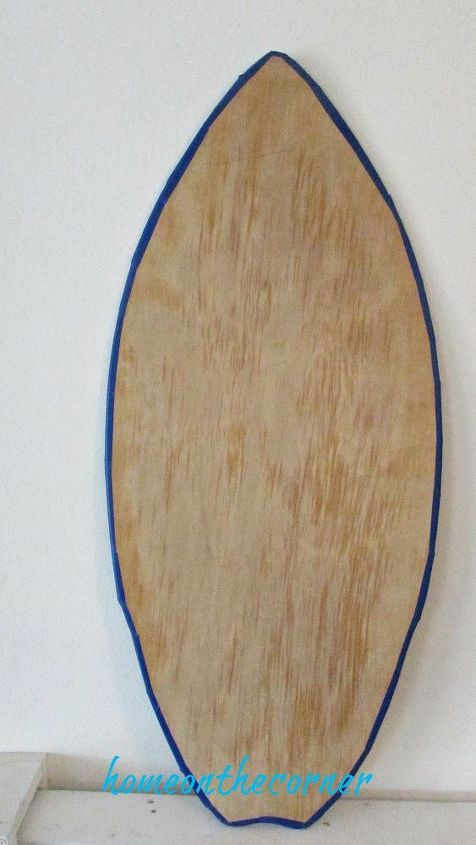
I love the beach and coastal look and my husband picked up this boogie board at a yard sale and sanded it completely down. It took me awhile to come up with my idea, but I knew I wanted to leave the edges the natural wood.
I taped all around the edges with painters tape and then painted the rest of the board a turquoise blue.
While the paint was drying, I printed out the words I wanted to paint on. I used all different fonts for the letters and different sizes. It took some playing around with it, but I finally got it all to fit on the board. I used tracing paper and a pencil to trace the words onto the board. Once they were traced, I painted each letter.
After everything was dry, I lightly sanded the whole board to give it a weathered look.
The boogie board is such a great reminder of summer! YOu can check out more over on my blog, Home on the Corner.
Enjoyed the project?


Frequently asked questions
Have a question about this project?