


DIY PVC Bird – An Easy Yard Decoration Tutorial

Need new decorations for the front of your home? Try making a DIY PVC bird! They make great yard decorations and are an easy gift to make for family or friends. Use our step-by-step tutorial below to guide you throughout the process.
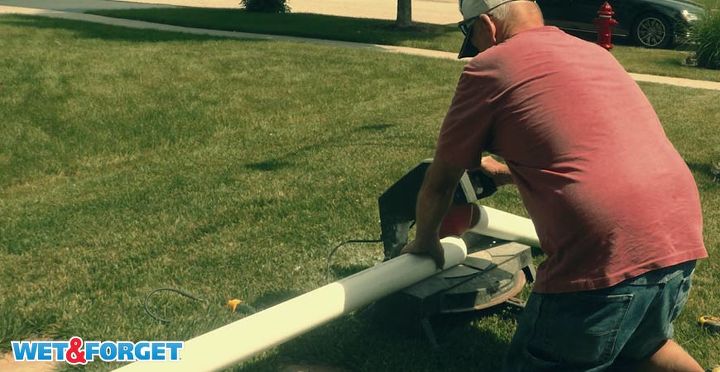
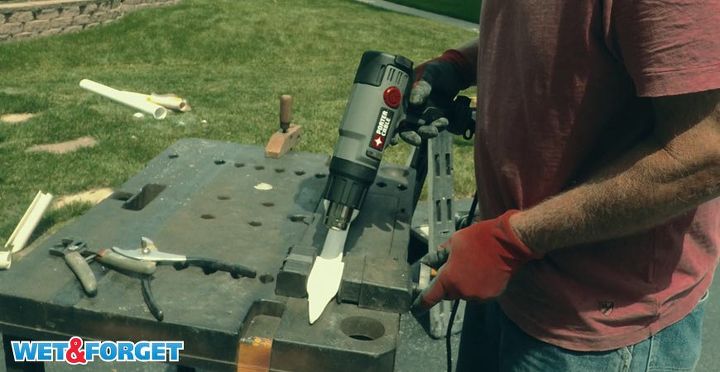
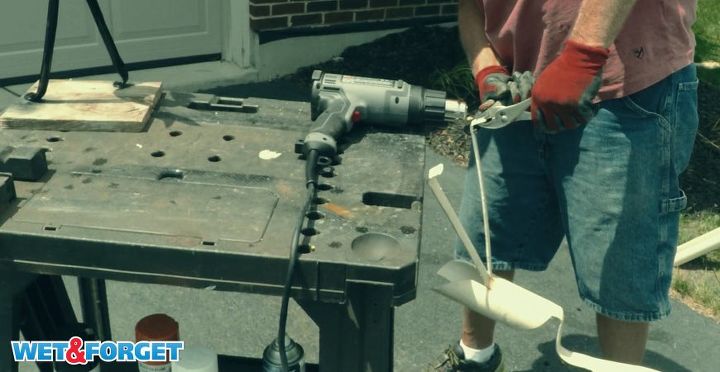
1. Sanding, Tracing & Cutting
To start off, cut the PVC pipe using a standard saw. For a large bird, cut the pipe approx. 4 feet long or 29 1/2 inches for a small bird. The pipe for the large bird should be 3 inches wide, for the small bird 2 inches wide. Sand down the pipe to remove any markings and ink.
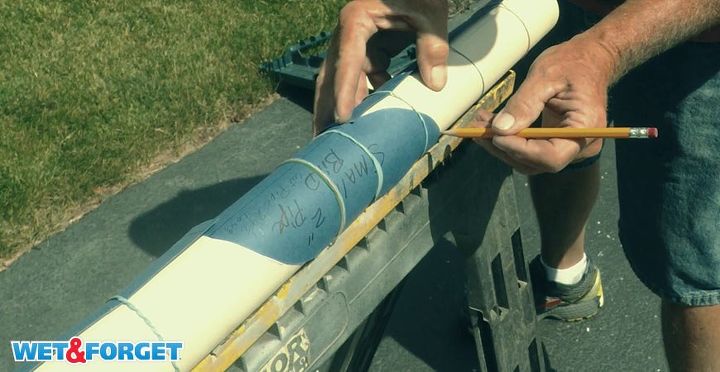
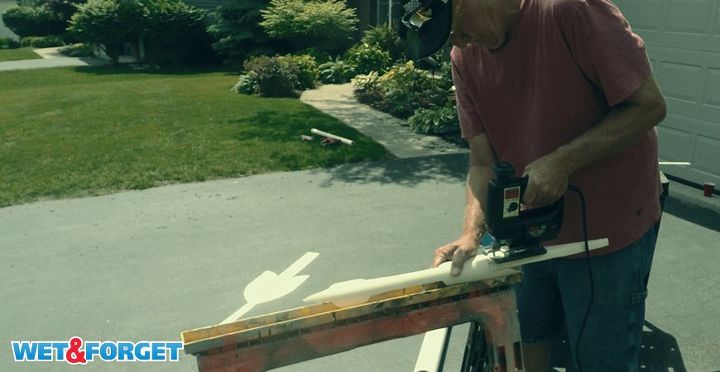
After this, line up the bird template on the PVC pipe and attach it to the pipe with rubber bands. Then carefully trace the template onto the PVC pipe. Following your traced template, use a jigsaw to cut out PVC pipe bird.
2. Form the Legs of the Bird
On the lower section of the bird, trace a line straight down the middle. Cut straight down the line with a jigsaw to form the legs.
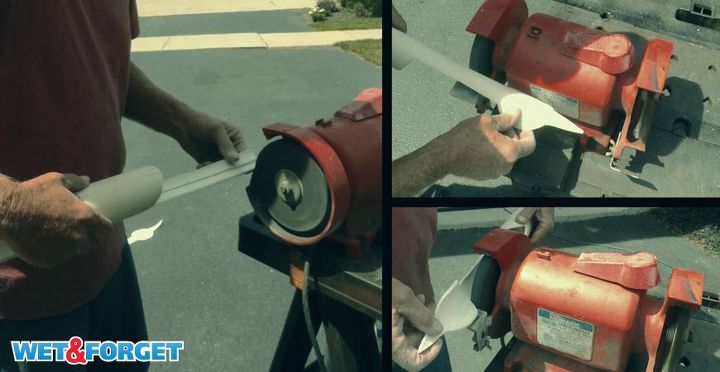
3. Sand Away!
Sand down the entire body of the bird to create smooth edges.
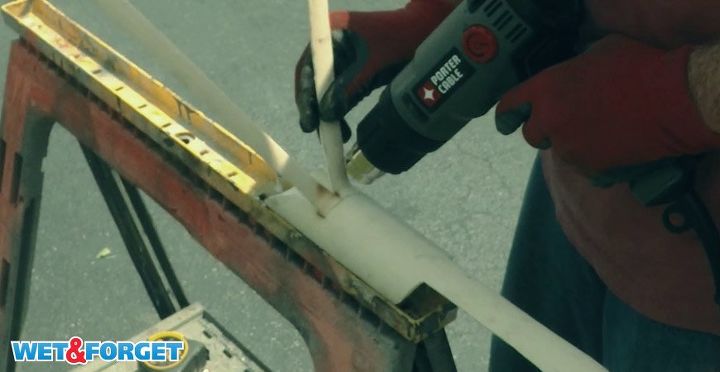
4. Form the Wings & Head
Flip the PVC bird over and cut down the middle of the remaining circular pipe with a jigsaw to create the wings. Use a vice to hold the head of the bird in place. Heat the beak with a heat gun and tighten the vice to form the head. Use pliers to remove the bird’s head out of the vice. Dip the bird’s head in a bucket of water to solidify the shape.
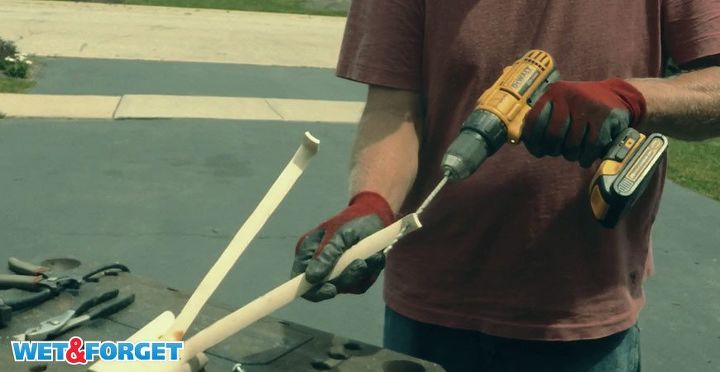
5. Shape the Bird Legs
Next, use a heat gun at the base of the legs and slowly bend them into shape. Solidify the legs by dipping them into a bucket of cold water.
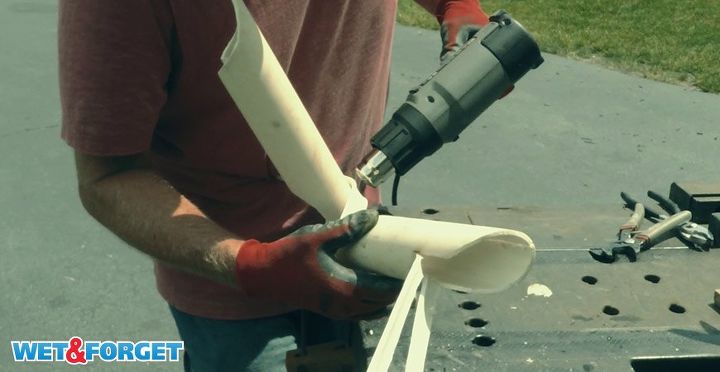
6. Bend Your Bird
Use a heat gun to curve the bird’s neck slightly. Dip the bird’s neck in water to solidify. Then use support and a heat gun to put a little curve into your bird. Dip the bird in the water again.
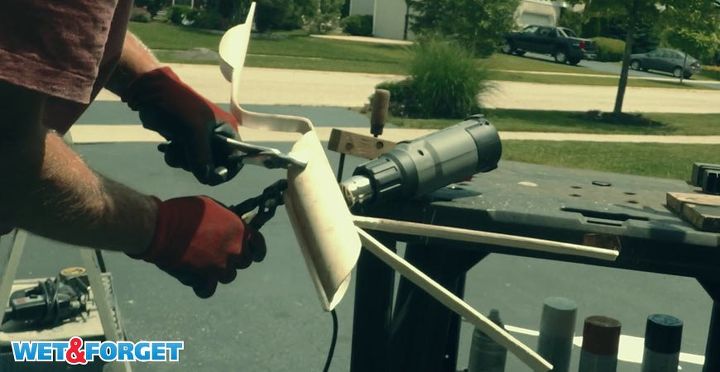
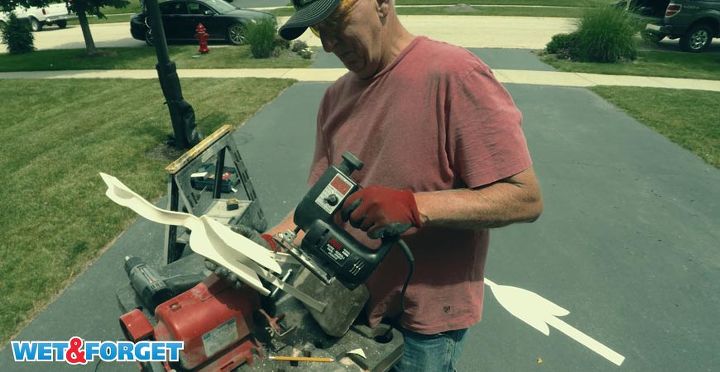
7. Spread the Wings
Use two pairs of pliers and a heat gun to separate the bird’s wings slowly. First heat up the body of the bird with the heat gun. Then, pull with pliers from each side to help bend the wings into shape. Be sure to keep a good grip on the pliers to create a good bend in the bird. Dip the bird in water to solidify the wings. Sand down the edges of the bird.
8. Forming Bird Feet
Using a heat gun, heat up the tips of the bird’s legs and bend them with pliers to create the bird’s feet. Then dip the feet into the water to solidify the shape of the PVC pipe.
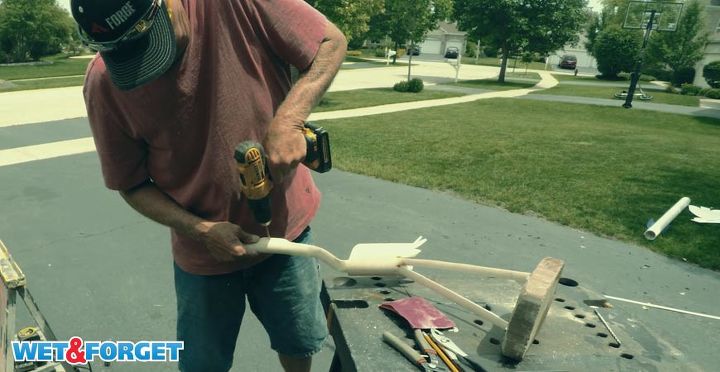
9. Align Bird on Brick and Drill
Align your bird on the brick and mark where the feet would look best. Drill holes through the brick. After this, drill holes through the center of the bird’s feet as well. Widen the feet of the bird and bolt the feet to the brick with a wrench.
10. Spruce Up Your Bird with Feathers
Sand the PVC bird down once more to create smooth edges. Trace feathers onto your bird and cut them out with a jigsaw. Sand down the feathers after cutting.
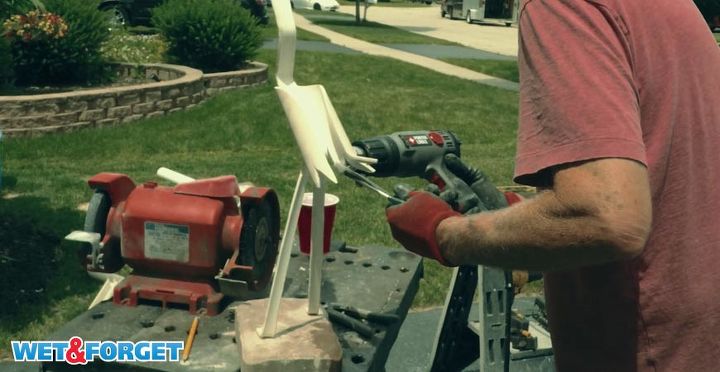
11. Fluff Those Feathers
Use a heat gun to heat the edges of the feathers and bend them slightly with pliers.
12. Drill Eyeholes
Use a drill to create holes for the bird’s eyes to snap into.

13. Paint Your Bird
Cover the bolts and brick with tape and spray paint the bird with the color of your choice. Be sure to spray 6 inches away from the pipe in short bursts. Allow surface to dry and add any extra accessories. Snap the bird’s eyes into the drilled out holes to finish up your bird.
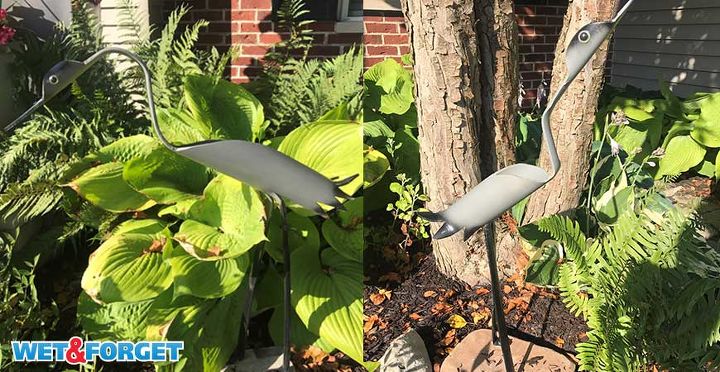
14. Display Your Bird
Place your bird in your garden or front lawn for all to see!
For more helpful tips on creating a PVC bird, watch our video tutorial below!
Resources for this project:
See all materials


Comments
Join the conversation
-
I want to try this project


Frequently asked questions
Have a question about this project?
Where can I buy a template for this project