


DIY Dry Erase Menu Board
You can stay organized at home by creating your own dry erase boards. I made a Dry Erase Menu Board from a frame, scrapbooking paper, and stickers I already had around the house. It looks pretty and also helps me stay on task.
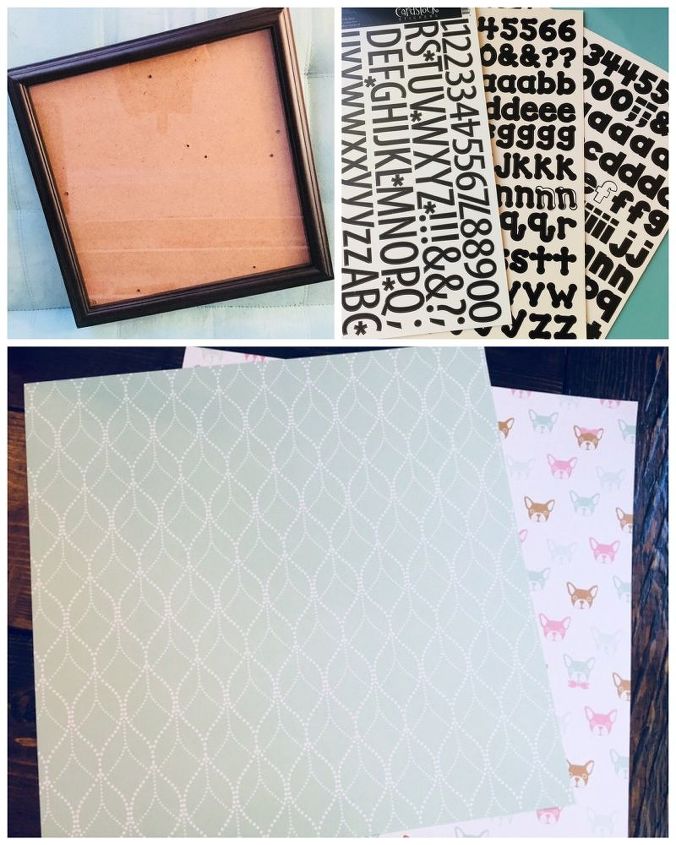
I started this project by choosing what frame I wanted to use. I chose to use a 12 X 12 black frame that I already had. I love these frames since they are great for framing calendar pages or scrapbook pages.
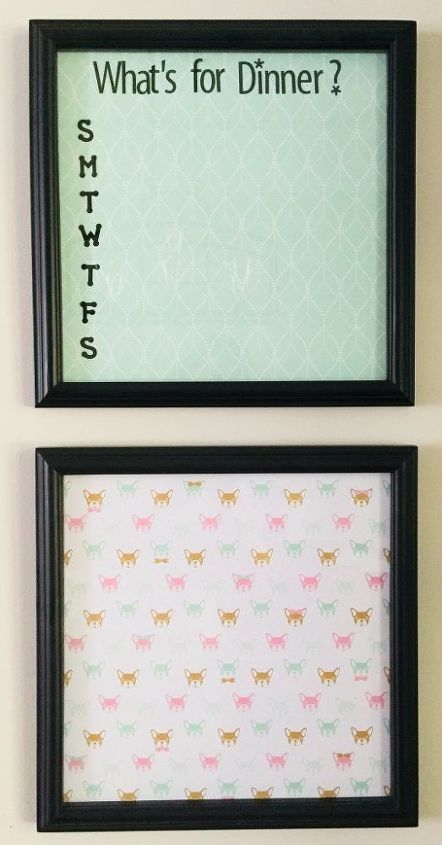
After I knew what size frame I was using, I chose two sheets of coordinating 12 X 12 patterned paper from my scrapbooking stash. I needed two sheets because I decided to do two different frames. One is for our weekly menu plan. The other will be used for grocery lists or to-do lists. That one was as simple as just putting the paper in the frame.
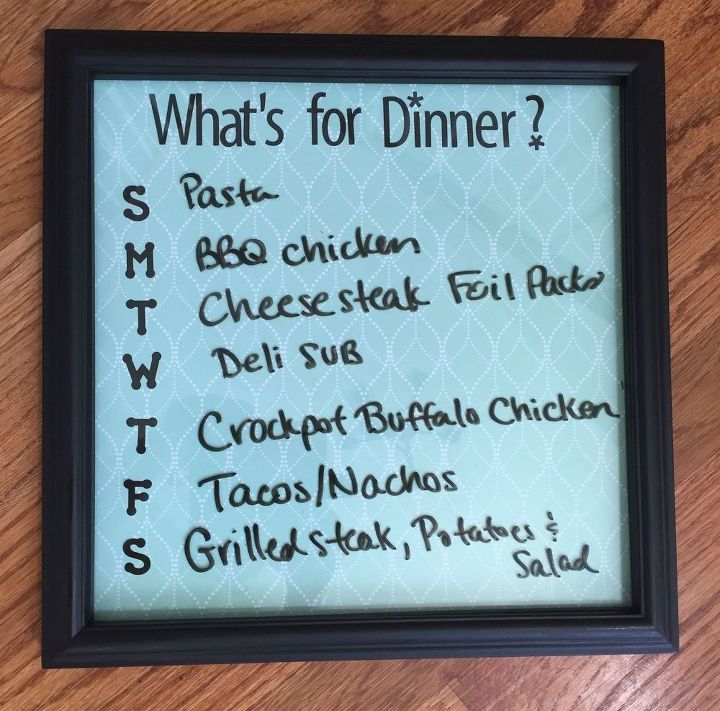
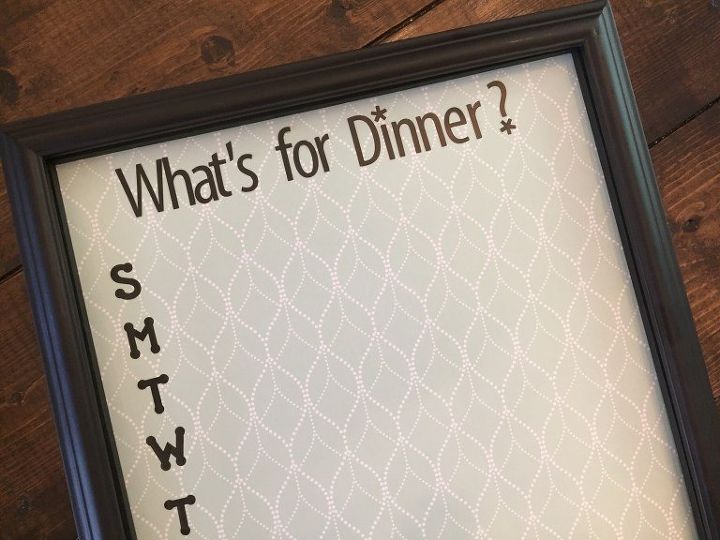
For the menu board, I chose black alphabet stickers to spell out "What's for Dinner?" and to label the days of the week. I placed these stickers on the paper before putting it back into the frame. Once I had it in the frame, I was ready to use my dry erase marker to write out the menu plan.
I have these boards hanging in my dining room and they have been very helpful to us all this summer. My family likes being able to look at the board to see what we are having for dinner. We have been using the other board for writing summer chores and ways to earn special treats over summer break.


Frequently asked questions
Have a question about this project?