


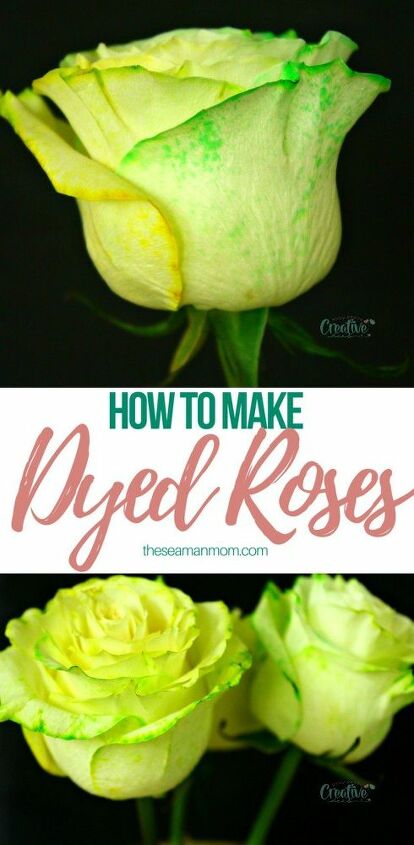
How to Dye Roses at Home

by
Petro Neagu
5 Materials
$10
30 Minutes
Easy
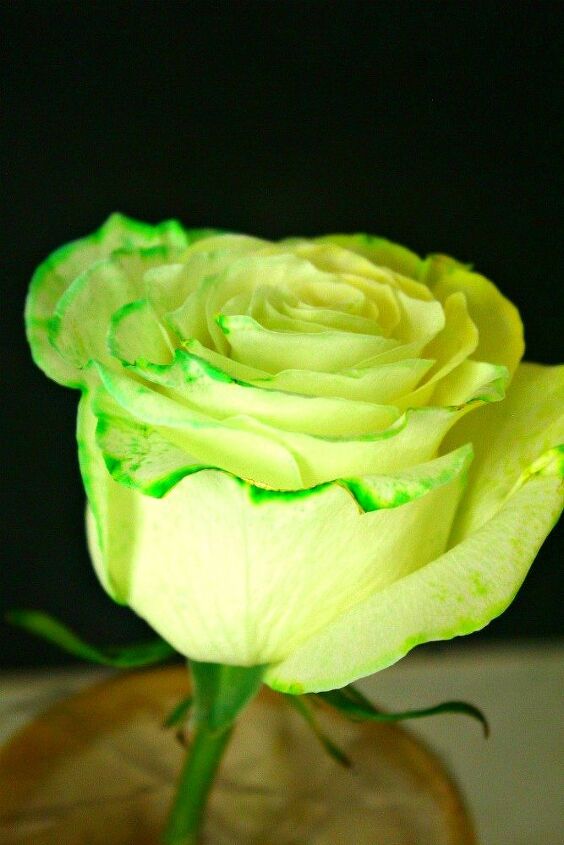
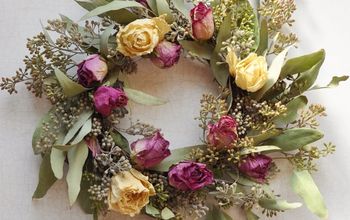
Roses are so pretty and elegant and smell fabulous! A great addition to your home decor but also a nice, thoughtful gift. And tie dye roses are even prettier! You can

MATERIALS:
- White roses (or very lightly colored ones).
- Razor knife
- self healing mat or thick cardboard
- Food coloring
- Narrow and sturdy water cups or glasses
- Water
- rubber gloves
- tape – optional
DIRECTIONS:
- Take your roses and pick some of the leaves off.
- Trim each stem to about 10″ long. Using a razor knife cut at an angle of about 45 degrees to help absorption.
- Using the razor knife, split the stem open in 3″ long sections, if you plan to get rainbow roses. For single colored ones, no need to split the stem. Split into maximum 4; too many cuts will weaken the stem. Careful not to snap the stem. If you do, just cut the stem at a 45 degree angle and dye it one color
- Pour water in your water cups then add food coloring.
- Position the cups next to each other. This will limit the amount of space you need to stretch the stems over.
- Pick up a rose and place each section of the stem into one different cup if you’re aiming for rainbow roses.
- If using the method for more roses, tape the stems together so the flowers are more stable
- Allow the roses to sit for a minimum of 4 hours (for pastel colors or tinted petals) and several days for vibrant colors. Petals have small veins that will be dyed darker than the rest of the flower. If you want to prevent this, you can leave your rose in its dye up to two times longer than suggested above.
Want more details about this and other DIY projects? Check out my blog post!


Frequently asked questions
Have a question about this project?