


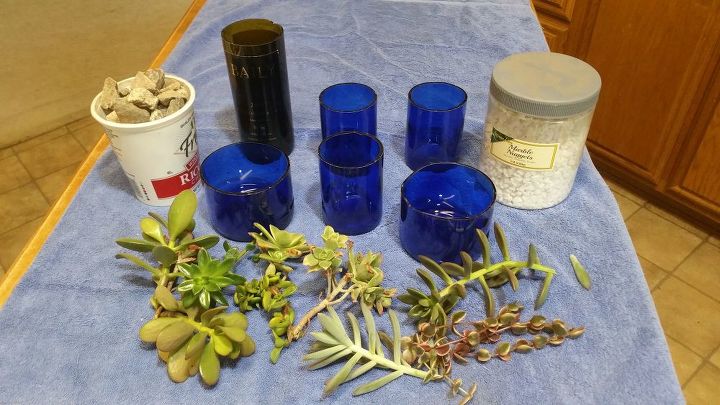
Turn a Bottle Into Something Beautiful!
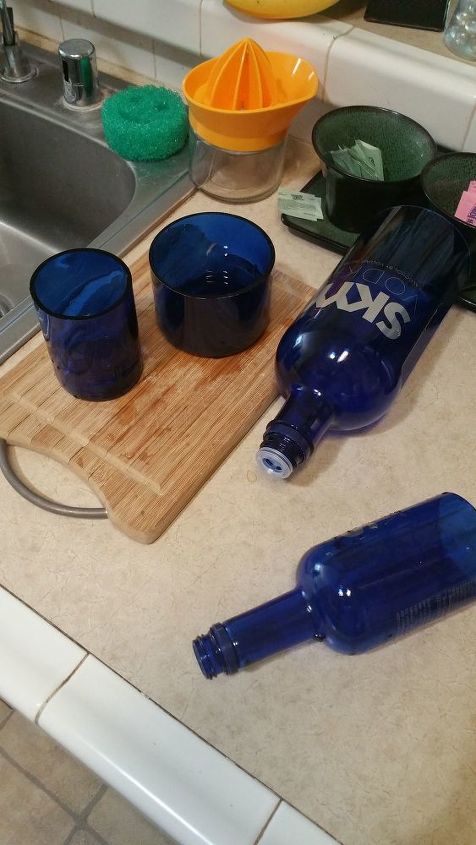
Its too hot to go outside. Triple digits for several weeks now, which is a big bummer because I love working outside on my yard and new garden shed. Unfortunately, this will be my plight for the next few months, so I have to find more things to do indoors. I had to bring all my succulents onto the covered patio, because the blazing sun was scorching the leaves. But they are still thriving and I’m seeing new growth…so that’s exciting! Over the past few months I’ve been enjoying a refreshing screwdriver (OJ and vodka) while I watch my survival reality shows in the evening. (No, I’m not changing the subject, stick with me!) I buy Skyy vodka because I love the beautiful cobalt blue bottles…and yes, I might have a drinking problem because now I have a CRAPLOAD of these lovely bottles and I’ve been dying to find a project to use them for! While cleaning out my purse and wallet the other day (yup yup stay with me) I found an Amazon gift card that I had totally forgotten about, so I used that to purchase a glass bottle cutting tool. Squuueeeeeeeeee!!!!! Here comes the fun folks! You guessed it, succulents + cobalt blue vodka bottles = Beautiful Bottle Recycle Project!
Inspired by a Youtube video that explained the best way to cut glass bottles with the cleanest break, I went on Amazon and bought this little beauty for $40:
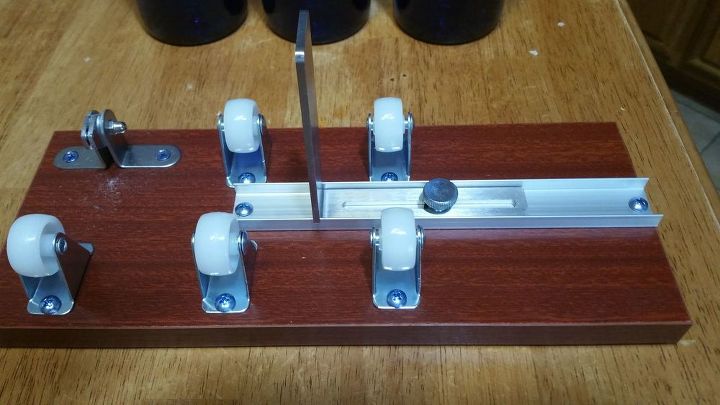
Its super easy to use, just adjust the arm to the placement you want the bottle to be cut and you press down and roll the bottle while the tool scores an imperfection.

The tool does not actually CUT the bottle, but it scratches the surface creating a weakness in the glass. After you score the bottle you will be using hot and cold water to make the glass expand and contract which will cause it to break at the score line.The next steps are:
Boil water in a pan that is easy to pour out of.
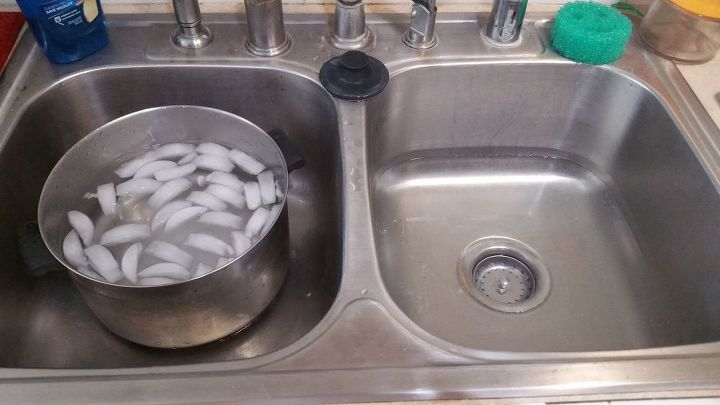
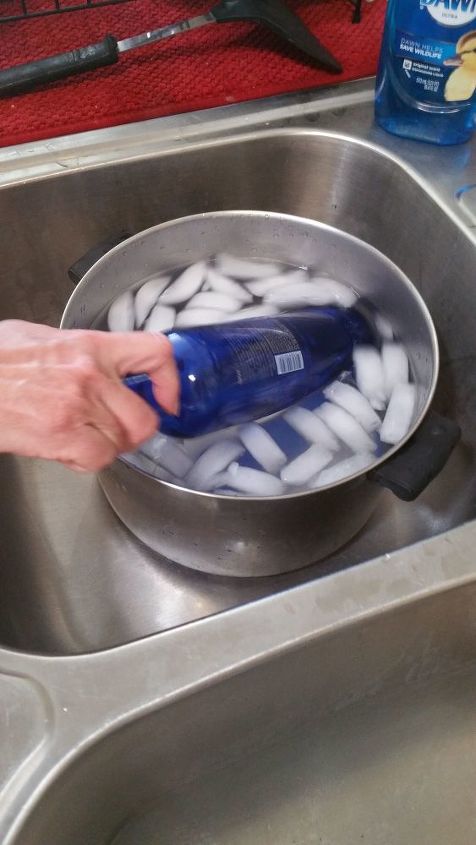
Fill a deep pan or tub with ice water
This project is best done in an area where you have two side by side sinks, as you will going back and forth between pouring hot water and placing your bottle in cold water. I filled the right side of my sink with a little water so when the bottle breaks it will have a cushion to drop into.
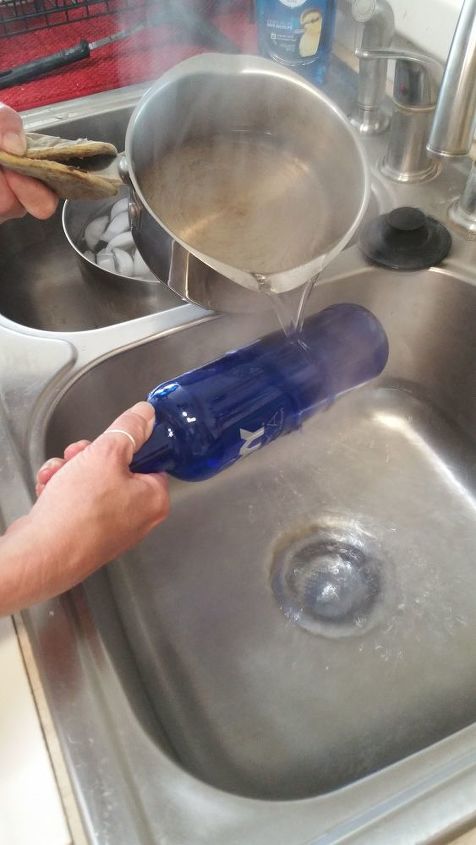
Being very careful, slowly pour the boiling water over the score in your bottle, rolling and rotating the bottle so the hot water reaches all the way around. If you only pour water in one spot it will create an uneven break.
Save some of your boiling water because chances are you will repeat this step 2 or 3 times.
Dip your bottle into the ice water, again rotating it to be sure the score mark of your bottle is completely submerged into the water and the cold is evenly distributed. If the bottle cannot be submerged completely at the score line, take a cup and pour ice water around the score...
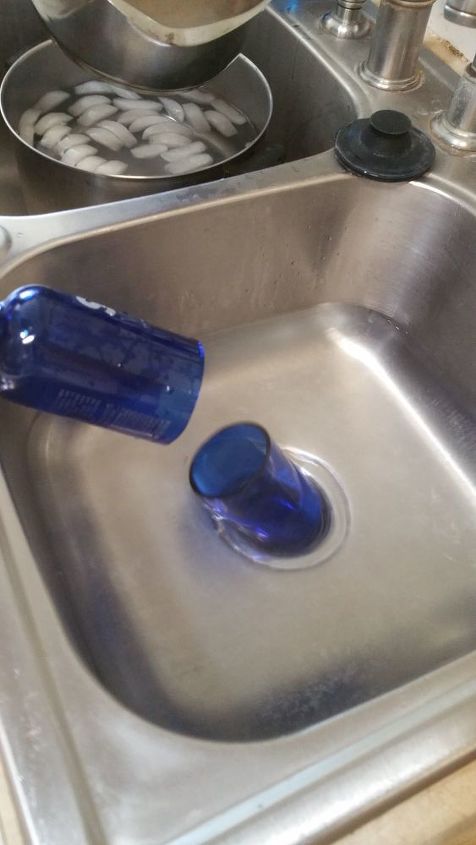
Your bottle probably still has not broken. No worries! It will happen! After about 45 seconds or so under the ice water, repeat the steps of pouring hot water over the score and dipping in ice water until the bottle breaks.
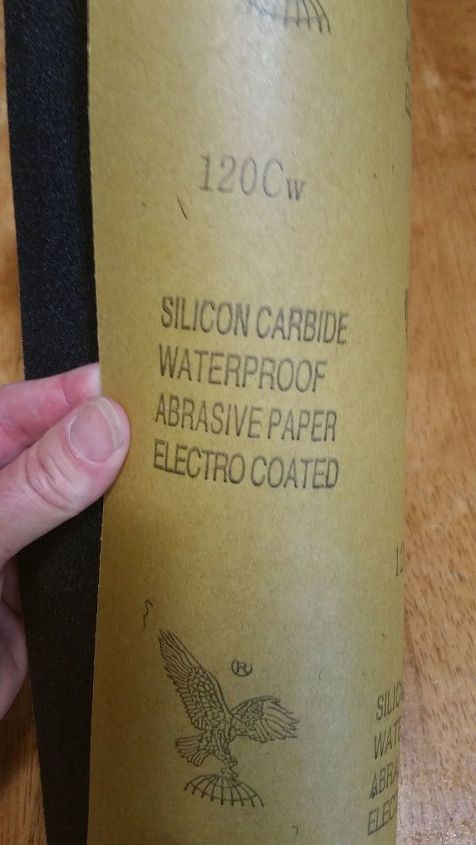
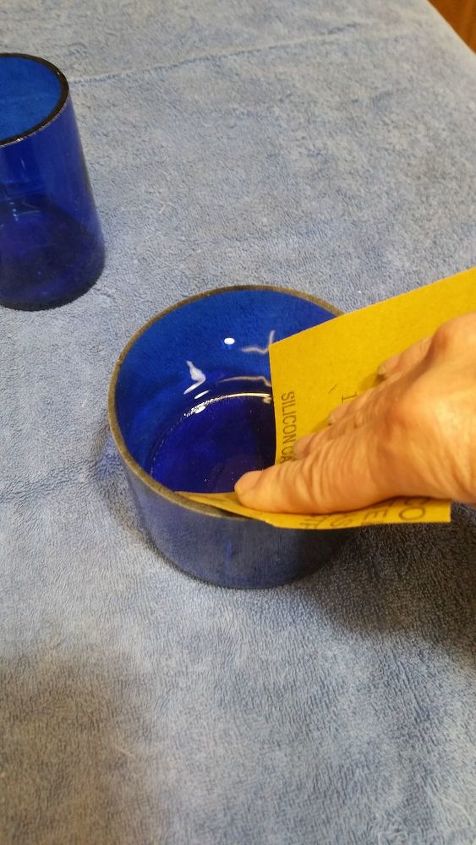
The last step is sanding. Be sure NOT TO TOUCH the broken bottle line until you have sanded. YOU WILL GET CUT. (Experience is a cruel teacher) 
This is the sanding paper that came with the tool kit. It was very easy to use and took just a few minutes to sand down the sharp edges.
I have one more disclaimer.
All of this scoring and sanding will create tiny shards of broken glass on your scoring tool and work surfaces. Be sure you cover your work surface with a towel, shake it out in a safe place when you are done and wipe down all surfaces with a wet paper towel.
It is completely possible to sand the bottles to a smooth enough edge to use them as drinking vessels or serving dishes. But today’s project is to make beautiful succulent planters.
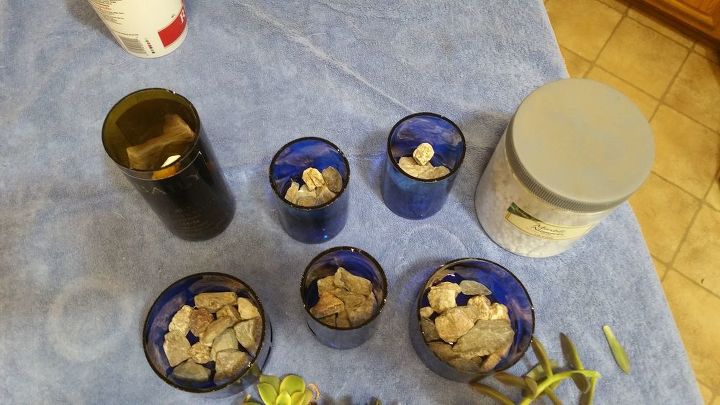
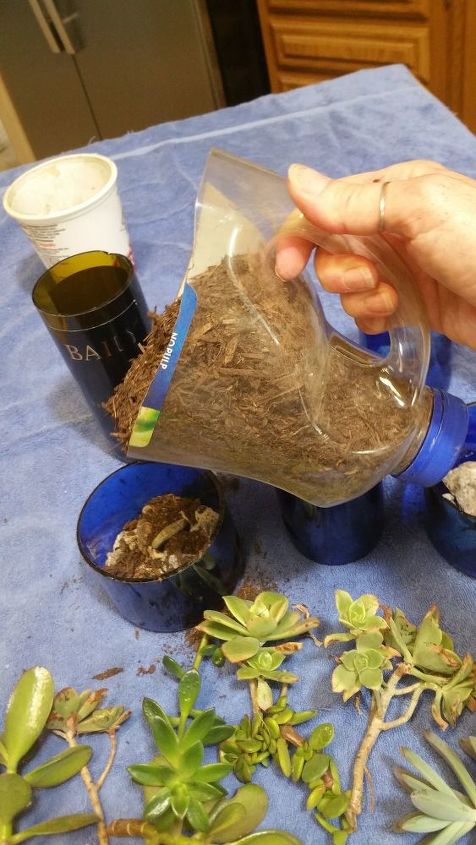
The next few steps are pretty self explanatory. I ventured out to my various overgrown succulent planters and trimmed cuttings to replant in my new cobalt blue containers. Since there will be no drainage holes in my new planters, I layered the bottom of each one with plenty of gravel (from my driveway). Then I filled the rest of the planters to near top with soil.
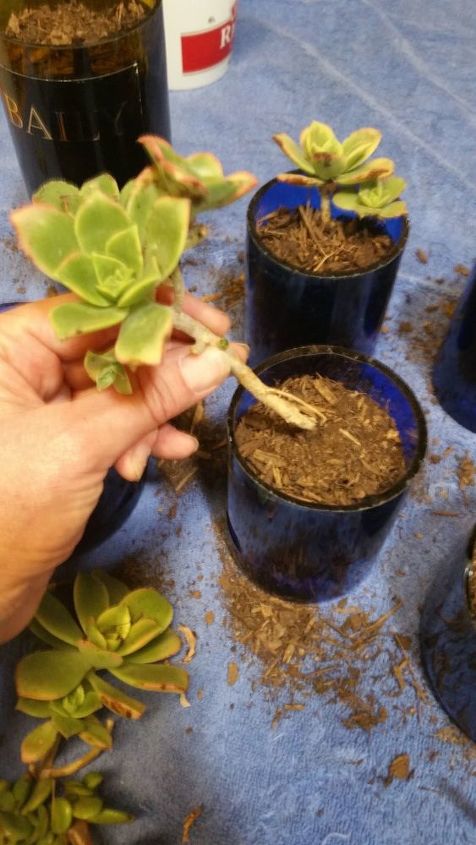
Before you place the cuttings into the planter you should trim back the bottom leaves so you have about 2 inches of stem to bury into the dirt. SAVE YOUR LEAF TRIMMINGS! They will propagate into new plants!
Now all you do is create a hole in the dirt with your finger and place the new cutting into the hole and cover it up, pushing the soil around it to secure it into place. The finishing touch? I topped it off each planter with some decorative white rock (purchased from Home Depot, I’m sure you could also find it at Michaels, Hobby Lobby, or even a dollar store)
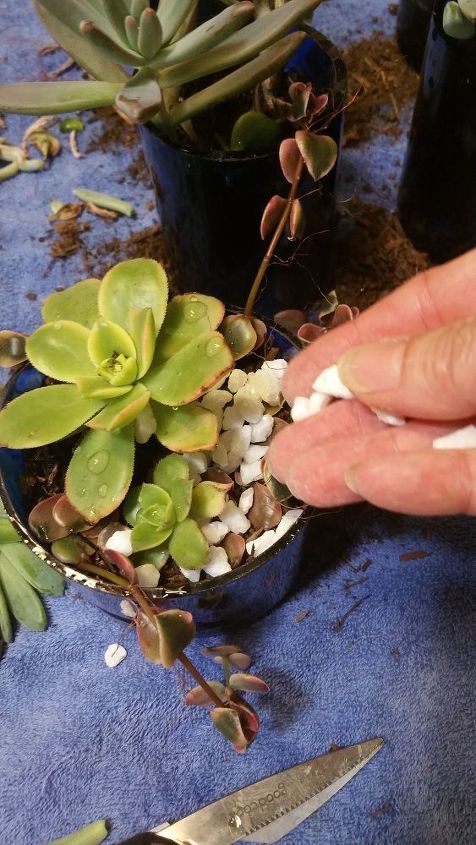
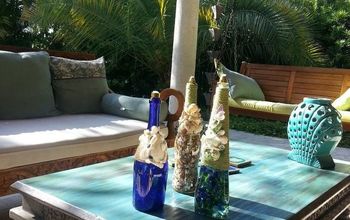
These are my finished pieces. I am soooo happy with the way they turned out! This is going to be a regular project for me throughout the summer! My succulents are like my babies! I love to see them grow and flourish!

These plants will not require much water, and should be placed in a spot where they will get plenty of sunlight. Again, there are no drainage holes in the glass, so if you over-water the soil can become too damp and create root rot. Each little planter could probably use about a 1/4 cup of water a week. If they start to look too dry, add a little more each week until you start to see improvement.
This project is listed as costing me $45, but that's because I had to buy the bottle cutting tool. Now that I have it, I can use it for countless projects at no extra cost!

Comments
Join the conversation
-
 So cool, I know what I am adding to my Amazon Wish List! Love this! And loved the "hic" LOL


Frequently asked questions
Have a question about this project?