


Farmhouse Coffee Table

Hey friends! I've had this coffee table for a while, but I finally got around to painting it!
Here is what it looked like before. You know, the usual. Wrong wood color, knicks, dings, dents and scratches. Unwanted and donated to a local thrift store.
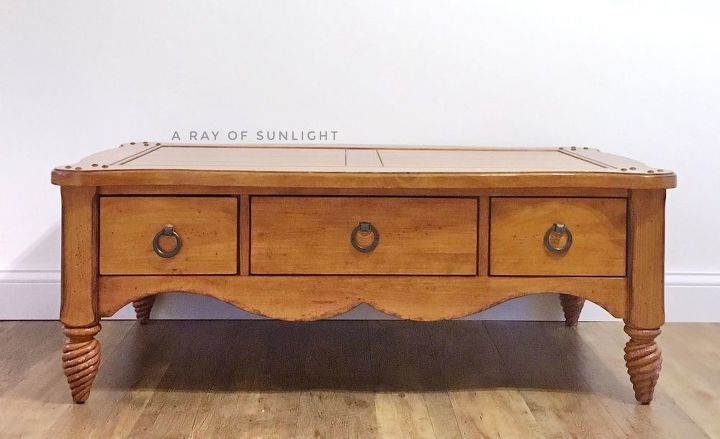
I originally picked it up for it’s legs. or feet. Aren't they amazing?
I started out by prepping it. You know the drill. Chalk paint calls for “no prep,” but I beg to differ. Especially when I’m selling these pieces and am looking for a long lasting finish.

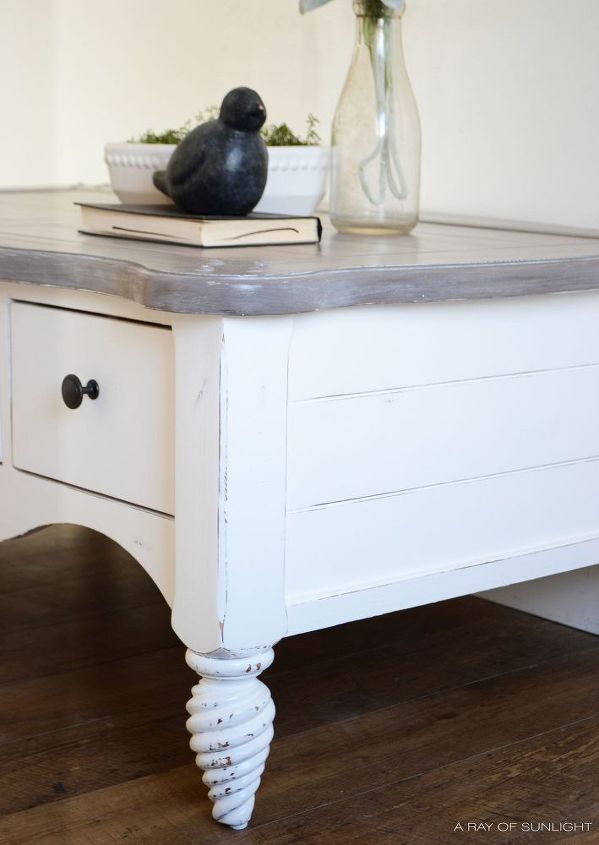
After priming, I sprayed on multiple coats of Pure White using my favorite paint sprayer. OF course you hear me talking about it ALL THE TIME. And I should stop, but I won’t. Because I rely on this thing so. much.
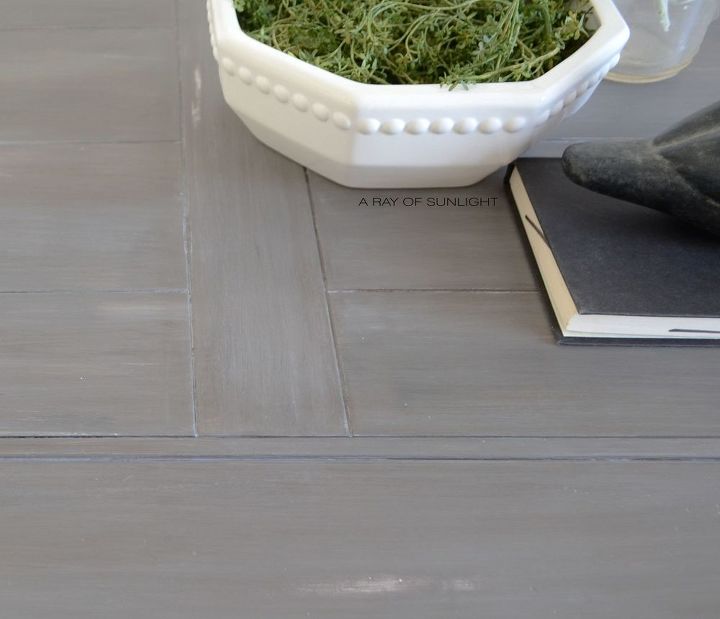
After the base was painted and distressed, I started working on the top. I painted a combination of multiple greys (more info on these on the blog), white and black all layered together and partially dry brushed but also mixed together at the same time. Then a brown glaze coat to blend all the crazy layers together and finally a layer of whitewash to make it a bit lighter. After all the layers were done, I distressed the top here and there and then I sprayed a few coats of poly over everything.
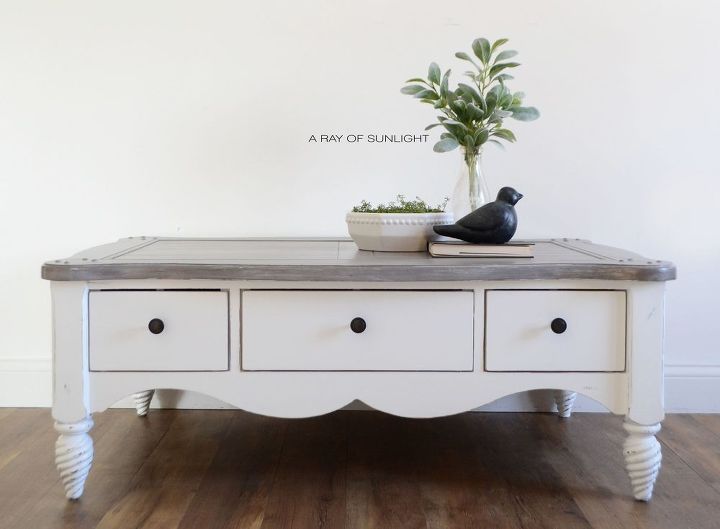
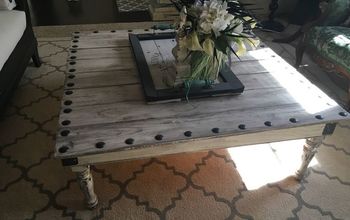
I finished it off with updated bronze hardware to complete that farmhouse look. More info, photos and details are on the blog so be sure to click on over to check it out!


Frequently asked questions
Have a question about this project?