


Wooden Loo Roll Holder

3 Materials
$1
2 Hours
Medium
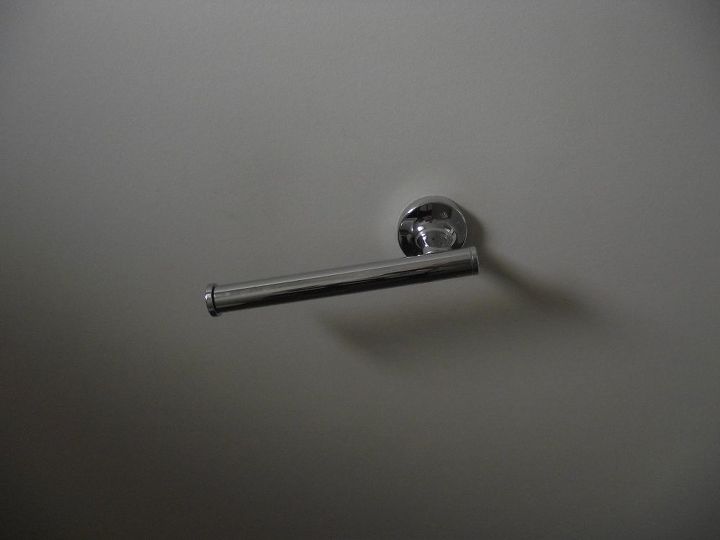
We have had these chromed plasticky loo roll holders since we moved in, and they are always coming loose and flopping about, they also look and feel cheap, I quite like the overall design so I'm sure I can make something nicer
Step 1: The Wood
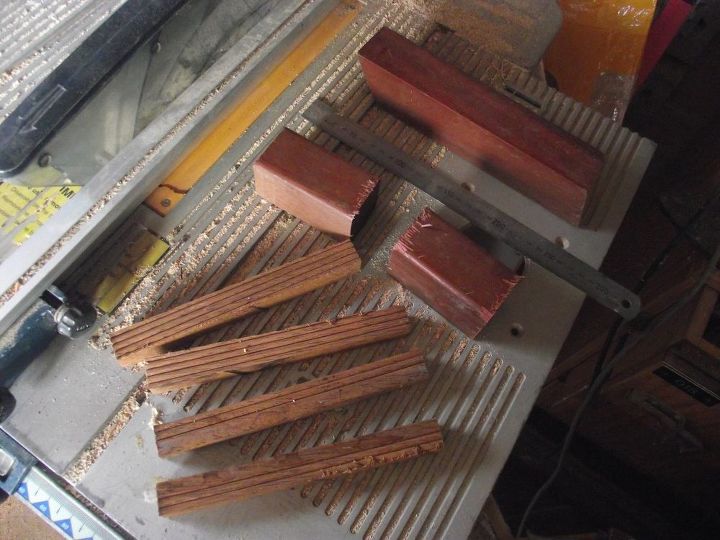
I had some scrap mahogany and kwila decking boards that I "rescued" from a skip, so I cut them down on the table saw.
These woods are pretty hard and the saw definitely didn't enjoy it much! :-)
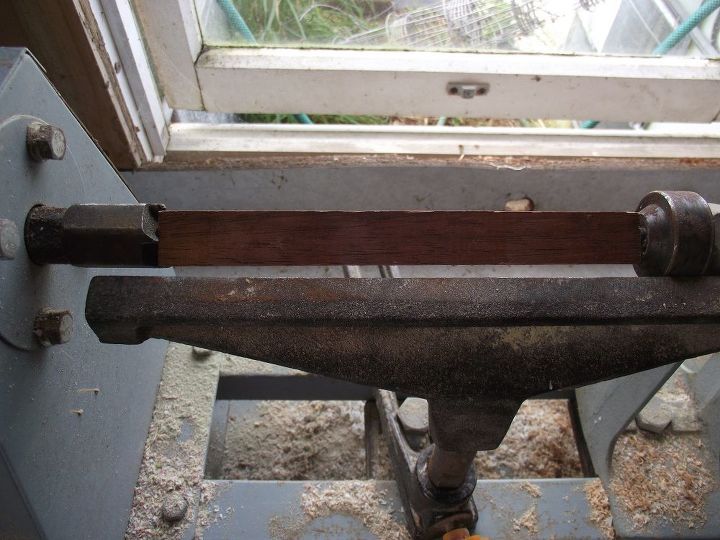
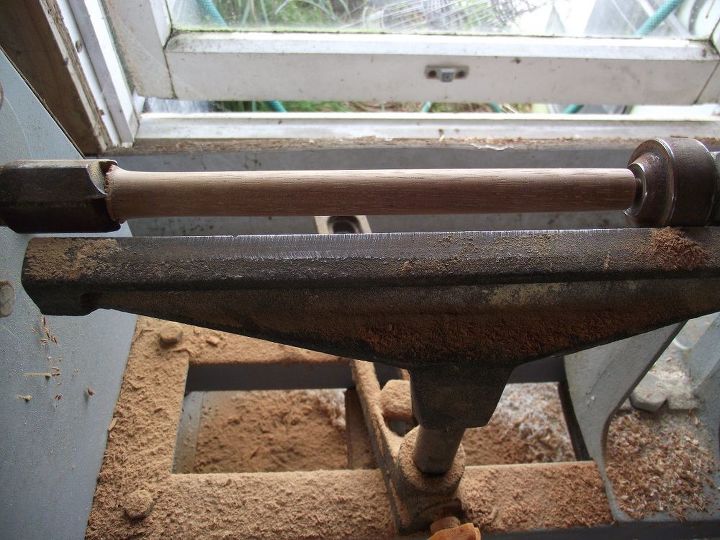
Step 2: The Spindle
I mounted the spindle in the lathe and turned it down to approx 15mm and sanded it with 60,80,120,240,300,and 400 grit paper
It was the cut to length to get rid of the end holes
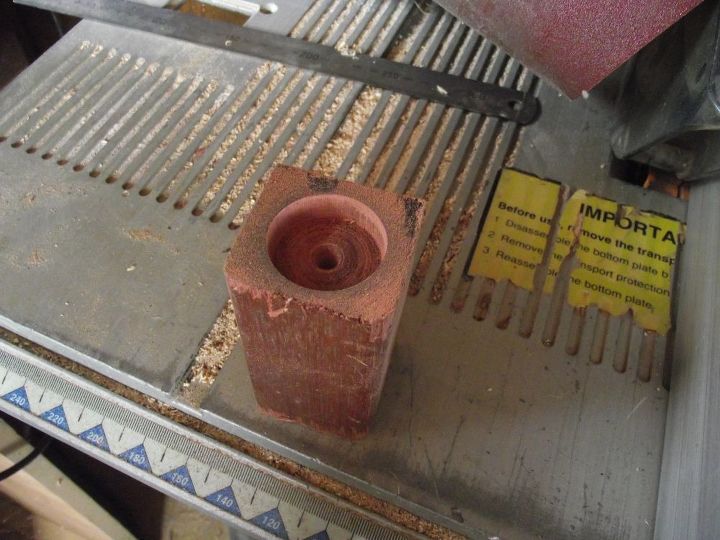
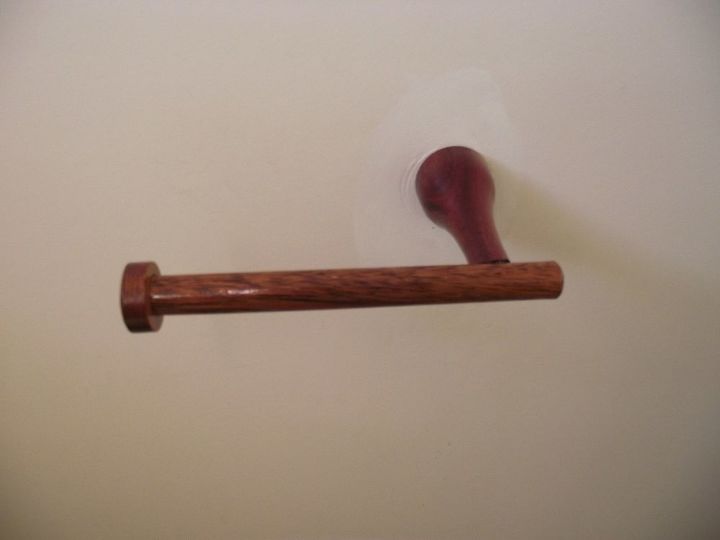
Step 3: The Wall Mount
Originally I was intending to try and mount this the same way as the original so I drilled out a recess with a 32mm spade bit, however I realised that this would be impractical, it didn't matter as the piece could still be used.
I then mounted it in the lathe and turned the shape I wanted and again sanded

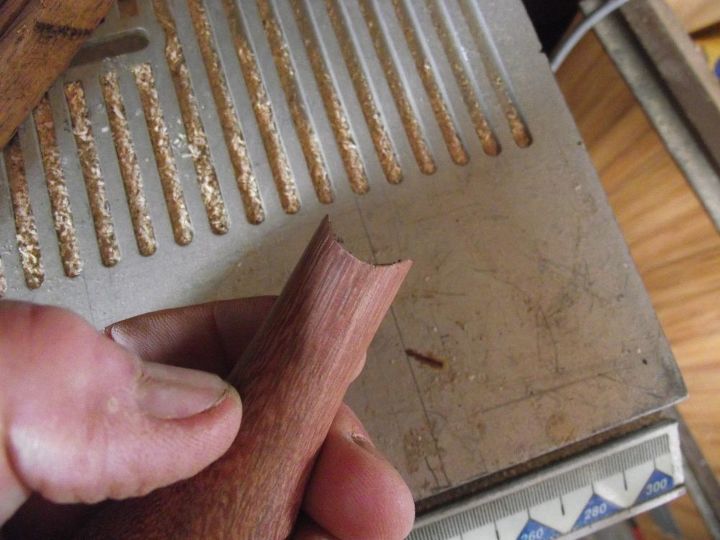
Step 4: Shaping
I shaped the end of the wall mount to fit around the spindle using a sanding drum on a Dremel
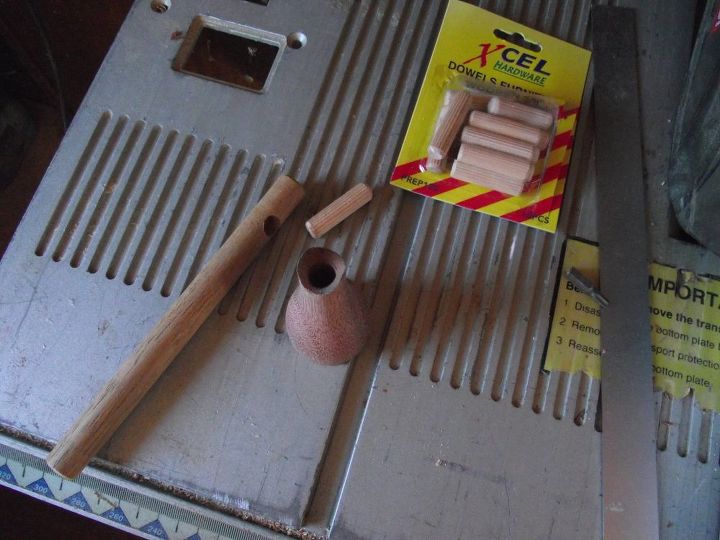
Step 5: Joining the Pieces
I drilled a 3/8 hole in both pieces so that I could join them using a dowel (originally I was going to use a dowel screw (a double ended screw) but it seems that they are unavailable in NZ!)
I also drilled allthe way through the wall mount with a 4mm drill for the mounting screw
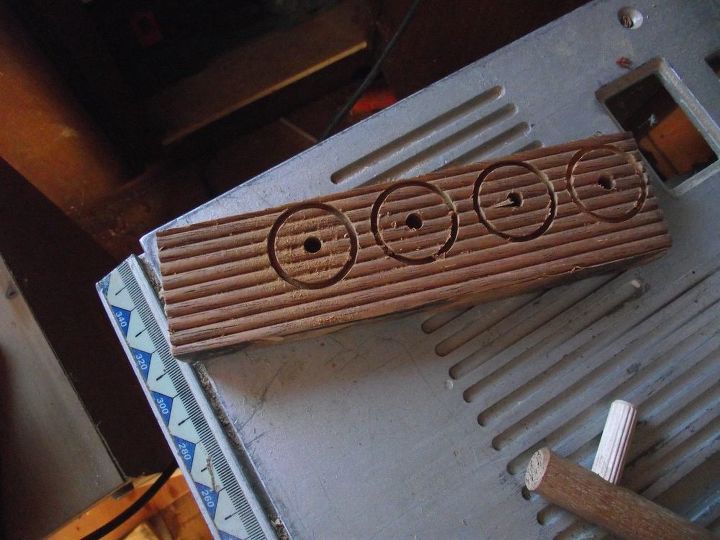
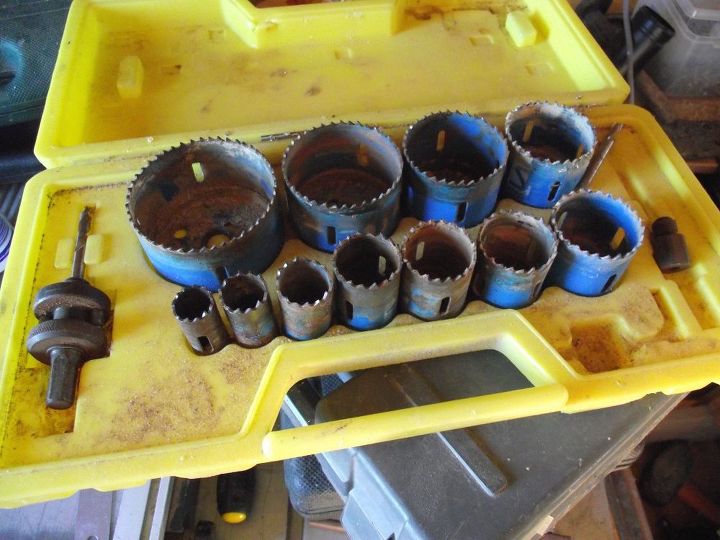
Step 6: Stopping the Loo Roll Falling Off
I needed a "stop" for the Loo Roll so using a hole saw I partially drilled through a decking board, I then removed the centre drill and cut the rest of the way through
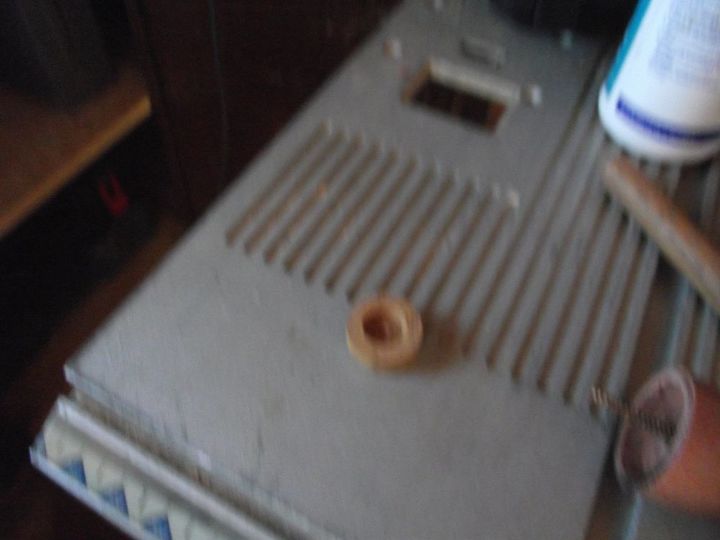
Step 7: Finishing the End Stop
I drilled a 15mm hole in the end cap about halfway through using a Fostner bit
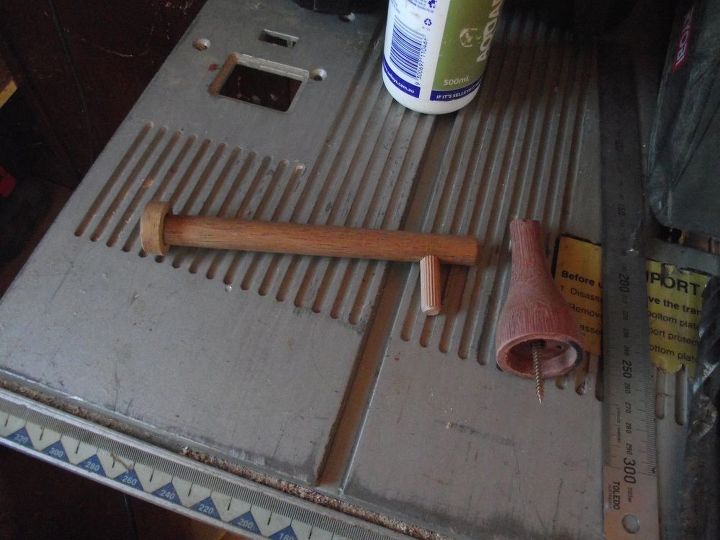
Step 8: All the Bits
The end stop was glued on using waterproof wood glue and the dowel glued into the spindle ready for mounting
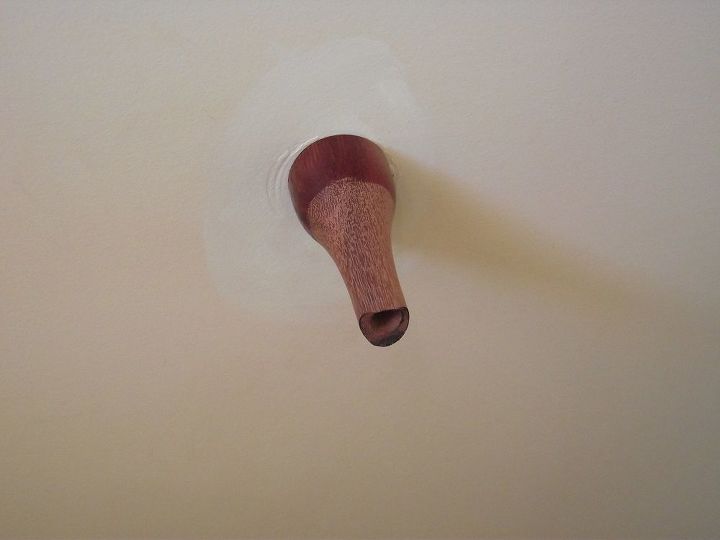
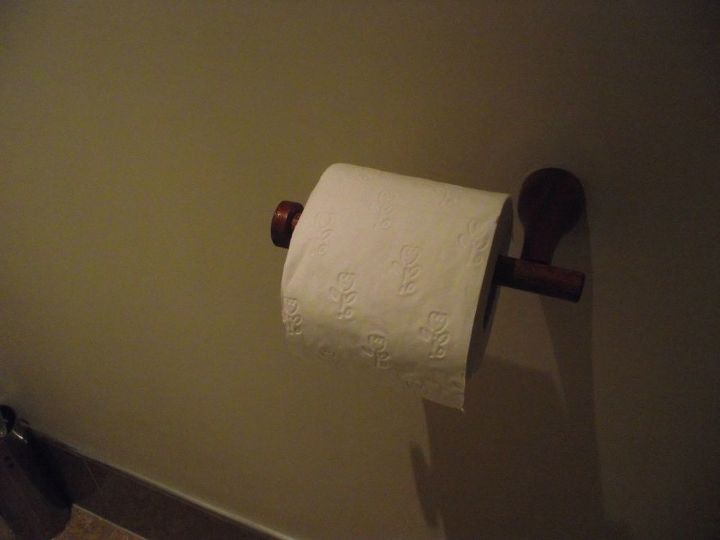
Step 9: Fixing the Mount to the Wall
I used a 75 mm screw to mount to the wall, I varnished the part nearest the wall with marine varnish before screwing up tight (so I didn't get varnish on the wall being hamfisted!)
Step 10: I Then Glued the Spindle to the Wall Mount Using the Dowel
A gentle tap was needed to push the dowel all the way home, I then varnished the rest of it
And job done - 3 more to do!
Comments
Join the conversation
4 of 8 comments
-
Very nice.
-
really nice thanks for sharing


Frequently asked questions
Have a question about this project?