


How to Install A Pendant Light With a Plywood Medallion

by
Zest it Up
10 Materials
$20
2 Hours
Medium
We love DIY. I mean, we really LOVE DIY. It is so empowering to tackle a project and then be like, “I did that!” Empowering for sure, but it is also the most amazing rush of creative energy. When you confront a problem, whether it be design oriented or logistical, it always amazes me how diverse and unique the solution can be when you DIY. Just look up a solution on Pinterest and you will be bombarded with hundreds of ways to attack it. It is so inspiring seeing all that creativity. I think that is why the DIY movement is here to stay. Yes, Ikea and West Elm are great ways to go for making your “house” beautiful, by DIY projects have a unique way of turning that “house” into a home. It’s a beautiful thing!
Since moving into our new office space last August, Sam and I have had so many cool opportunities of tackling “problems” with creativity. We have been DIYing the heck out of our space. After all, it is our home away from home. It has been fun expressing our taste and hospitality through large and small projects as we tackled problems in our space. And let’s be real, when you adopt an old appliance repair shop as your office/studio, there are bound to be innumerable problems! LOL
Our bathroom was one such problem. After demoing a shower, refinishing concrete floors, painting walls and installing a sink, it was time to think about removing the boob light and installing something more “us.”
Photo Cred: Anya McInroy
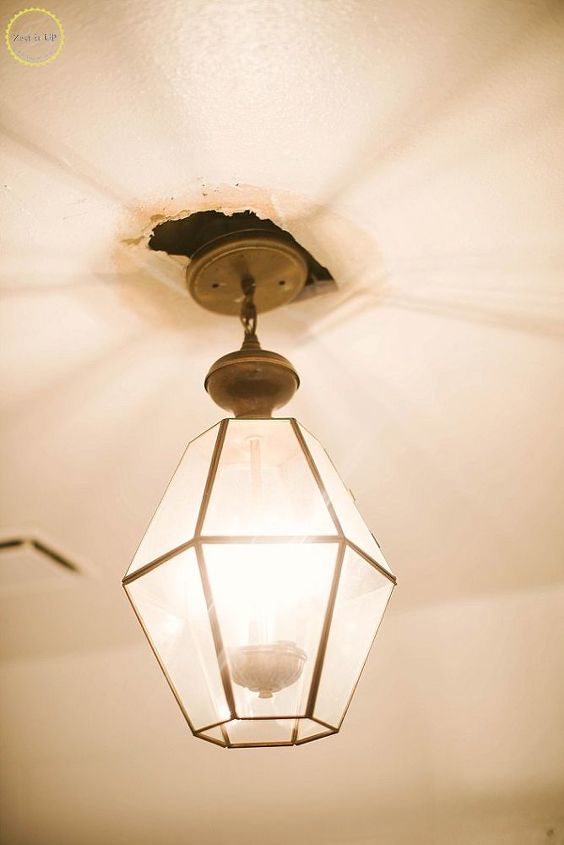
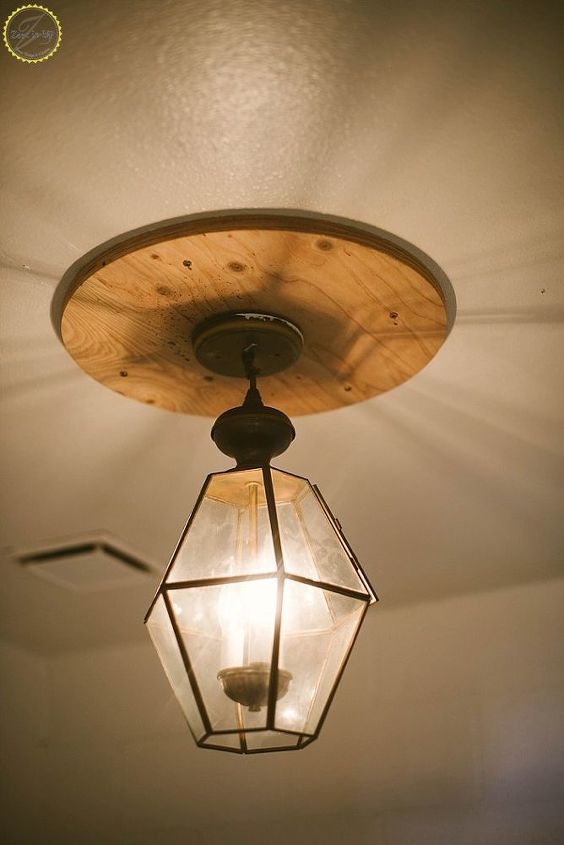
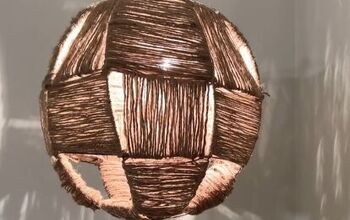
The task was pretty darn simple after finding this super cute pendant light at The Goodwill Outlet, but we had to get creative because of the huge whole that would be exposed. Wanting to keep things looking more industrial and raw, I didn’t want to have anything to do with the super ornate and embossed medallions you find at hardware and lighting stores. Sooooo, I opted for plywood!
Supplies:
- 1 18″ plywood disk
- ruler
- drill
- electric jigsaw
- wood screws
- wire cutters
- needle nose pliers
- philips and flathead screwdrivers
- 1 electrical crossbar
- 2 electrical screw on wire nuts
(NOTE: Always turn the electricity off at your circuit breaker/electrical box before tackling ANY electrical projects….EVER!)
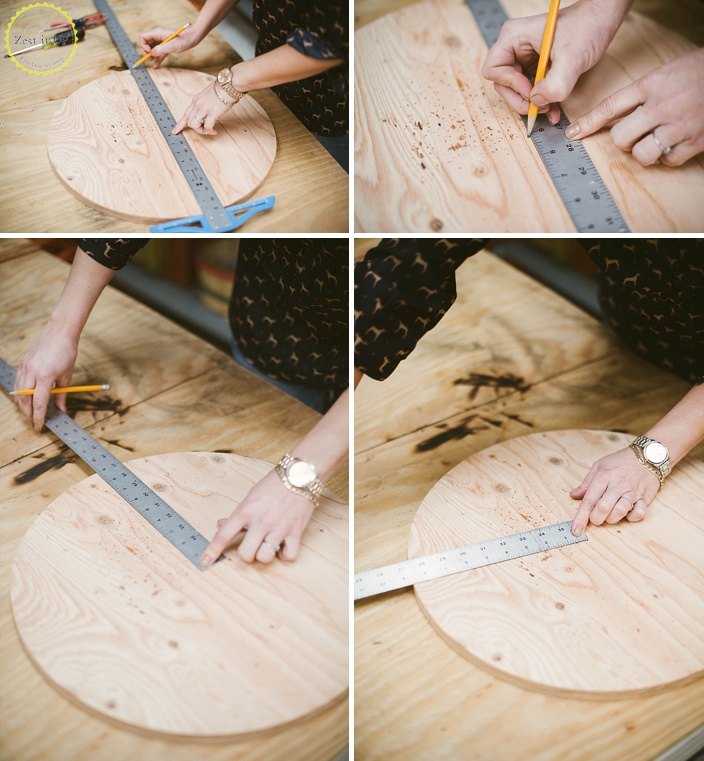
Start by finding the true center of your disk. Measure in both directions and find the intersection point. Then, using a compass (or get creative and use your electrical crossbar like I did! LOL) and create a pencil outline of a circle large enough to expose the electrical box for wiring the light. This will be entirely covered by the pendant, but is still small enough to completely cover the unsightly hole in my ceiling. Measure your electrical box to get an accurate diameter for your hole.
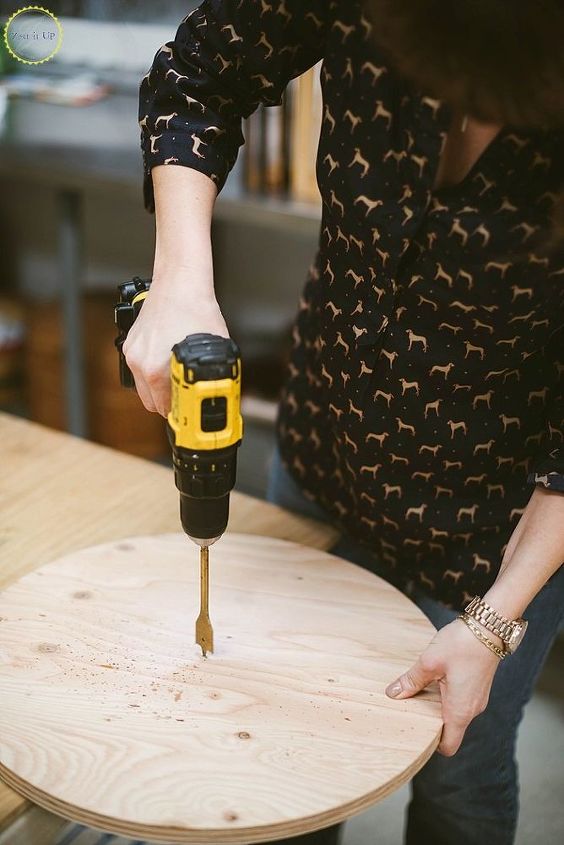
Now, drill out the center with a 1″ bit. This will make a hole large enough for your jigsaw to fit.
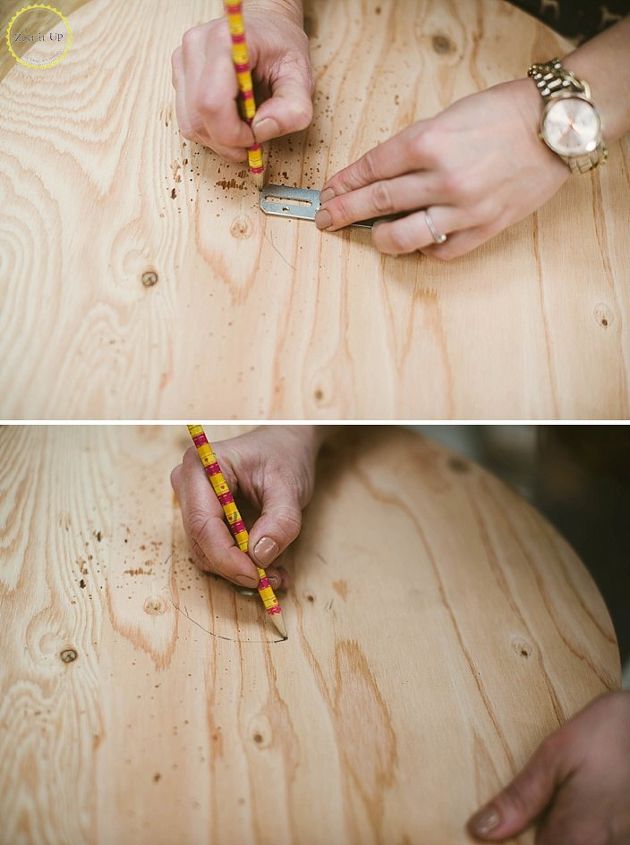
Insert your jigsaw and make two cuts about a 1/2″ apart that go from the pilot hole to the edge of your penciled circle.
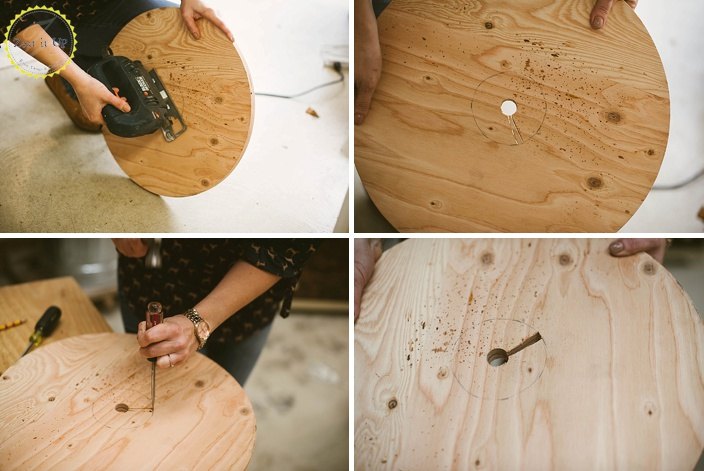
Using a flathead screwdriver and a hammer, gently tap on your penciled line between the cuts until the rectangle of wood breaks away. Now you have a starting point to use your jigsaw and trace your penciled lines. Cut along the line until the center breaks free.
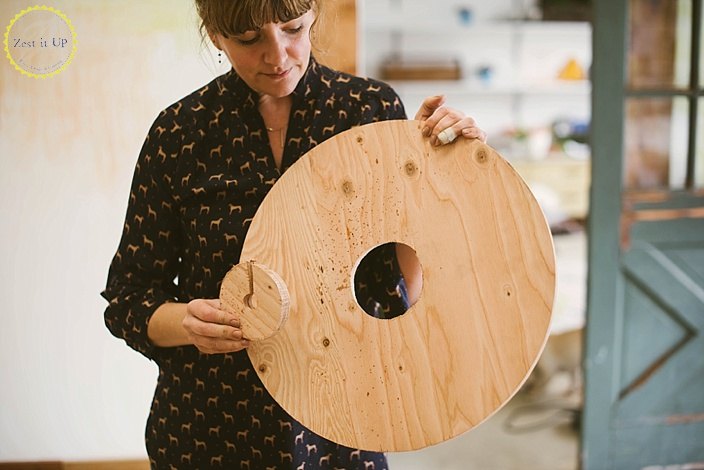
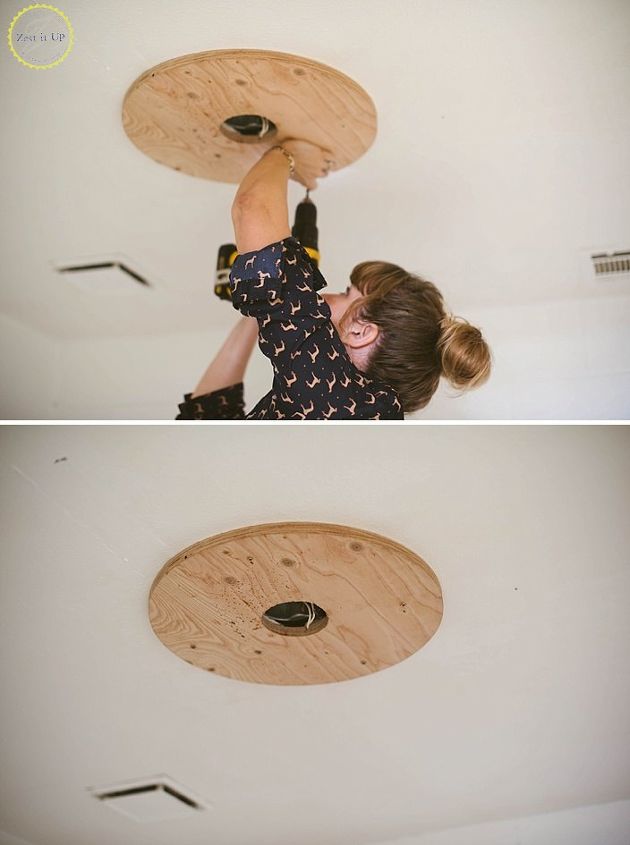
Screw the medallion into place over the electrical opening. I didn’t use anchors here because the plywood wasn’t very heavy and I distributed the weight by installing eight screws.
Now for the electrical. Here is where you may have to morph into an octopus or get some extra hands to help you.
MAKE SURE THE POWER IS TURNED OFF!!!
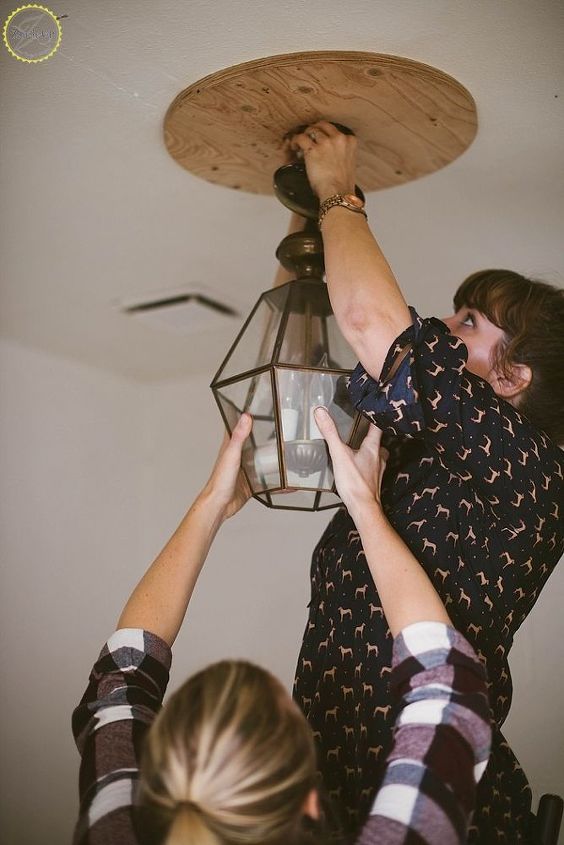
Laurel helped by supporting the weight of the pendant while I pulled the wires of the pendant through the center hole of my electrical crossbar. I connected the white red cords together with an electrical nut and the two black cords together with an electrical nut. I then took the grounding wire and connected it to my electrical crossbar.
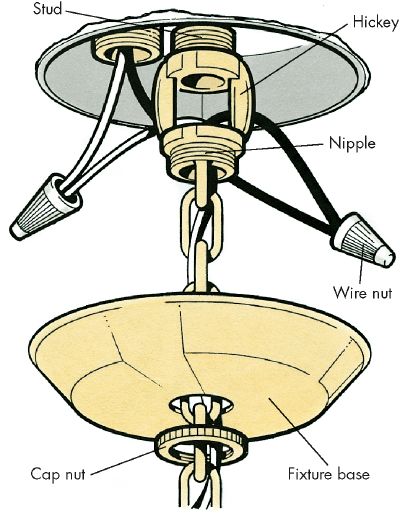
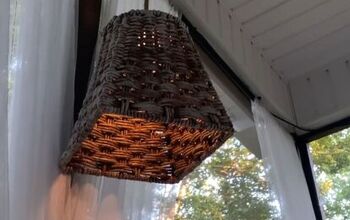
Pushing the wires up into the electrical box, I was able to attach the electrical crossbar to the screw holes in the electrical box and then screw the pendant into place. Turning the electrical back on, I had light!
And that’s a wrap! As always, make sure you practice safety. Know how to turn your electricity off before ever attempting to tackle a lighting project. Be safe, and not cooked!
Happy Zesting!
xoxo
Chanda


Any price and availability information displayed on [relevant Amazon Site(s), as applicable] at the time of purchase will apply to the purchase of this product.
Hometalk may collect a small share of sales from the links on this page.More info
Want more details about this and other DIY projects? Check out my blog post!
Comments
Join the conversation
2 of 44 comments
-
Thanks for the creative share! However, I know from experience with this same light on a smaller scale that it is an absolute pain to dust/clean. My swiffer took care of dust but after a while it needed to be washed. To each his own.
-
You could have drawn a few straight lines straight across the disc, using different starting points at the edge. Where they intersect would be the center. No measuring!


Frequently asked questions
Have a question about this project?
This is a good solution. Would you consider painting/staining wood at any point?
Why didn't you paint the wood you added to match your ceiling it would look a little more professional you did a great job kudos though.
Great fix!! Looks good with the rest of the bathroom!! I looked at your bath reveal and have one question....where did you get the sink??? I must have one for my bath re-do!! Thank you for such inspiration!!!