


Storage Box for My Seashells

by
Pam Smith
4 Materials
$5
4 Hours
Easy
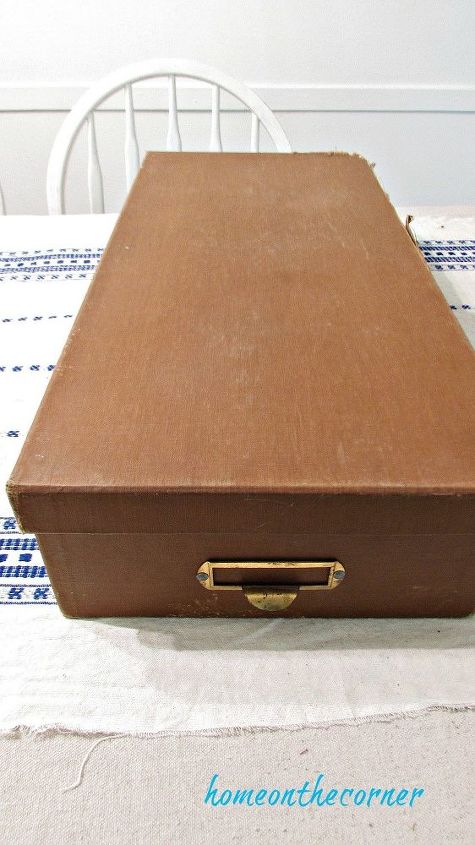
Last week, I pulled down a box from my closet, not even sure what was inside. It ended up being fabric. I wondered where those fabric pieces had gone to! For some reason, this time when I looked at the box, I came up with the perfect use for it! My seashells!
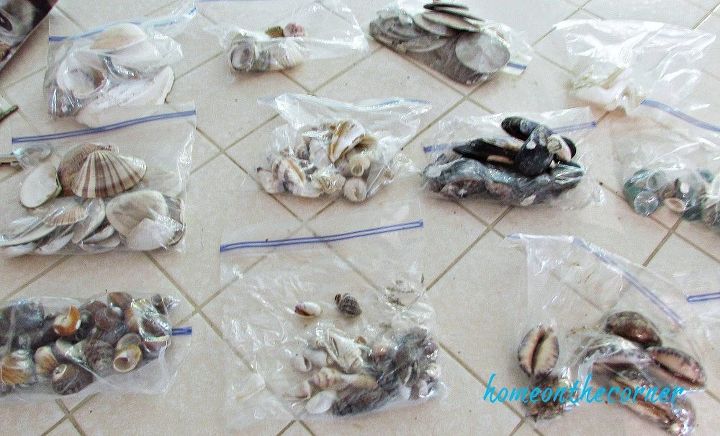
Here’s how I had my seashells separated. Real classy, right? Yep, good ol’ ziplock bags!

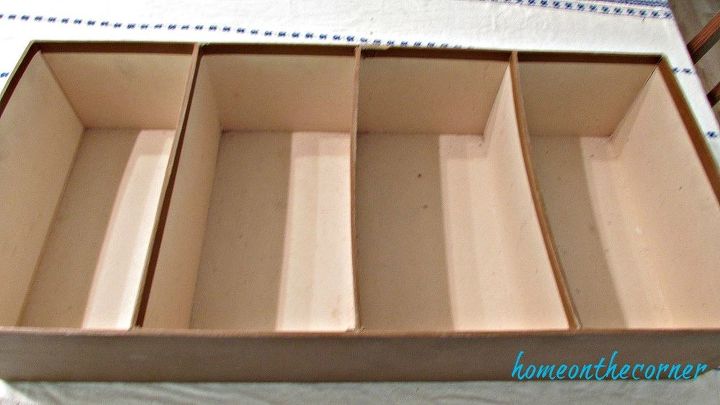
I knew I needed more than just 4 compartments, so I dug through my scrapbooking paper and made some more dividers.
I measured each section and then cut pieces of paper a little larger than would fit across each one. I then folded the edges to create a place to glue. I cut 4 pieces and then varied where I glued them in, so that some of the spaces were bigger for my larger shells.
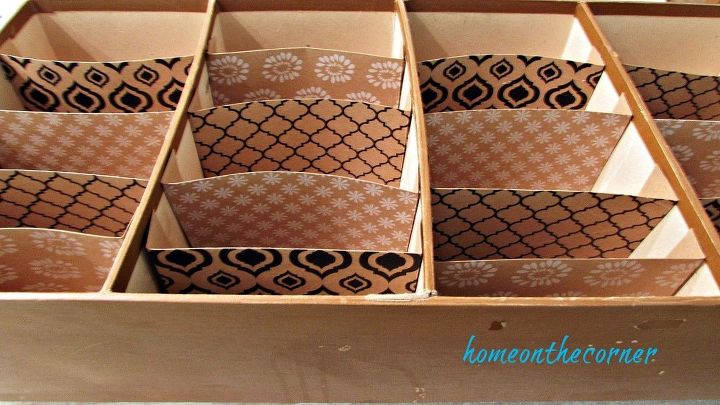
The dividers in the box weren’t exactly straight, so some of my pieces are a little bowed, but that won’t matter once the shells are in it.
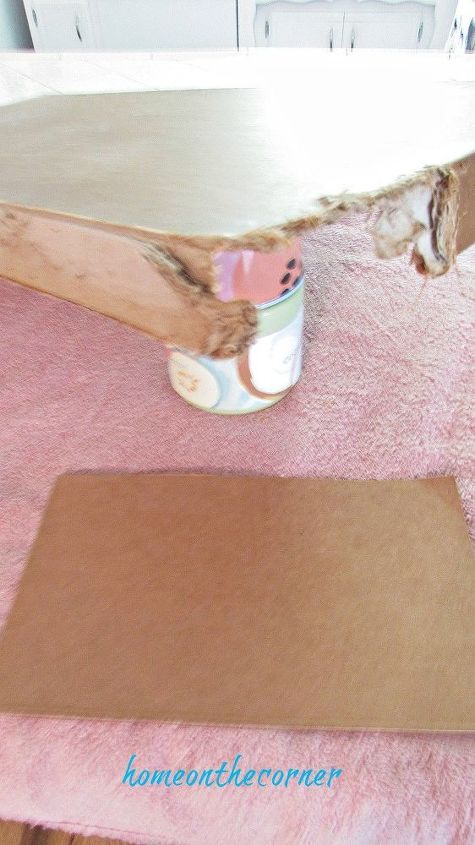
The lid had one corner missing. I don’t even remember that happening, but I had to find away to fix it, at least a little bit.
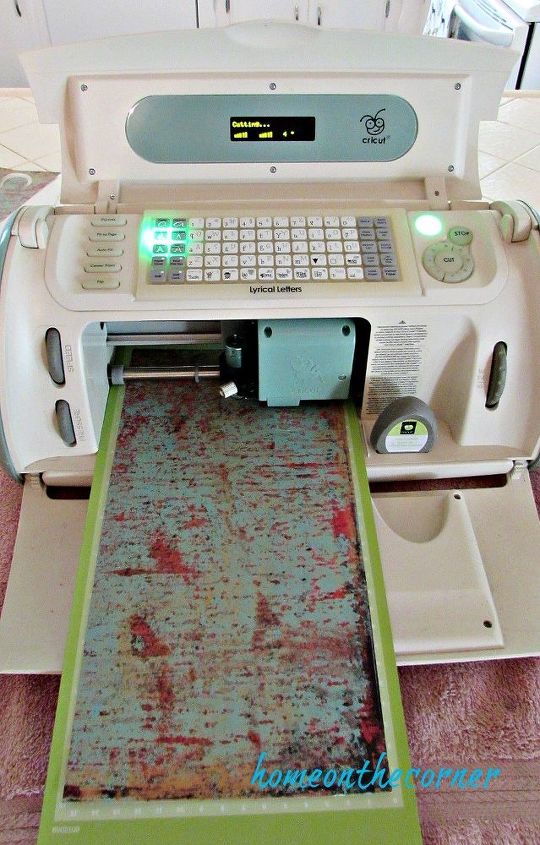
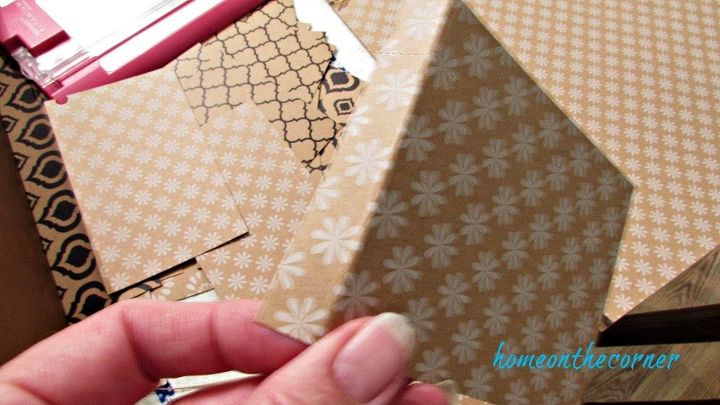
This is my ancient Cricut machine. I’m sure it’s an antique now.:) But it still mostly works! It took me forever to decide what I wanted to put on to of the box. I knew I wanted it to say ‘seashells’, but I couldn’t decide how I wanted to do it. Stickers, chipboard, paint? I looked through my stash, but finally decided I could get the style I wanted with my Cricut.
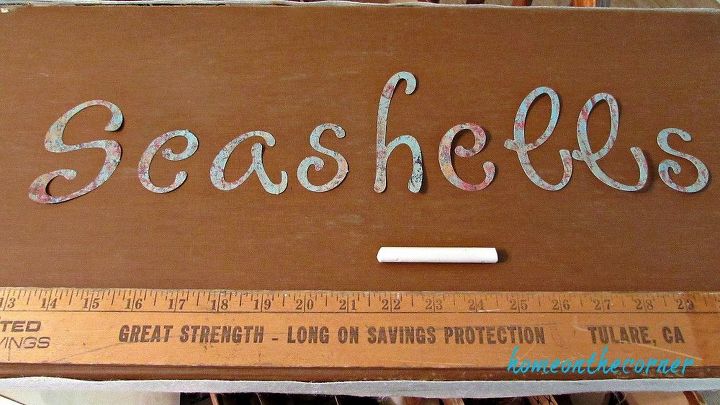
I love this paper! Once I had my letters cut out, I drew a chalk line on the box so I could keep my letters in a straight line and then glued the letters on. Once I had the letters afixed, I just wiped off the chalk.
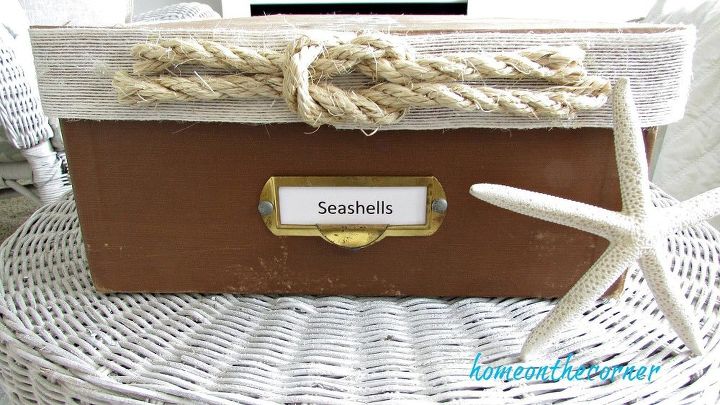
Here is the side of the box. I added the ribbon to cover up the fixed edge and then added the sailor knot to cover the spot where the ribbon comes together. I added the label too, just in case I forget what’s in the box again.

Now my shells are all organized and neat! I love that I can easily find exactly the kind of shell I want!
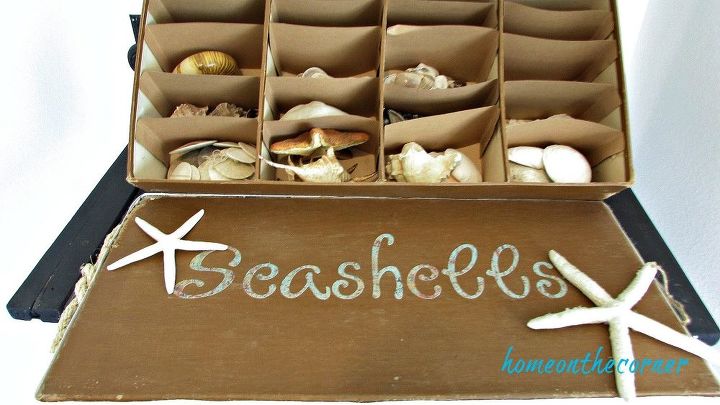
Now I have room for both small shells and large ones.
Resources for this project:
See all materials


Any price and availability information displayed on [relevant Amazon Site(s), as applicable] at the time of purchase will apply to the purchase of this product.
Hometalk may collect a small share of sales from the links on this page.More info
Want more details about this and other DIY projects? Check out my blog post!


Frequently asked questions
Have a question about this project?