


Revamp #3 for My Yard Swing

2 Materials
$36
6 Hours
Medium
I have had my yard swing for about 20+ years now. It was gifted to me from an old dear friend of the family’s who is now gone. So kind of want to keep it alive in memory of him.
It started out as a green striped Walmart swing, it was pretty much new but after a few years of weather and use , my grandkids loved sitting out in the yard and swinging , so I decided to challenge myself and reupholster it.
in 2008 I found a beautiful black floral in a canvas type fabric, so I painted the frame black and completely reupholstered it and the canopy too!
well here it is 10 years later and it has has its run!
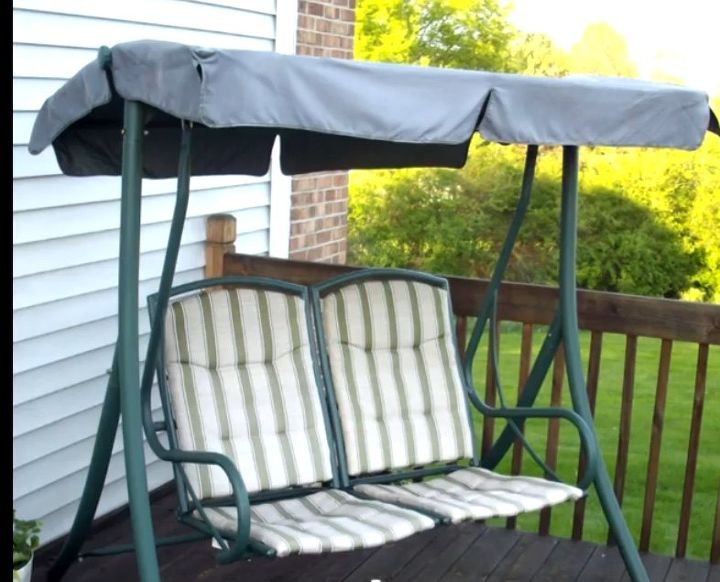
The original swing
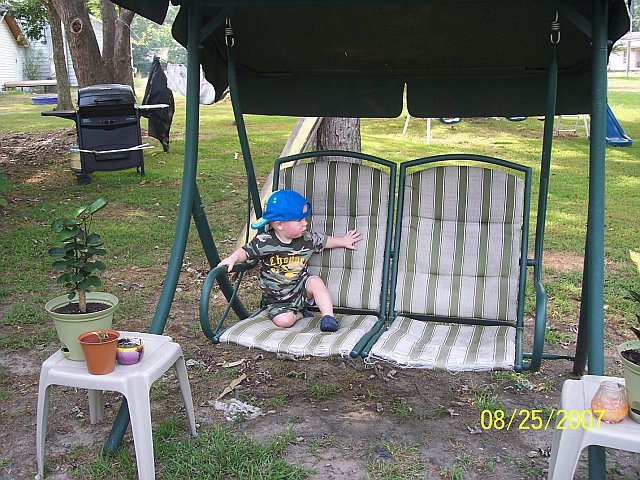
Ready for the first re-do , getting all frayed on the edge! My Grandsons favorite place to be!

2nd life of my swing
Wish I had a full picture of the after it was so pretty in the black floral!
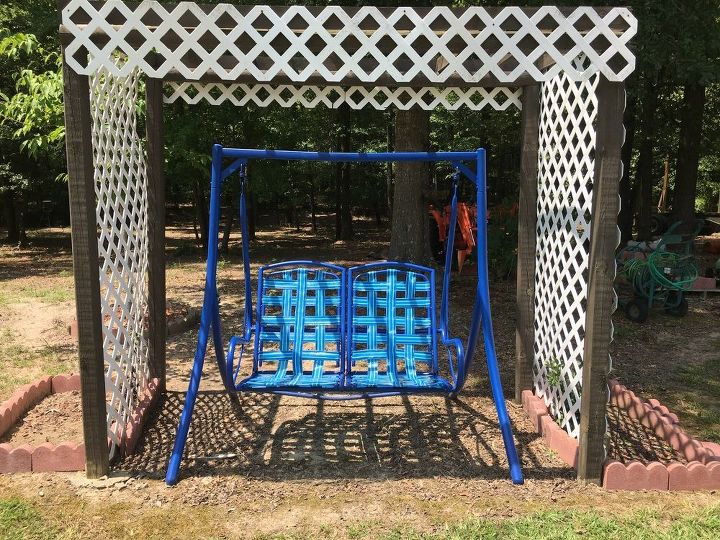
3rd life of my swing
I went a totally different way this time , was tired of the fabric getting wet and here in Arkansas when things get wet along with the humidity, it doesn’t make for pretty things, nasty green stuff starts to appear! So
I went with using webbing. I should of thought that out a little more though because usually webbed furniture has rivets or screws to work with. This did not, but thankfully it did come apart in enough pieces that I could make it work. So had to really pick my brain and think this out!
sewing the pieces was my only option and thank goodness I know my way around a sewing machine ! 😂😂
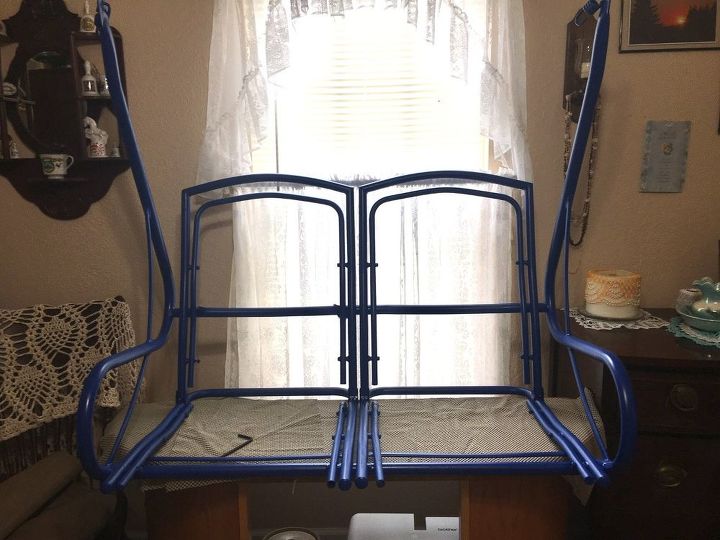
Repainted frame
So I completely removed all of the old fabric, gave the frame a good wash and once over with some sand paper washed it down again and brought it inside to my sewing room so I could really get my thinking cap on, besides the fact it was in the triple digits outside �😅😅�!fir🔥🔥🔥 🔥🔥
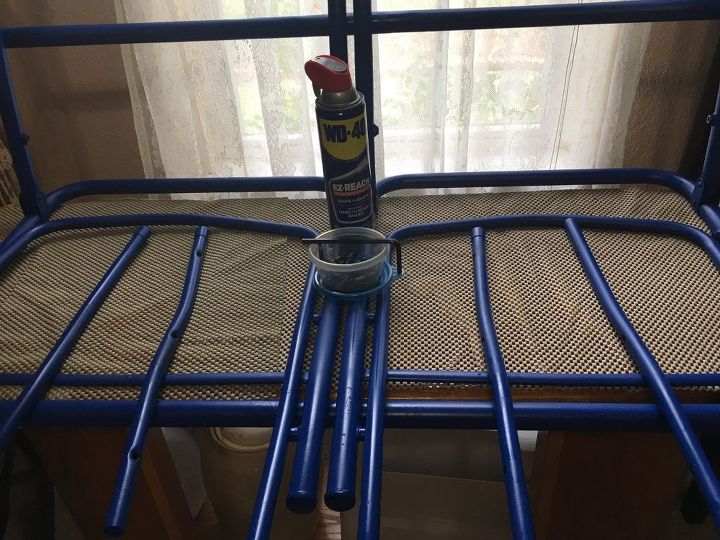
Disassemble
Doused all the bolts and nuts with WD40 and let it sit for a a while that stuff is amazing! I only had 3 bolts that had to be replaced due to age and rust

Measured the frame to make the loops to go around the frame. This was really easy and loved the idea of the webbing being doubled for more support.
The top frame of seat was in a upside down “U” shape and was 2 seperate seats, the bottom were just 2 separate bars that screwed to the sides of the frame , and also made loops for those.
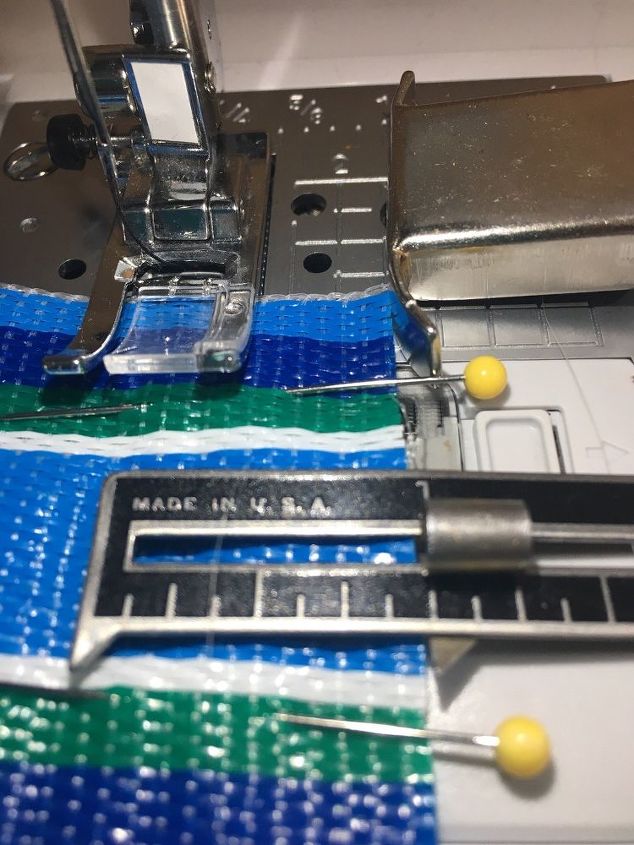
Sewed the loops together with generous seams
I sewed the loops together with a generous 1” seam but after added some bias tape to reinforce the seam.

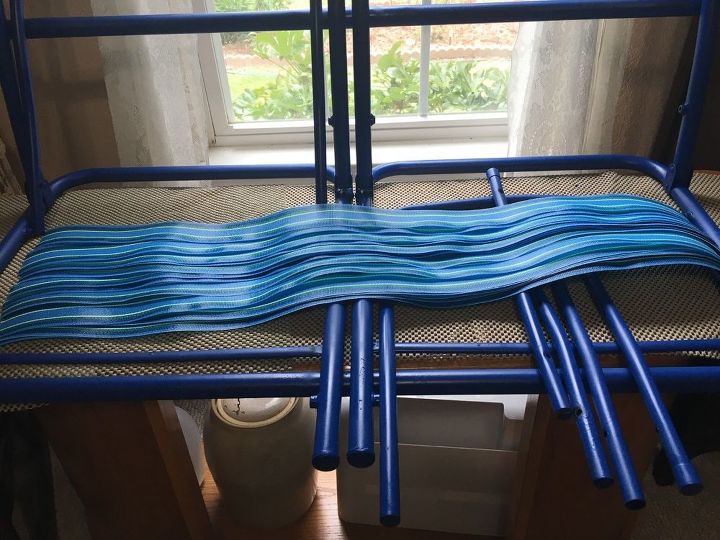
First loop on top section
Trial run with first loop to see if it would fit before I went on and cut the remaining 19 strips to sew together into loops
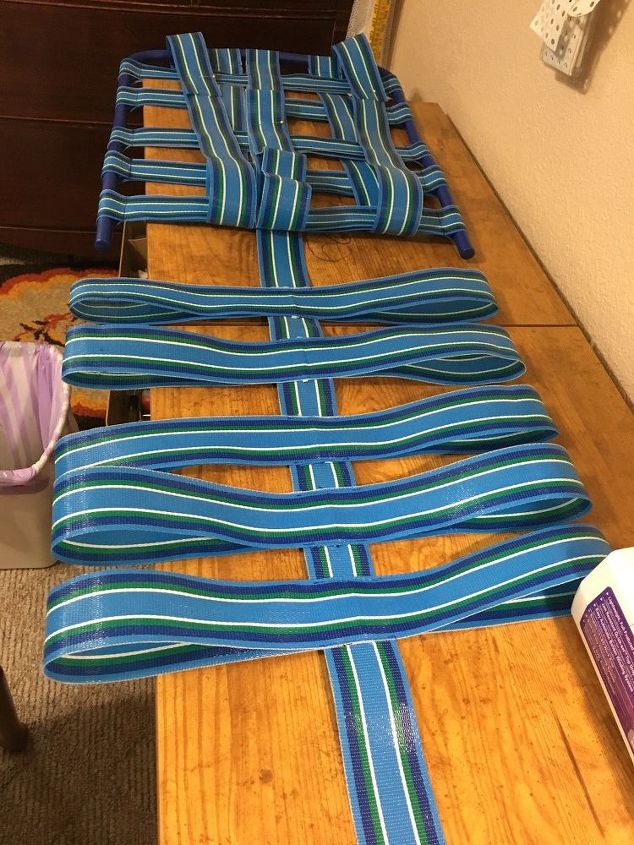
All 20 strips cut
I cut 20 strips , 5 for each section, left top, right top, left bottom, right bottom
All loops on , now for the weavers
So after I completed the loops I had to figure out how the heck I was going to connect the straps going down without having to drill holes in the frame. So I measured very generously 6 pieces of webbing to work with to go in one continuous strap from top of the back to the front of the seat. I figured out if I took all the loops back off I could sew a 4” loop on one end of the webbing and slide it up the side of the frame to the top 3 times on each section. Then replace the side to side loops and weave the long straps through them.
I had to loosely screw the top frame and the 2 bottom rails back into place to do the next step for even (haha) placement of the straps.
The middle strap going down ended being doubled for more strength so the 4 “ loop that connected to the top of the frame ended up being in the middle of the strap ( oh my I know I lost you there)
so the middle strap is doubled, it covers the front and back of the loops. I then pinned the middle strap in place how I wanted it to look. I removed all the screws and slipped the bottom side bars out and took it to my sewing machine.
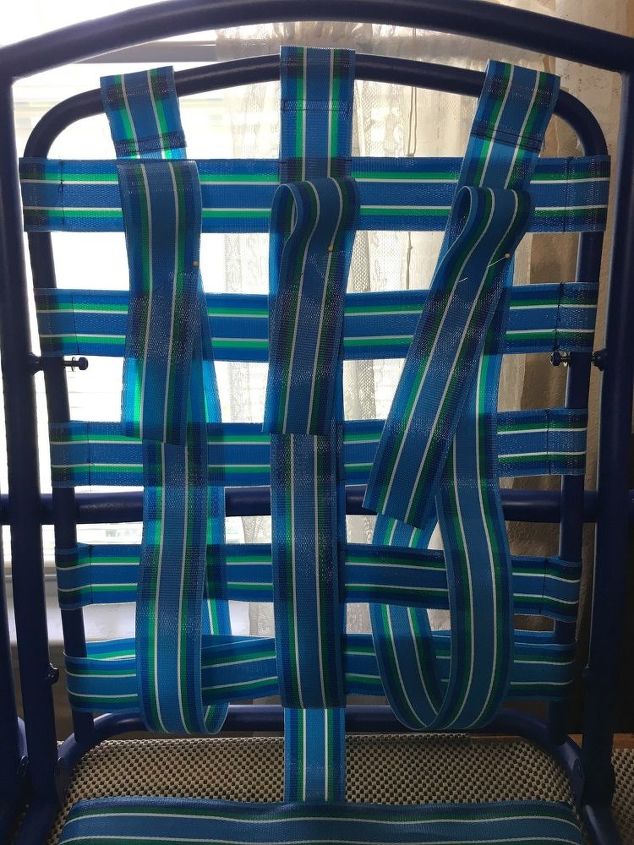
All loops with middle weaving strap pinned
So the I just heavily tacked all the straps in place with my sewing machine. Not to bad to do with the top frame still on, I had to do some moving of my machine to have room with the frame attached, also I was able to slide the side loops to reach where I needed to tack
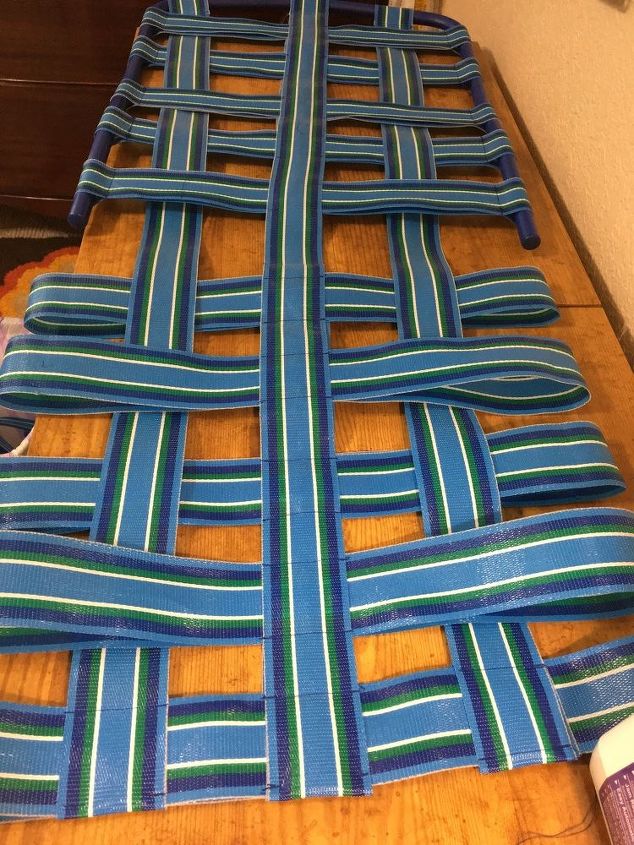
The outside weaved straps
So then I weaved the remaining straps, pinned them in place and again tacked them heavily with my machine.
since the bottom side bars just slide in through the loops I was able to finish off the bottom by just sewing the ends of the straps into the very bottom loop with the end tucked over and around very securely.
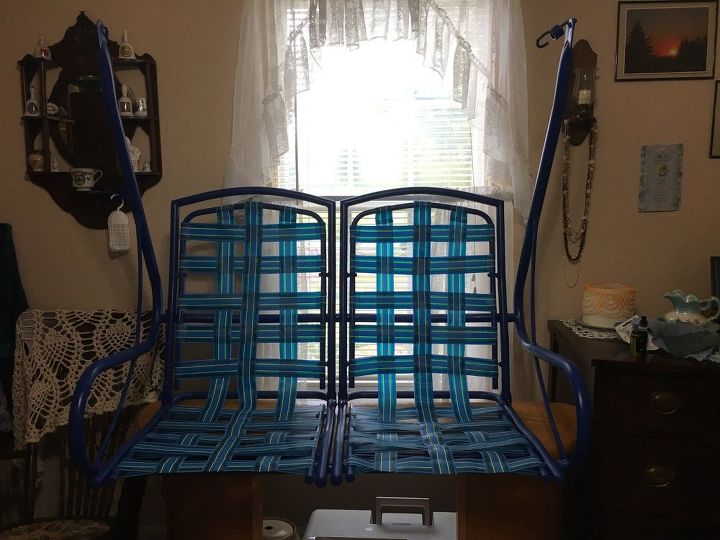
Put back on main frame
So then all that was left was to attach the top back onto the main frame, slide the side bars into place and put all the bolts back in. I found on the bottom that I had one of my loops right over a bolt hole so I just poke a hole in the webbing and attached it.
well all that was left to do was carry it outside put it on my garden cart and roll it out back to the arbor and hang it on it repainted swing frame!
ahhhhhh 😂😂😂 another project bites the dust! 😂😂😂😂
Comments
Join the conversation
2 of 3 comments
-
Very creative! Thank you for sharing your project with us :)
-
Fantastic redo! It looks brilliant!


Frequently asked questions
Have a question about this project?