


A Simple and Decorative Way to Cover a Return Vent
2 Materials
$150
2 Hours
Easy
When it came to decorating and renovating our little cottage, my husband and I had to get creative on a few projects, as did our contractor. The home has great bones and we didn’t want to change much, but for the house to be a liveable property for our family for the next 100 years, we had to make some adjustments. One of those was knocking out the wall that separated our kitchen from the original master bedroom. What resulted was a shared, open-concept dining room/kitchen space. When we made the switch, we needed a place to relocate our HVAC return vent. Here’s how we made it an attractive addition to our home rather than an eyesore.

When my contractor first presented the situation to me, he explained that in his past projects that had a similar setup, he had simply incorporated the return vent into a corner cabinet. That way, the footprint of the return vent was smaller, as it was sitting caddy-corner in the room rather than taking up a ton of space along a wall. I immediately loved the idea. My grandparents, who live just down the road, have a caddy-corner, built-in cabinet in their kitchen and I loved the fact that we would now be able to have one too. While theirs is an original, knotty pine wood, we opted to paint ours a fresh shade of white to match our trim and to go along with the country cottage aesthetic we were building.
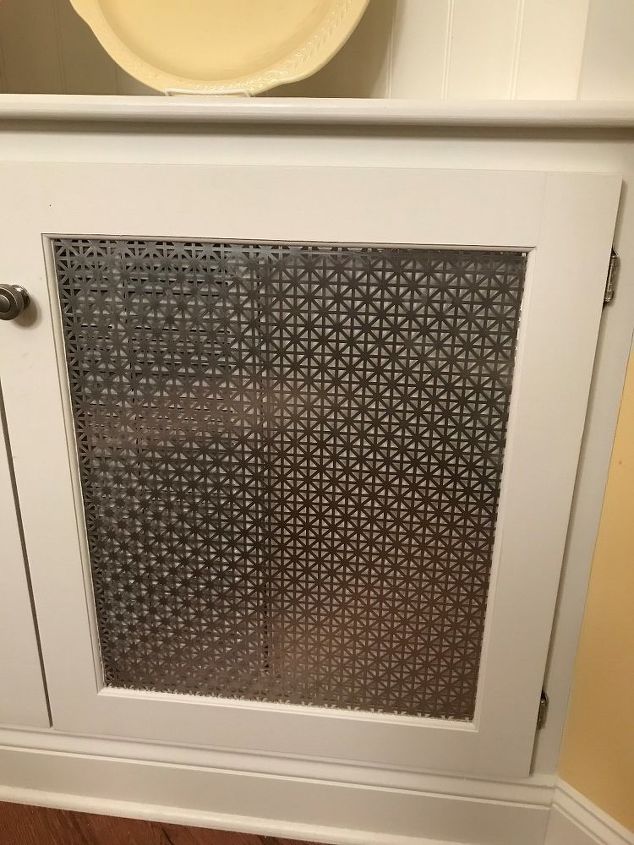
Our contractor explained that the usual course of action next was to simply cut a hole in the bottom of the corner cabinet, insert the return vent unit, then build out a little cut-out with trim work to allow the air to be released. You would still see the unit itself, but the idea was that the decorative trim would avert your eyes from the slats. While I trust and admire our contractor dearly, I just couldn’t imagine having a mechanical unit such as that taking center stage in our dining room. I knew it was the practical solution, but the DIY lover and decor guru in me knew there had to be a better way. I visited our local hardware store and found large pieces of sheet metal. Did you know you can buy just a simple sheet of plain metal, or, right in the same section, pick up a piece of metal with myriad forms of decorative cutouts? I chose this damask-esque one and bought two sheets.
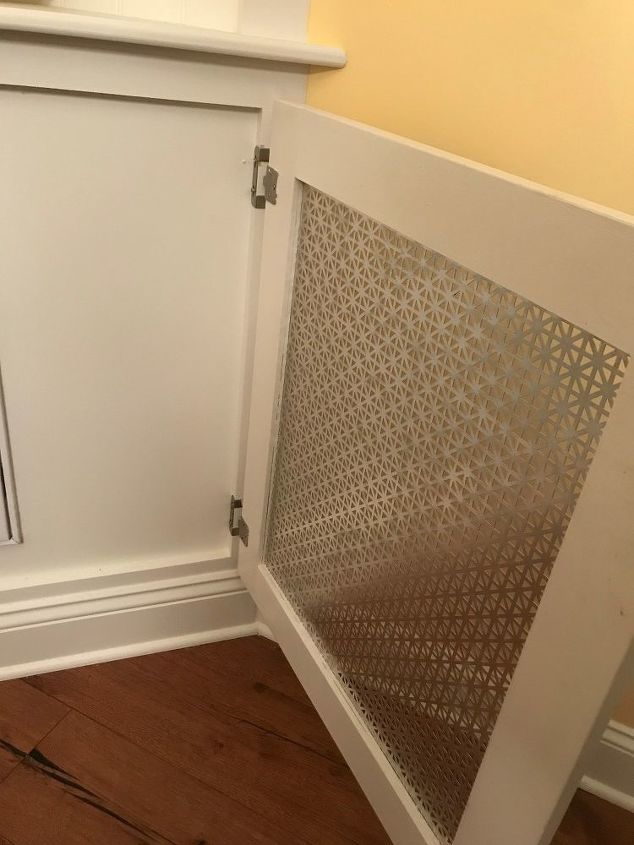
Then, I took the sheets to my contractor. He created doors for the bottom half of the corner cabinet, then cut out all but the very edging of each door. From there, he cut each piece of the sheet metal to size and slipped it inside the door, attaching each door at the back with matching metal hinges. Since the pattern on the metal was so intricate, I kept the rest of the corner shelving unit simple. I decorated with original, 1950s-era Fiestaware pieces that my uncle gifted me for my wedding, with my trusty houseplant sitting watch nearby. In the near future, I plan to replace this plant on a stand with a trendy fiddle leaf plant in a woven basket on the floor.

Now, the air is able to escape via the holes in the sheet metal cutouts, and we have an interesting conversation piece in our dining room. No one suspects there is a mechanical equipment piece behind the pretty design. It simply looks like another storage space that we decided to beautify.

Want more details about this and other DIY projects? Check out my blog post!


Frequently asked questions
Have a question about this project?