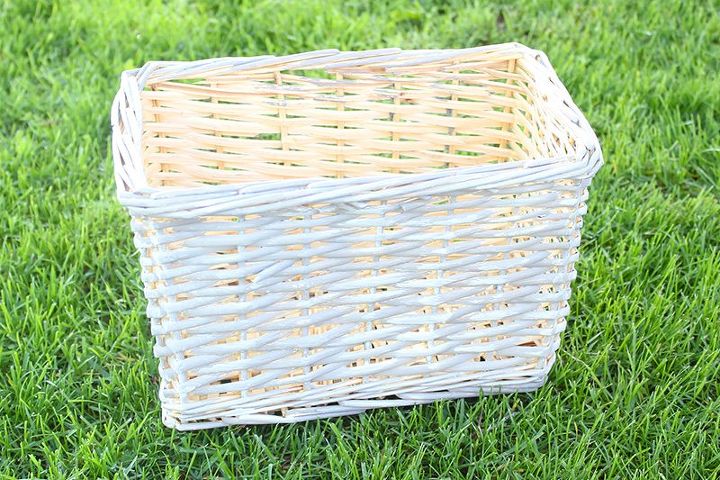
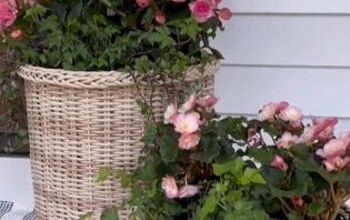
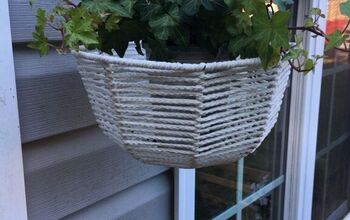
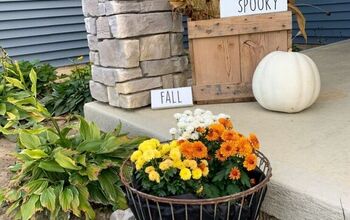
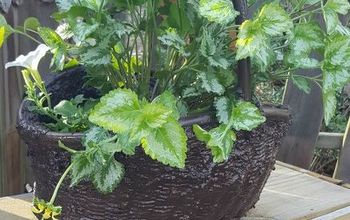
How To Use Baskets as Planters

CreekLineHouse .
by CreekLineHouse .
7 Materials
$2
15 Minutes
Easy
Using baskets as planters is a great, unique way to bring charm and texture into your garden. You can recycle your favourite baskets that you no longer need in the house or find some great baskets to use at thrift stores and flea markets!
Choose the Right Basket: All natural material baskets will break down eventually, but a thick, sturdy basket will last longer. Look for things like old baskety trash cans, picnic baskets, Easter baskets, or any other style of basket with a bit of depth to it. I found this sturdy rectangular basket at the thrift store for $1.99 and I thought it would be perfect for this.


If you find your basket at a thrift store, there’s a good chance that you’ll want to update the style of it a little bit before you put it on display. I updated my basket using basically the  same technique I use to update most of my thrift store basket finds
For my basket liner, I just used a piece of black plastic garbage bag. I cut out a piece that would mostly cover the interior of my basket without coming up over the edges, then I cut a few small holes in the middle of the piece of plastic for drainage.
I always like to put a few wood chips or packing peanuts in the bottom of my planters to make them lighter and to help with drainage so I did that.


Then I filled it up about 2/3 full with my potting mix.
Finally it was time to add in my plants!


I love the texture that this basket adds to my deck for now and I’m really enjoying all of the unusual planters I’ve been creating this year like my galvanized bucket planter and my  vintage pyrex bowl planter.


To find out the mix of plants that I added to this planter, head on over to the full blog post by clicking the link below! :)
Suggested materials:
  • Basket
  • Paint
  • Protective Clear Coat Paint
See all materials
CreekLineHouse .
Want more details about this and other DIY projects? Check out my blog post!
Go
Frequently asked questions
Have a question about this project?
Comments
Join the conversation
 1 comment
  • Carey Carey on Mar 21, 2022

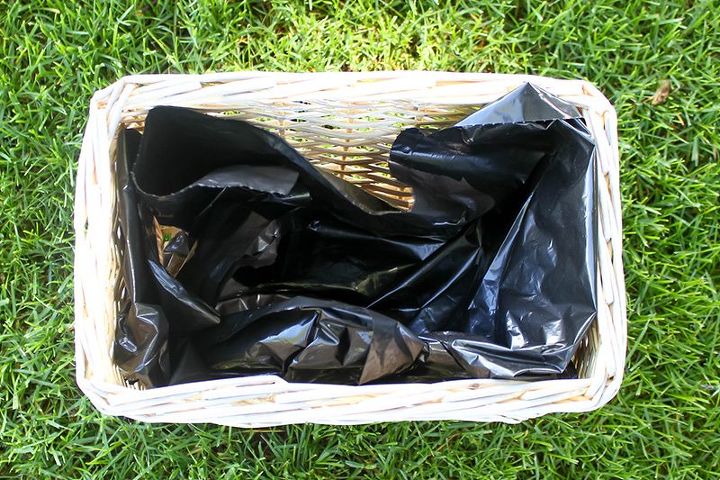
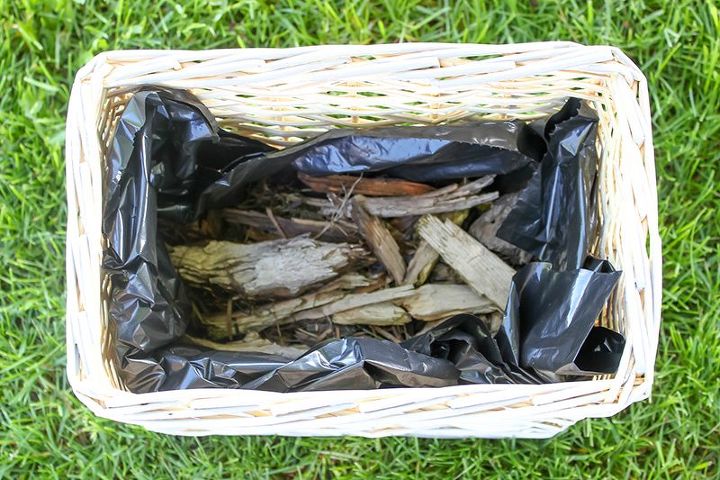
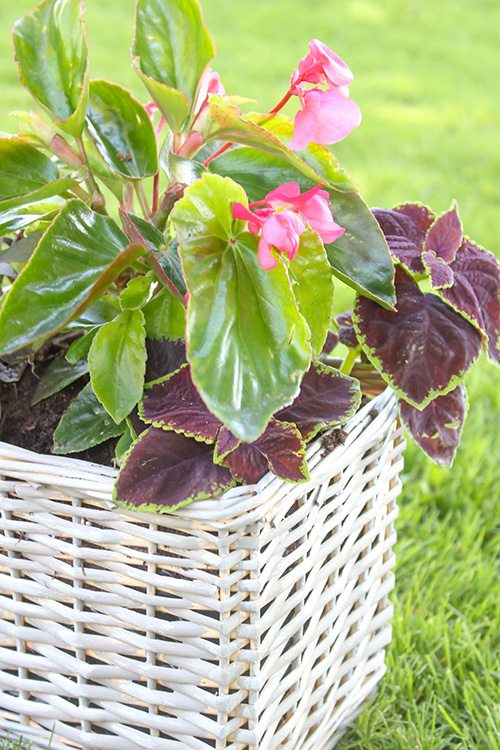
    If your basket is in a place that is watered automatically, draining holes are necessary, In my hanging baskets, I have found that the water tends to drain through so quickly that the soil doesn't absorb enough water to support the plants. So I started putting the clear plastic pot trays inside then put the soil in so that the water doesn't drain out as quickly. My plants have done much better since I started doing that. If you are hand watering your planter, then you can water more sparingly but without the drainage holes. You do have to be careful however to check the moisture of the soil every time you water, because the weather changes will affect how much water they need. When the bottom of your basket is getting wet on a regular basis, it will rot out more quickly. One possibility for creating a drainage hole that will not damage your basket, it to gently spread the basket fibers put a plastic straw through for your drainage hole, then seal around it with a bathtub sealer. Allow to set as directed on the product, then fill with soil, and plant. ENJOY. This is a really neat project. I am going to do it again.

Next