How to - popcorn ceiling?
by
NJ MILER
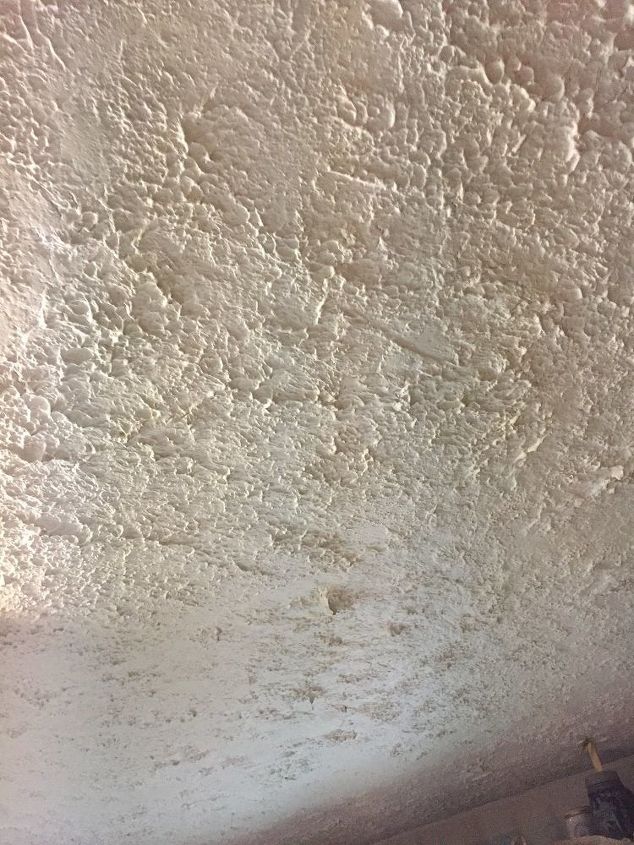
HELP! We have a popcorn ceiling in kitchen and den. remodeling the kitchen and have taken out lightboxes - need to redo ceiling. Found out it has been painted and nearly impossible to remove. What are some solutions (other than mudding the entire ceiling)?
Related Discussions
Suggested Project Book

you could try putting up thin plywood or drywall over the entire surface and start with a clean slate.
Beadboard is also an option if that fits into your decorating scheme. Comes in 4'x8' sheets and is light weight enough to be a fairly easy install. Darn! that popcorn and then people make it worse by painting it!
The best way is to buy %/8" type X fire rated drywall, and 2.5 inch drywall screws, and liquid nails glue in caulk cartridges. Rent a drywall lift, which comes apart in 3 sections. There is a metal "J channel" that can be put on the ends that meet the wall. You now want to use a 16d nail and hammer and mark each end of the ceiling joist, then chalk a line from on point to the other, for each joist. You will also need a utilty knife, and a 4 ft. "T-square for drywall. Measure the wall to the middle of the first joist, closest to 8 ft, so like if 92" falls in the middle of you chalk line, cut the length of your first sheet to 92". The 5/8" drywall is heavier, and will stay up better.
Put the drywall on the lift and do a trial fit. Once holes for light boxes are measured and cut, crnk up the sheet, and mark along the edge. Lower the sheet down, and put glue on your chalk line, starting 4 inches in from the wall, and stopping 4 -6 inches from your line. Now put on the steel "J" channel, making sure it is all the way on the sheet. (Note: they make 1/2" and 5?8" j channel. Crank the sheet up nice and tight, getting everything square and tight to the walls. Lock the drywall lift in place. Take a small break, coffee, whatever. Now go to the edge of this sheet at each chalk line, put the T-square tight to the edge, and draw a line across the sheet. This will show you where to run the 2.5 inch screws. DO NOT PUT SCREWS NEAR THE EDGE OF THE LONG RUN. STAY 2.5 inches from the edge toward the center of the sheet. The only place the screws would be near the edge, is along the ft. side. When all are hung, use fiberglass tape and drywall mud. You can use "Easy Sand and mix yourself, or the premixed version. Either one needs to be stirred with a paddle and drill before using. Your local Home Depot has clinics on hanging and finishing if you are a first time DIY. My friends house in Detroit, I did this way 20 years ago and it looks new until this day, and it had cracking plaster underneath. It is imperative to use %/8", because 1/2 inch has "air wafer" in the aggregate, and will not hold up.