


Painted Kitchen Island

by
Amber Oliver
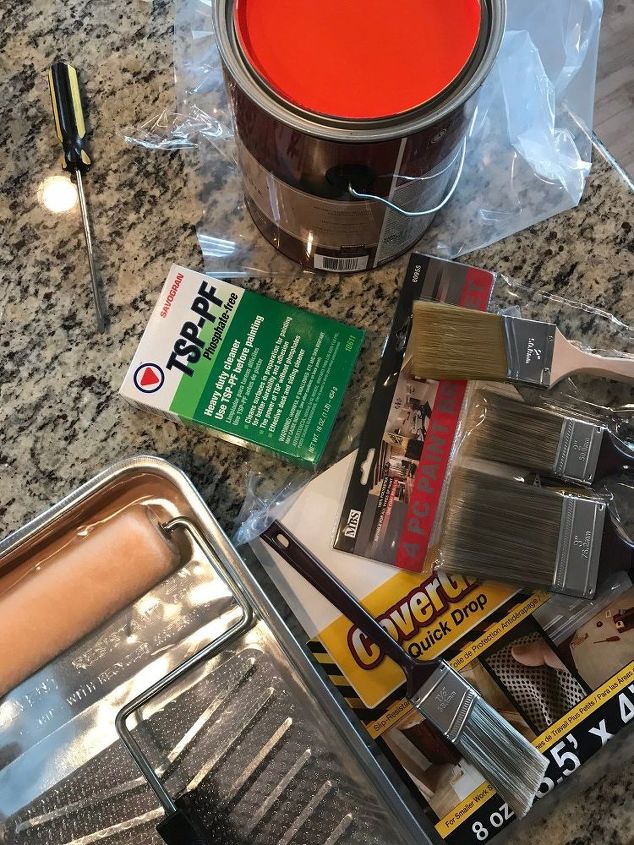
6 Materials
$40
2 Hours
Easy
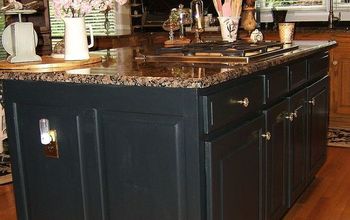
Builder beige - two of the dirtiest words for a DIY lover! Boring and bland wall and cabinet colors can make a room look dull and boring. But a quick coat of paint in a color you love can not only bring some style and personality to a room, but it can make you happy every time you walk into it! I teamed up with a Hometalker in my community who had wanted to transform her kitchen island for a while but needed a bit of help and guidance. With my help, we created a space she loved!
If you're in the Houston area, I can help you create this look for your home! Click here to see how I can help you & send me a message to get started!

The first thing we did was throughly clean the walls on her kitchen island. Being in the kitchen, it was bound to be dirty, but one side housed the trash can and needed a little extra scrubbing. TSP is a great, heavy duty cleaning product that knocks out all the dirt and grime before you get to painting!
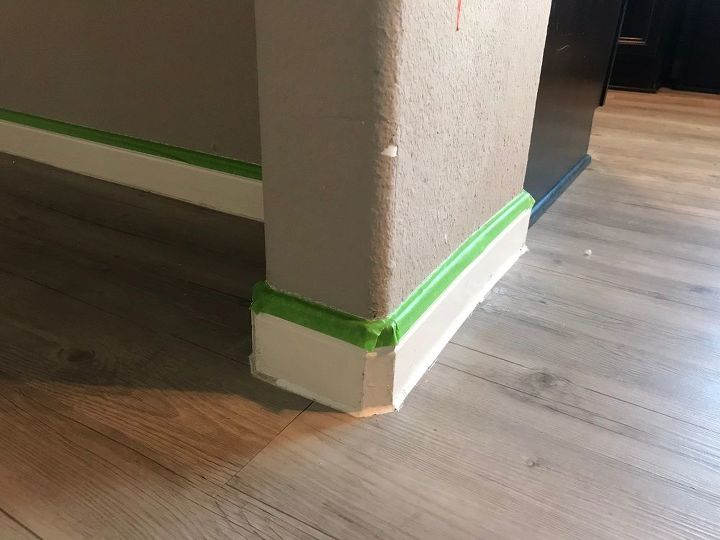
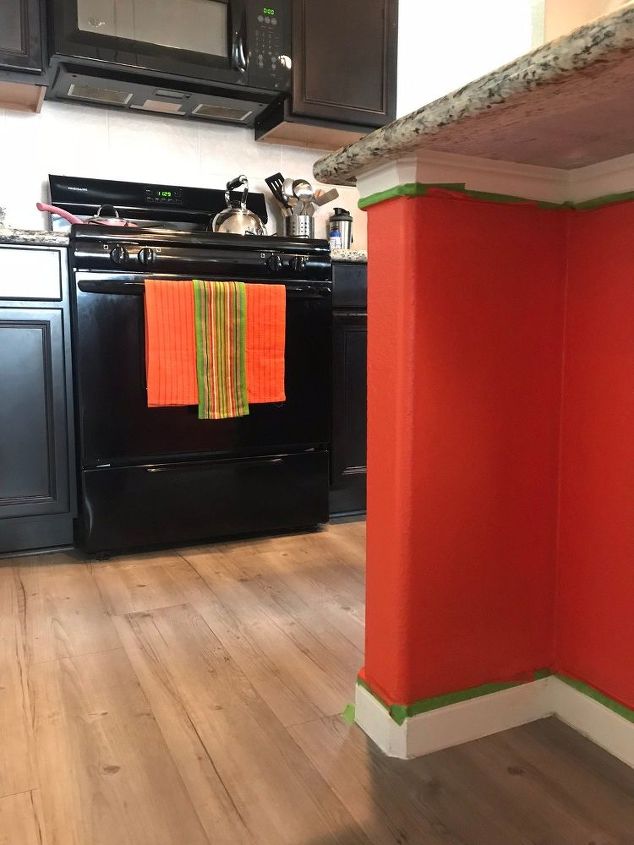
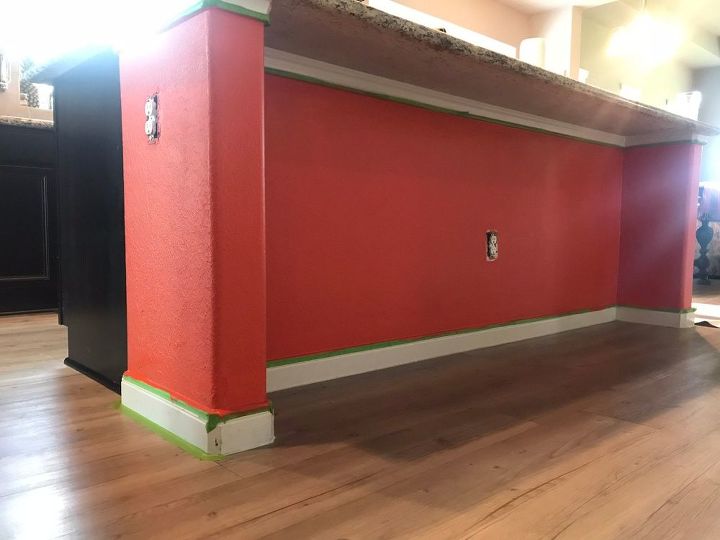
After cleaning, we taped off around all the edges to protect the cabinets and baseboards.
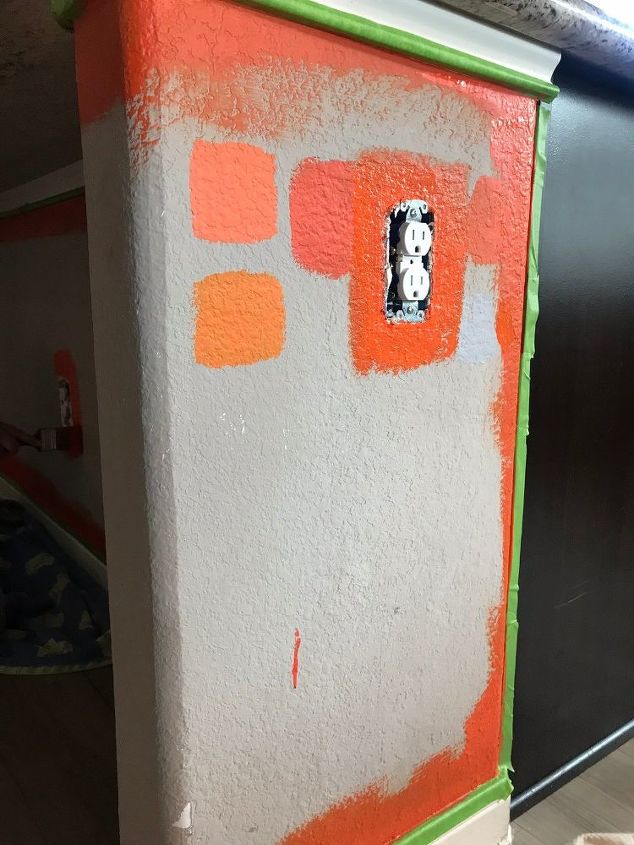
We tested a few different colors to get *JUST* the right shade of orange.
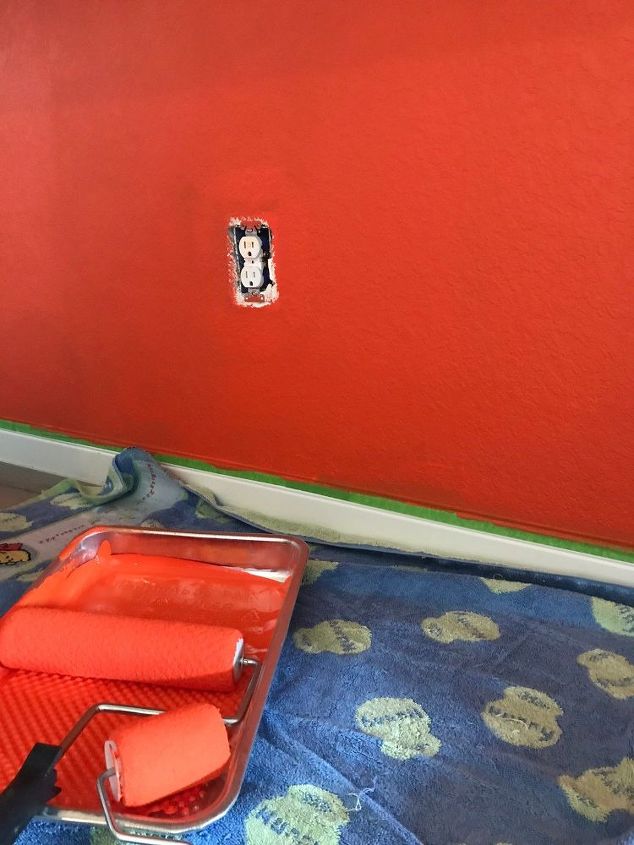
Next it was time for paint! We used a roller to cover the large sections of the kitchen island, and used a smaller brush to cut in around the edges and around the plugs.
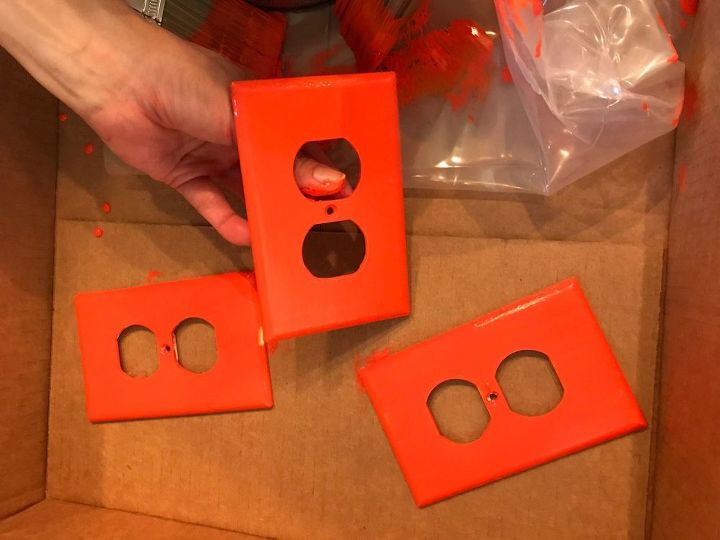
We also painted the outlet covers so they blended in with her new paint color!
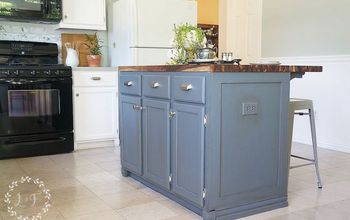
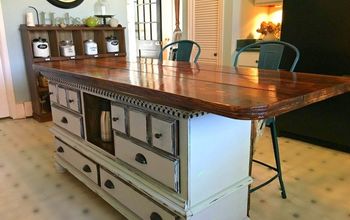
The finished island was exactly what she wanted and really made a statement in her home!
Want more details about this and other DIY projects? Check out my blog post!


Frequently asked questions
Have a question about this project?