


Tile Stencil Takeover: Two Unique Projects Using Tile Stencils

14 Materials
$30
4 Hours
Easy
Hello there! You may think tile stencils are only great for renovating floors but, tile stencils are much more versa-tile than that! Tile stencils can be used to upgrade an ordinary into a stenciled masterpiece. This week the Cutting Edge Team will demonstrate how to use tile stencils on a traditional floor as well as using tile stencils to create a beautiful accent wall. Let’s get stenciling!
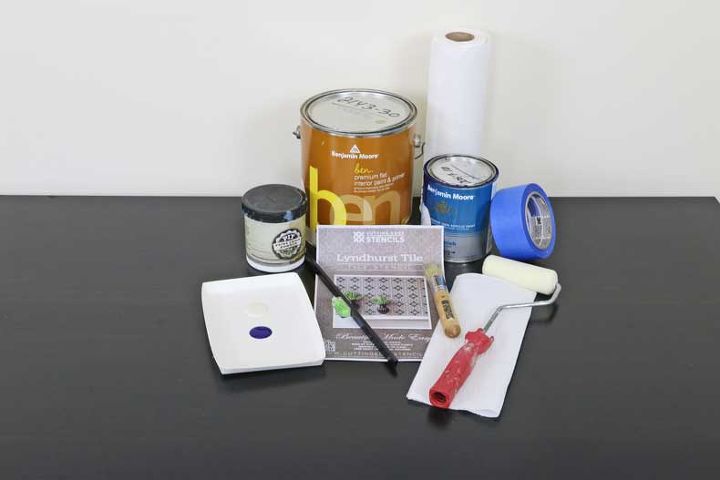
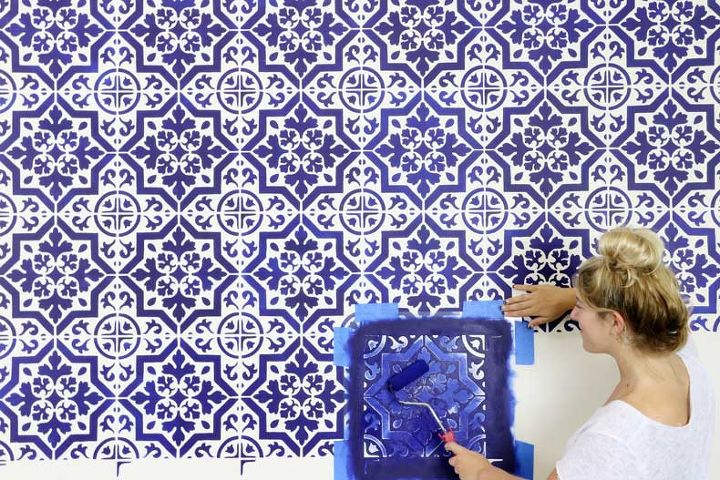
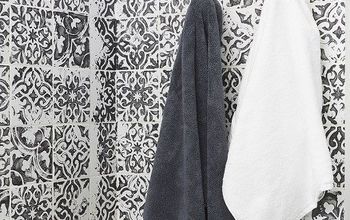
First up is the trendy stenciled tile wall. The stencil used for this project is the . The paints used were Benjamin Moore Navajo White and Midnight Navy. Spray adhesive is optional and can help reduce paint seepage but, is not necessary. You can use a professional stencil brush or a roller for this stencil project since we are stenciling with only one color. A clip-on-stencil level makes an easy stenciling project even easier. This great tool helps to ensure your stencil rows are straight every time!
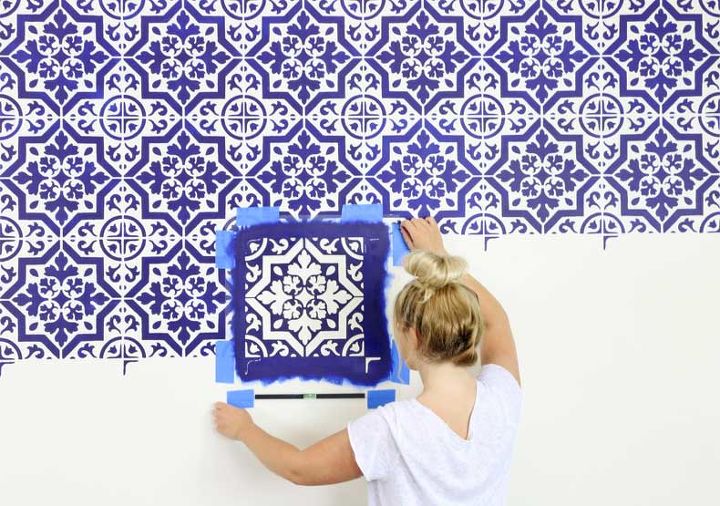
Simply place your stencil on the wall and check to make sure the bubble in the level rests in the middle. This means your stencil is straight! If the bubble leans more towards the left or the right, continue to tilt the stencil until the bubble resides in the middle.
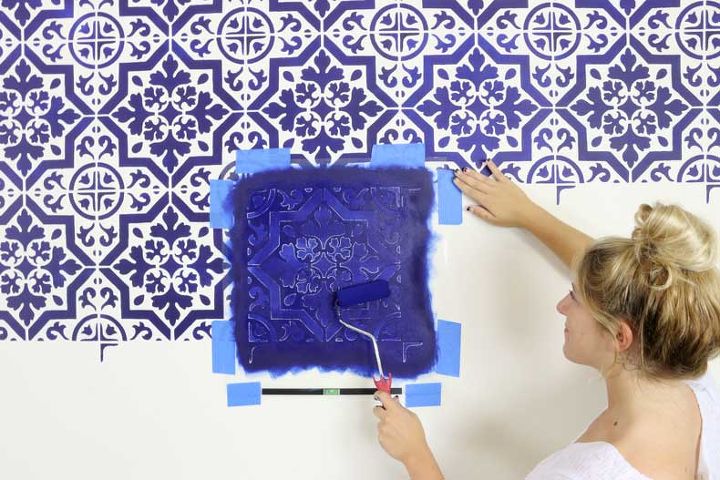
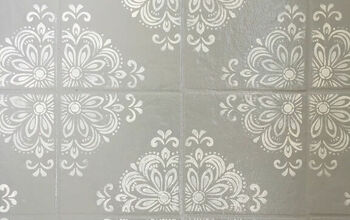
Stencil using your professional stencil brush or roller. If you notice the paint drying patchy in certain sections, go over the stencil pattern with a second coat of paint. You can also add chalk powder to your paint beforehand to help achieve better paint coverage.
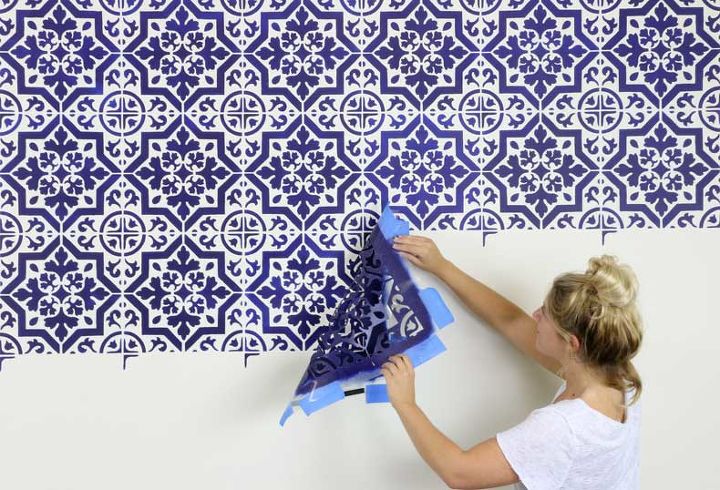
Peel your stencil to reveal your gorgeous tile. It’s that simple!
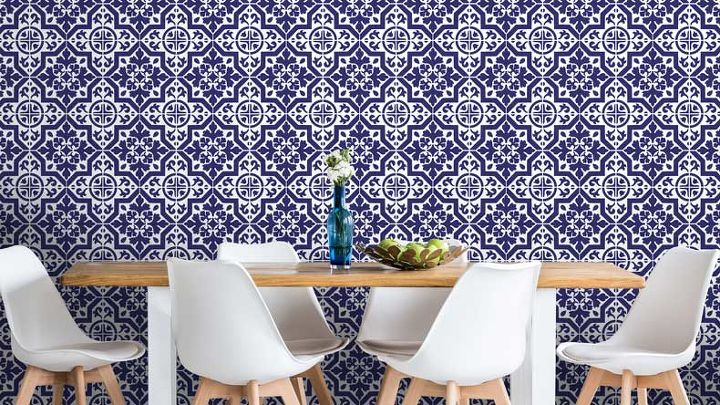
Align your stencil using the built-in registration marks and the previously stenciled parts. Repeat the process until your stenciled accent wall is complete. Easy and affordable! This stenciled accent wall is perfect for a kitchen or even a living room.
{
"id": "5016437",
"alt": "",
"title": "",
"video_link": "https://www.youtube.com/embed/Gaer4wYP6jU",
"youtube_video_id": "Gaer4wYP6jU"
}
{
"width": 634,
"height": 357,
"showRelated": true
}
Now that you’ve seen how to stencil a trendy tile accent wall, here’s how to stencil a traditional tile floor with a modern color scheme!
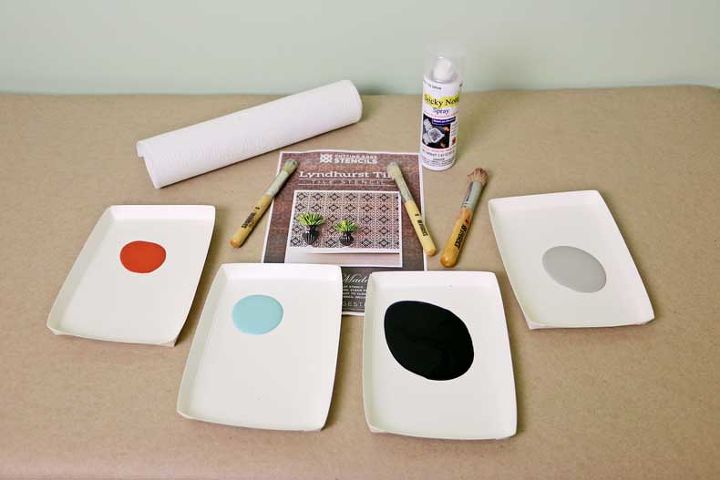
The was also used for this stenciled floor project. These stencils are super durable and can be used for numerous projects. A great DIY decorating value! The paints used were Benjamin Moore Soft Glow, Black, California Breeze, and Iced Marble. Spray adhesive is optional and can help reduce paint seepage but, is not necessary as long as you don’t overload your stencil brush or roller. Because this stenciled floor is multicolored, professional stencil brushes are recommended for each different color to avoid colors mixing.
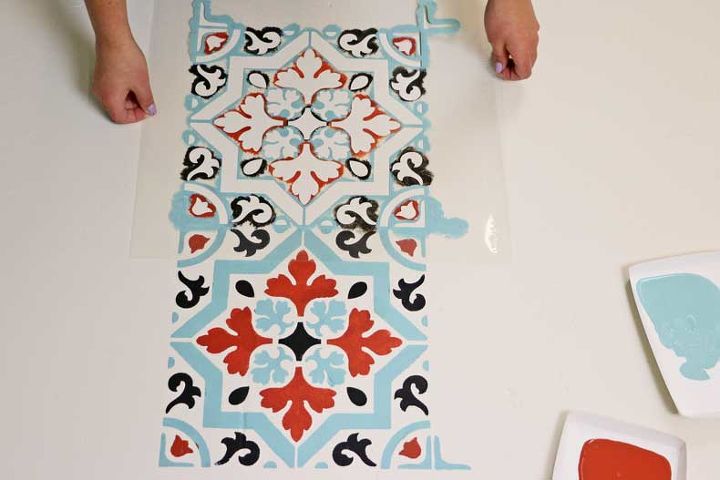
Place your tile stencil on the floor and start with your first color choice. You can work from the center outwards or from the corner inwards. It’s totally up to your personal preference!
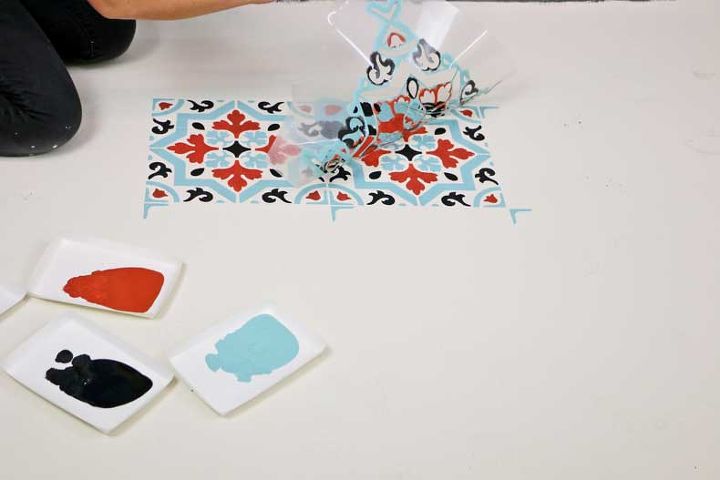
Peel back your stencil to reveal the lovely tile you just created!
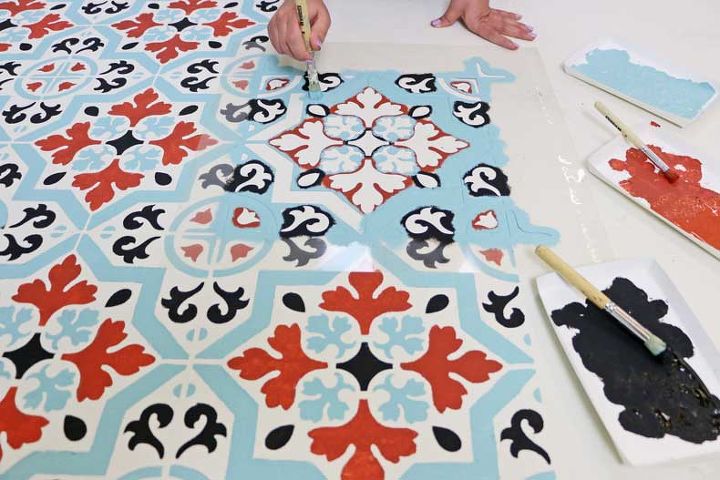
Align your stencil using the built-in registration marks and the previously stenciled parts. Keep stenciling until your floor is complete Now it’s time to stencil the grout lines!
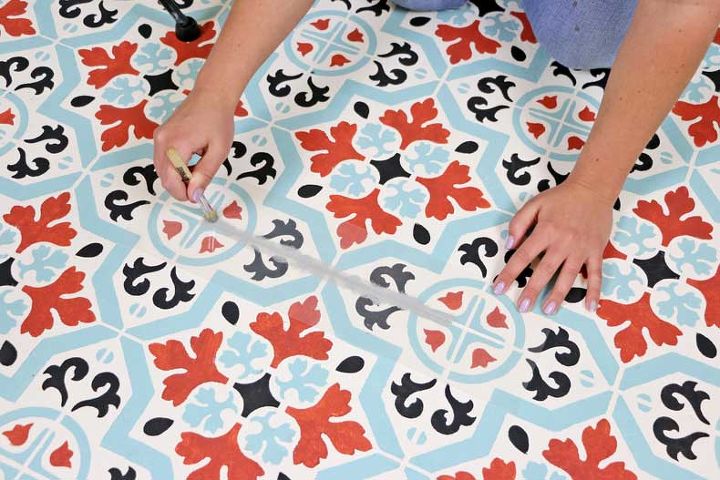
Grout lines may seem intimidating, but they are actually the easiest part of the stenciling project! Just place the FREE grout line stencil (that comes with each tile stencil) in between two stenciled tiles. Stencil the grout line with a professional stencil brush and peel!
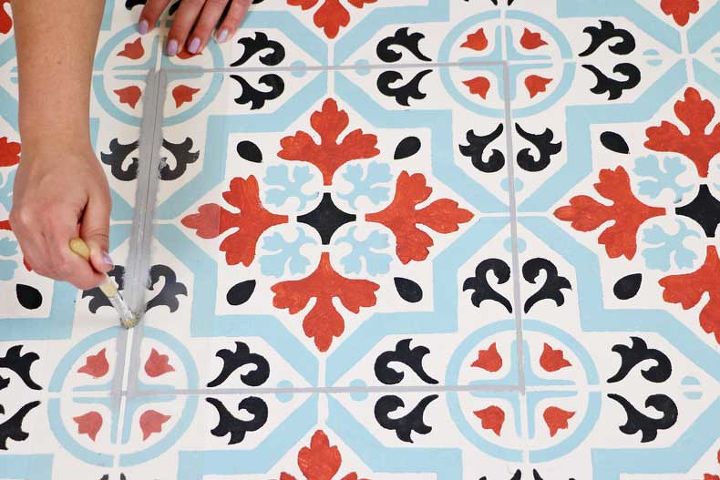
Continue to stencil the grout lines until the floor is complete. You can work your way across or down the stenciled floor. You can even stencil your way around each individual tile! There’s no wrong way to do it.
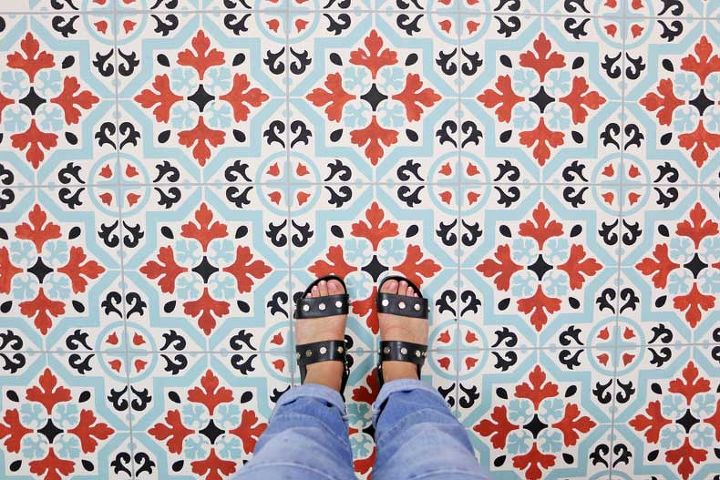
The final stenciled floor is simply stunning! Who knew a tile stencil could be used for so many different purposes? Which project would you try? Leave your thoughts in the comments below!
{
"id": "5016683",
"alt": "",
"title": "",
"video_link": "https://www.youtube.com/embed/R7YjoQ1uiXo",
"youtube_video_id": "R7YjoQ1uiXo"
}
{
"width": 634,
"height": 357,
"showRelated": true
}


Frequently asked questions
Have a question about this project?
Did you put a sealer on the paint? I love this and would like to try it, but I’m afraid it would scratch or fade especially since it is a high traffic guest bath.