


Upscale a "HOME" Sign

4 Materials
$10
7 Hours
Easy
While wondering through Goodwill, I found several "signs" that had seen better days. Having just finished a "sign" I had no need for a DIY Sign. Then the voice in my head said, "Not even 4 months until Christmas". I grabbed 3 signs and headed home. I could have 3 gifts completed well before the big day.
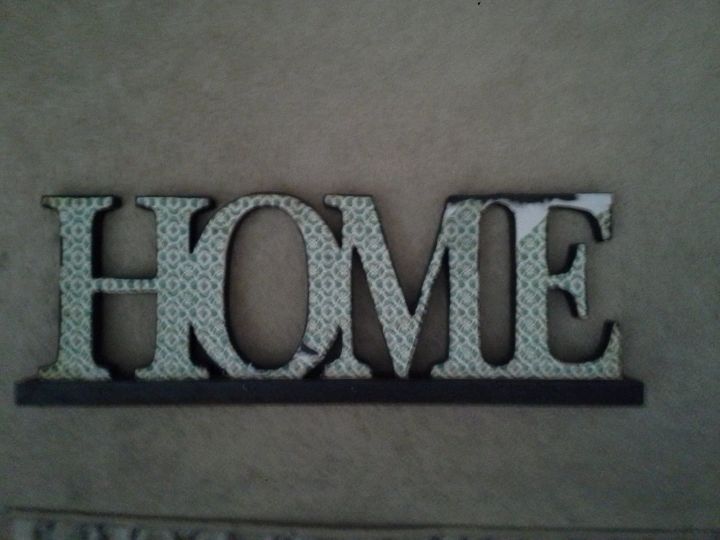
Original sign
The first step was to take off the old contact paper. It had been there for a long time and was time-consuming to remove. I used Glue Gone which is not a favorite product of mine. True to form, it did nothing to precipitate the removal. I went back to hot water and scraping the contact paper with a sharp knife. That worked. A word of caution, do not soak the wood in hot water. I sponged on the water, scraped off the contact paper an area at a time, then dried that area. It takes extra time, but it's well worth the labor.

Removing the paper and varnish
Once the sign was clean of contact paper and varnish, which I discovered when I began scraping the surface, I began to paint areas that would have been scratched through normal use. I used white acrylic paint and a very small brush. I then when over the painted areas using an emery board lightly sanding to get an aged look.
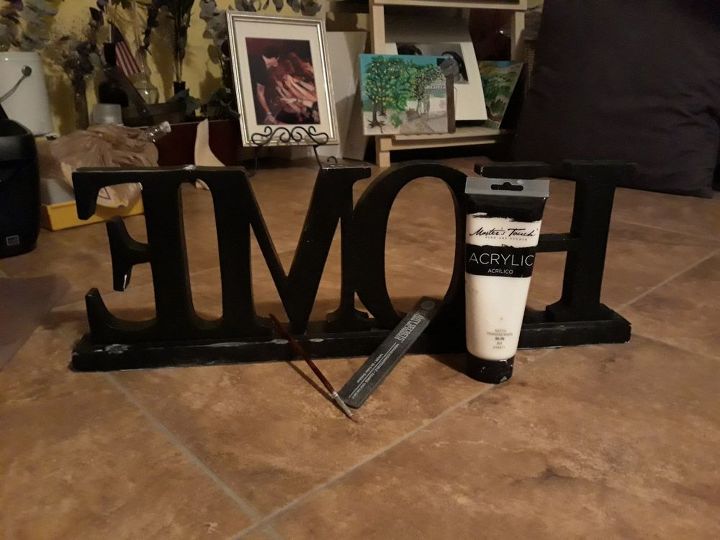
Materials used for aging
Following a day of drying, I sprayed it with Mod Podge to seal the paint.
Now it is ready to be a gift for some lucky person.
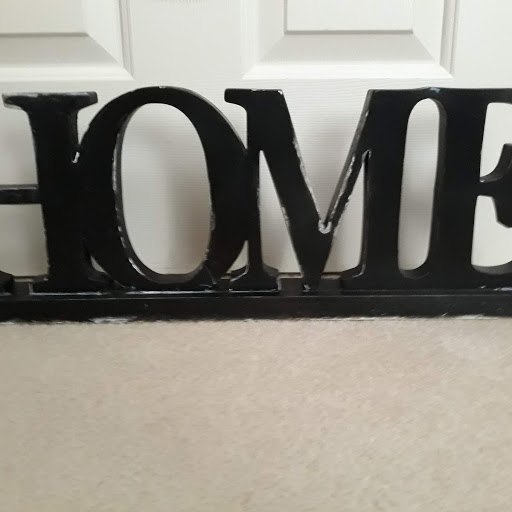
The finished project


Frequently asked questions
Have a question about this project?