


Watering Can Garden Art
3 Materials
$25
2 Days
Medium
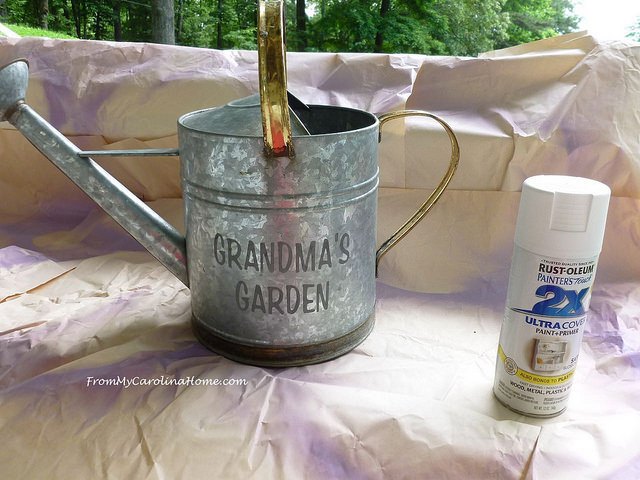
Some time ago I picked up this watering can at a thrift shop, and used it to plant an annual flower in it last year, but the flowers didn't grow well in it. The one thing I did not like about it was the engraved sentiment on the side. It also had some rust around the handle., but the metal was still in pretty good shape otherwise. So, I cleaned it out and scrubbed it to remove all the dirt and as much rust as I could. Using a primer first made sense, to fill in the engraved area and stop further rust.
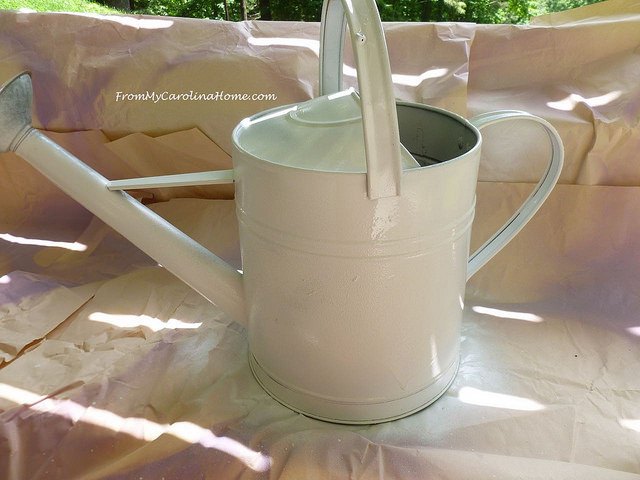
I used two coats of primer, turning the bucket around several times to get nice even coverage. Only the outside was painted, the inside was left mostly natural, except for a light overspray at the top.
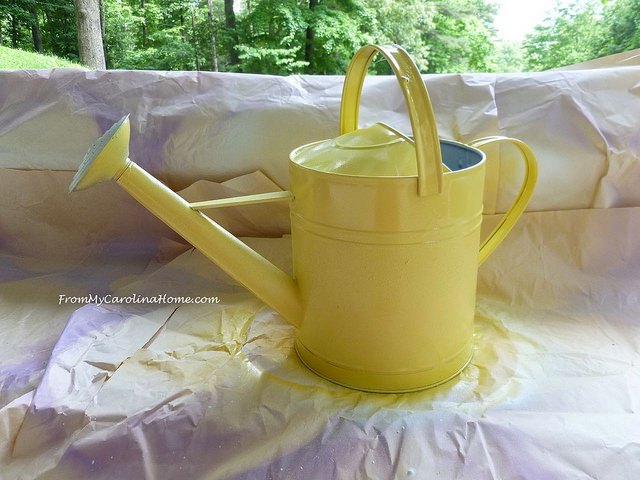
Then I painted it yellow, using several light coats of spray paint, and turning it between coats. It was allowed to dry for an hour between coats.
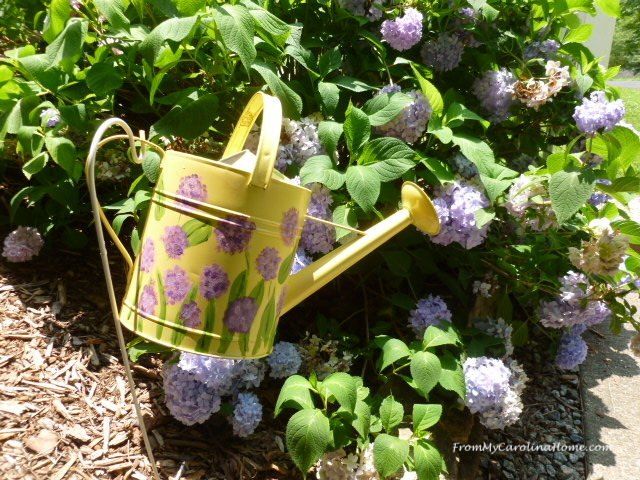
Getting out my collection of acrylic paints, I added flowers and leaves all the way around the can. Then I gave it a coat of clear varnish. It is hung it on a shepard's hook in the garden.
See more of the individual steps, and how I painted the flowers on the blog post - Watering Can Garden Art. You can add any artistic flair to your project with flowers or an abstract design, your only limit is your imagination. Thrifted garden art with just a day or two of painting and playing!

Want more details about this and other DIY projects? Check out my blog post!
Comments
Join the conversation
1 comment
-
I have done several using plain metal cans and my grand
daughters paint birds and flowers on for me. Cool


Frequently asked questions
Have a question about this project?