


Cast Epoxy Resin Bowls

4 Materials
$20
4 Hours
Medium
I decided that I wanted to try some experimentation with casting epoxy resin, I hadnt used it much before but found a local place in Auckland that was selling it at a really reasonable price,
Initially I bought 3 litres (2L epoxy, 1L hardener) The guy at the shop was really helpful and gave me loads of advice - They make wood and resin tables which retail for as much as $60,000 (yes 60K!!!)
My first piece I have made for an art exhibition at the NZ Navy Marae commemorating the 100 years anniversary of the end of WW1, The second was a fun piece.
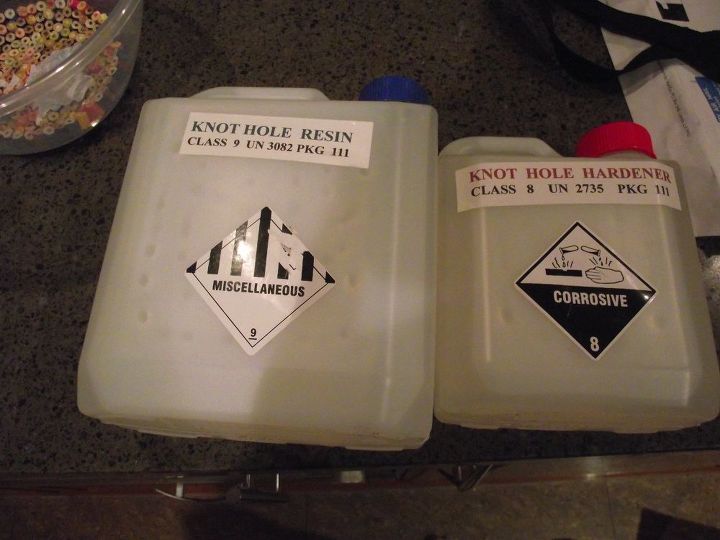
The Epoxy
So this is the stuff I'm using, they do several grades, this is the quicker drying stuff (about 5 hours)
When you mix it you weigh each part (2 to 1) and stir until it becomes clear
You can't make too much at each time as it is exothhermic and causes problems when pouring, so I mixed about 300 cc at a time
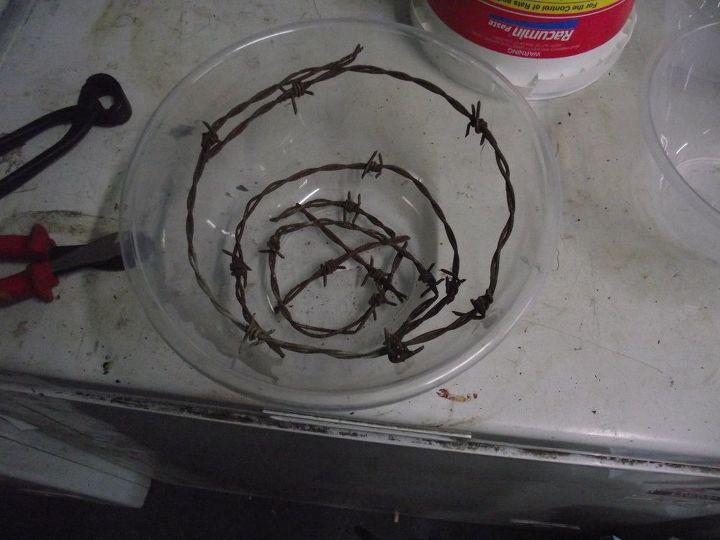
Bowl 1 First Pour
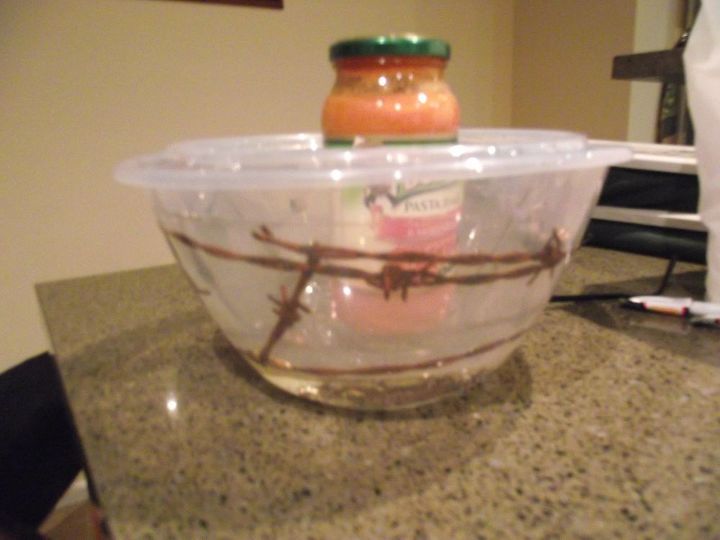
As to I said I wanted to make something appropriate commemorate WW1, so I got some rusty barbed wire and a couple of polythene bowls, The resin doesn't stick to plastic and these bowls are flexible so I should be able to get them out on completion
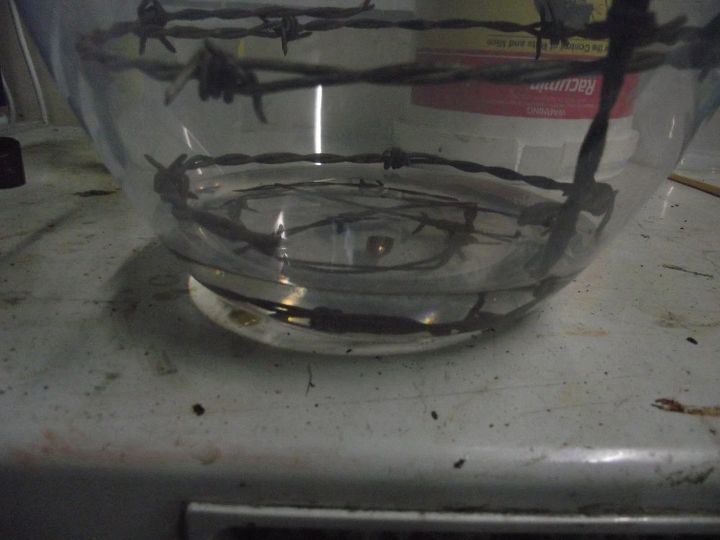
I cut some pieces of barbed wire and laid them carefully around the inside of the larger bowl, I then poured some resin in the bottom, I also dropped in a couple of bullets that I had lying around (I am in the Military after all !!)
The inner liner
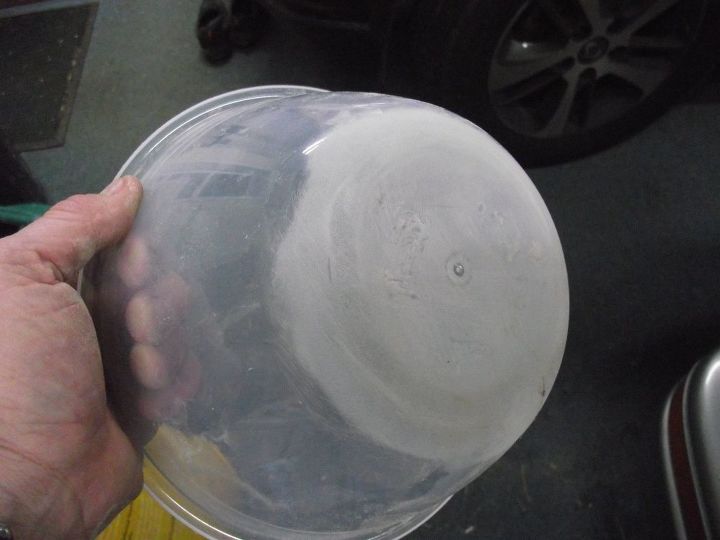
The smaller inner bowl had a base ridge on it so I "Dremeled" it off and sanded it, I also sprayed it with Plasticote spray to make it smooth
Carry On Casting
I then inserted the inner bowl and weighted down (once again using a jar of pasta sauce! This is becoming a casting theme!!)
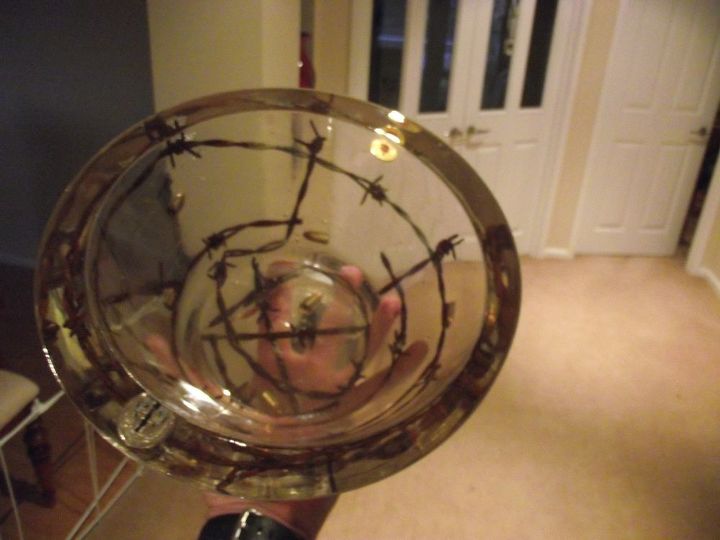
Over the next few days I did several pours (one at 5am before I left for work and one at 5pm when I got home) until the void between the 2 bowls was filled
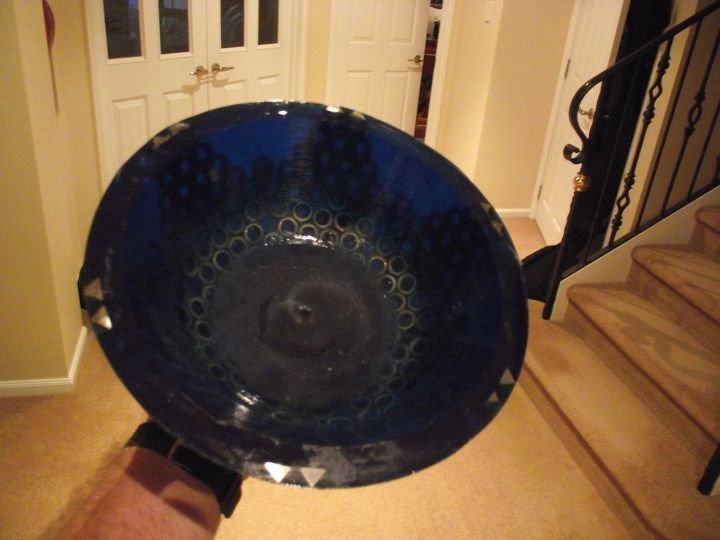
I dropped in a few more bullets and on the last pour added a NZ "ANZAC" 50c piece (it has a silhouette of a NZ and Australian soldier) and a poppy lapel badge
Release the Kraken --- Sorry I Mean Bowl
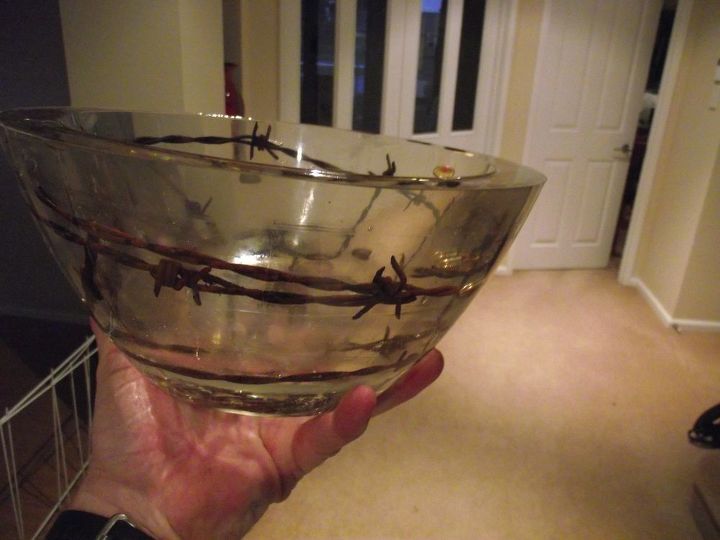
The 2 plastic bowls were released relatively easily, you just push, pull and bend a bit until they come out, and there it is!
I have decided to name this one 11/11 (the date of the Armistice 11th November)
Bonus Bowl
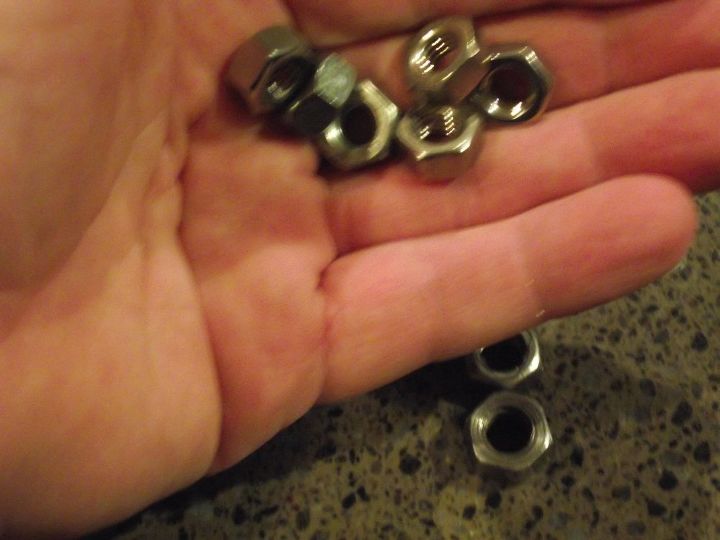
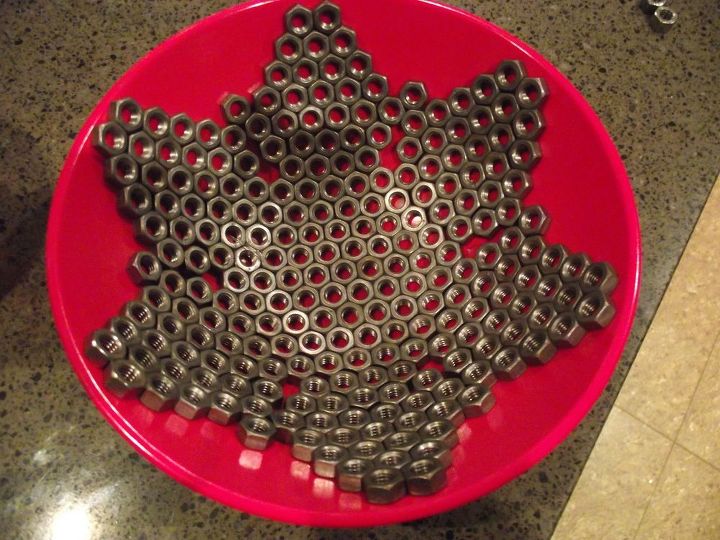
Having made the first one I decided to try another
This one uses about 200 M8 nuts arranged in a bowl
Casting
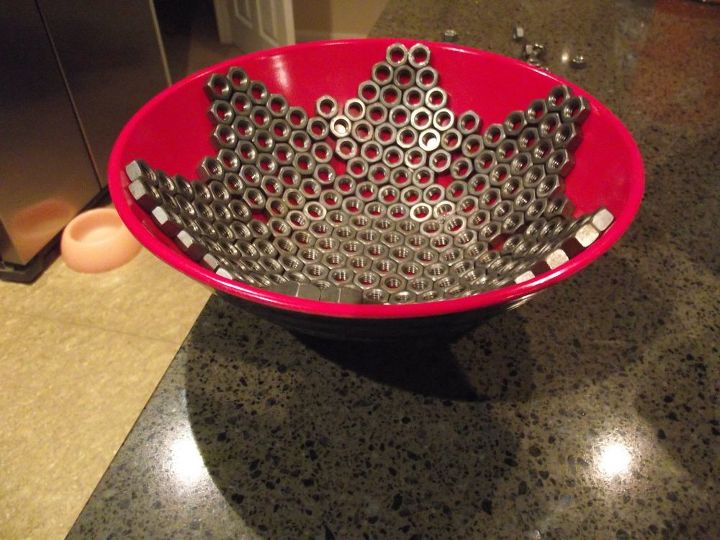
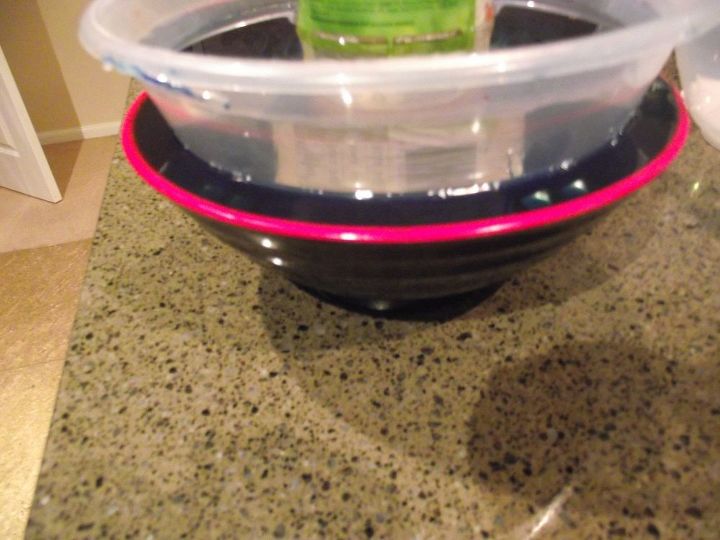
I used a different outer bowl but the same inner bowl and added some colour to the resin, unfortunately the outer bowl was much less flexible than on 11/11 and I ended up having to chisel it off which took some time
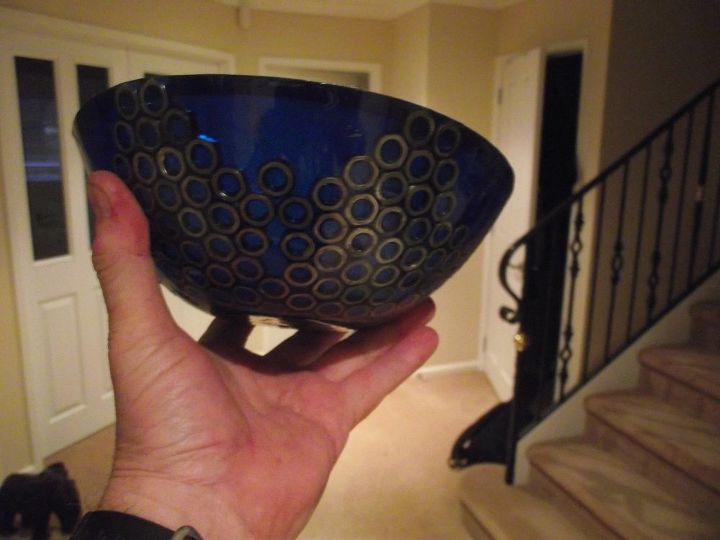
Bowl 2
Once finally released I polished it up.
This one is named "Nutjob"
Resources for this project:
See all materials


Any price and availability information displayed on [relevant Amazon Site(s), as applicable] at the time of purchase will apply to the purchase of this product.
Hometalk may collect a small share of sales from the links on this page.More info
Comments
Join the conversation
4 comments
-
This is cool!!
-
Man I like the colour combinations!


Frequently asked questions
Have a question about this project?
How did you make the resin blue? TY.
When casting rusty barbed wire are there steps that should be taken to keep the rust from discoloring the epoxy - if so what are they?