


Summer Upcycle: Dooryway Turned Built-in Bookshelf
6 Materials
$50
8 Hours
Easy
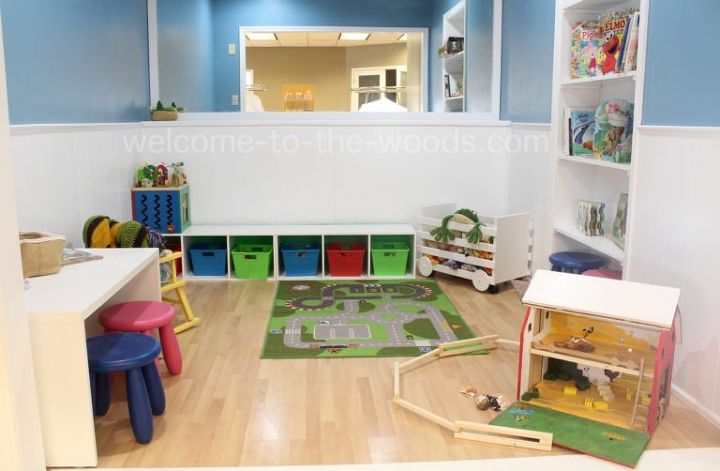
Earlier this summer, my sister opened a maternity store in a space that was once a beauty salon. When she renovated, the space she wanted my help the most with was the kids play area. I was tasked with changing a doorway that did not serve a purpose within the new layout. We decided a doorway to bookshelf transformation would be a clever solution!
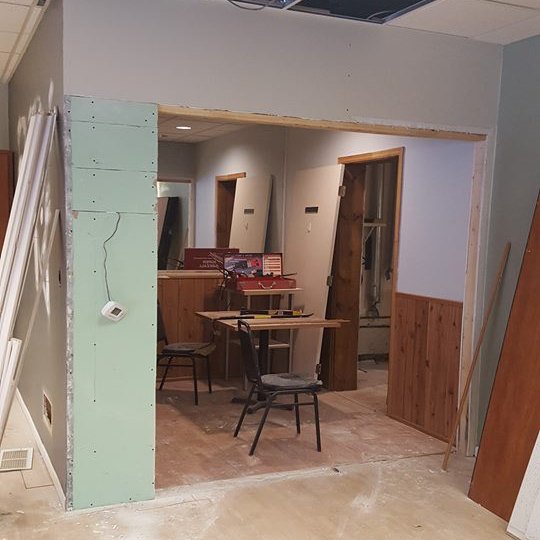
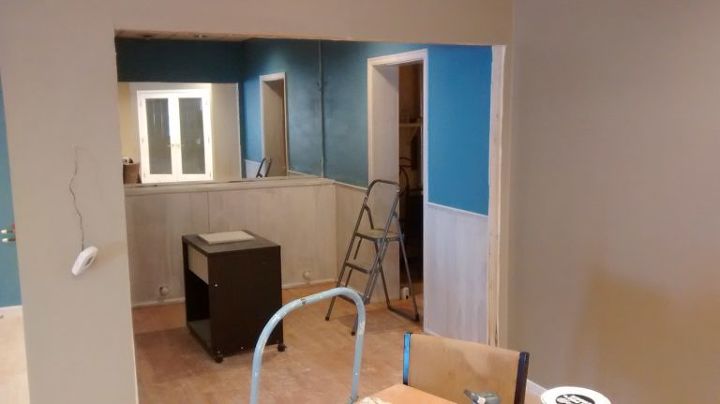
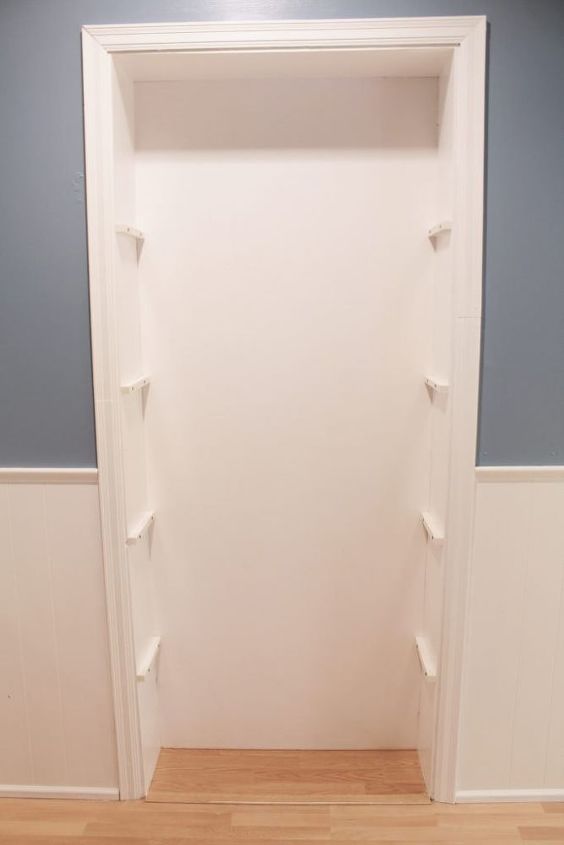
This is the space amidst renovation. The doorway you see here leads to the utility room. Clearly we wanted this enclosed since there was a different utility room entrance my sister could use. We started by painting all the wainscoting and trim gloss white. We cleaned and primed it first, then applied two coats of paint.
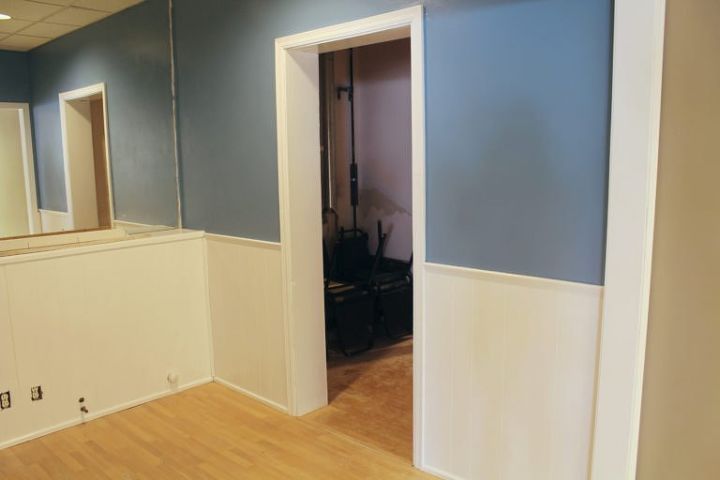
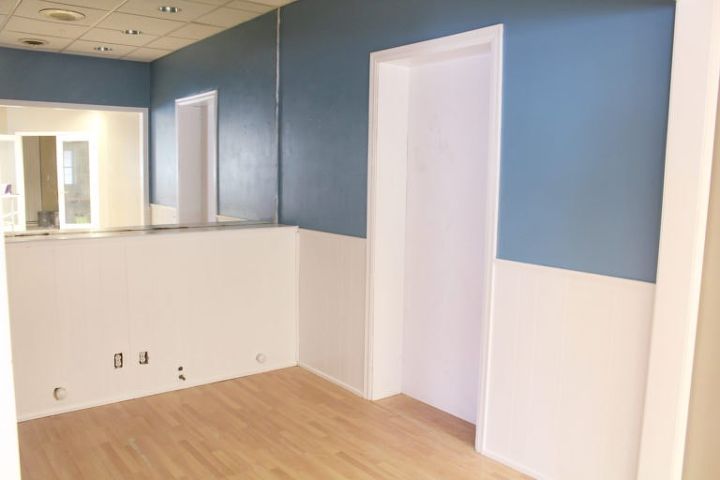
When we were done with hours of painting, this is what the space looked like.
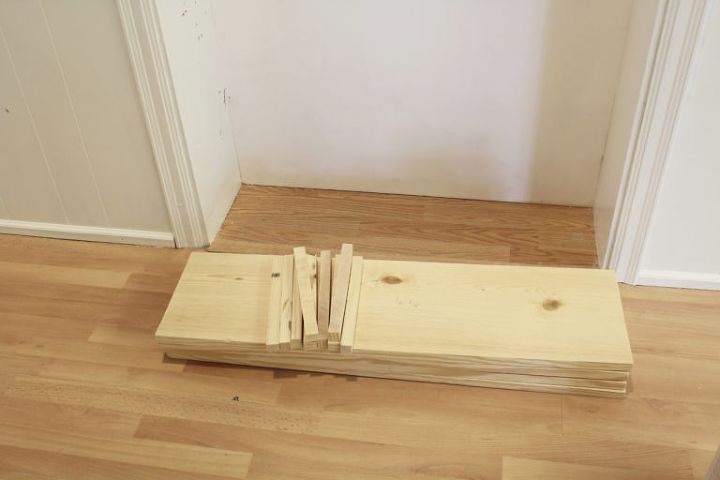
Next we cut our wood, starting with a large sheet of plywood to fit the back. We nailed this into the door casing from behind.
To attach shelves inside the doorway, I was planning to drill pocket holes with my Kreg Jig and make them floating. However, in cutting the shelves we discerned the doorway was not square nor parallel. This made it more feasible to create a shelving method that would allow for wiggle room. Enter slats.
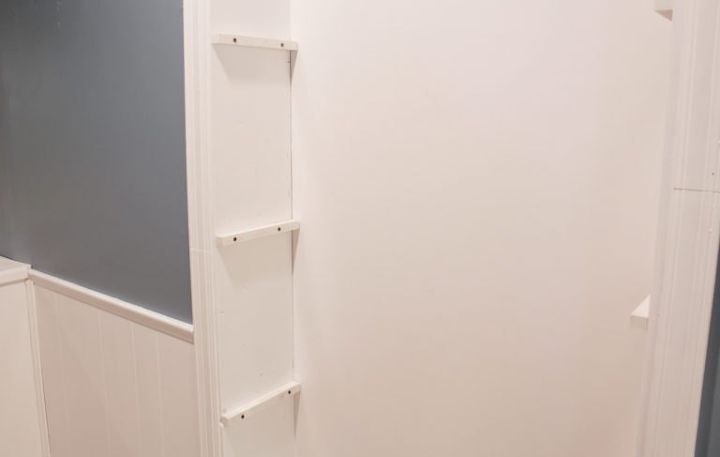
We cut 1 inch wide slats and screwed them into the wood door casing with two screws. Each shelf measured 16″ apart.
Be sure to subscribe to my Youtube channel to follow all my building projects!
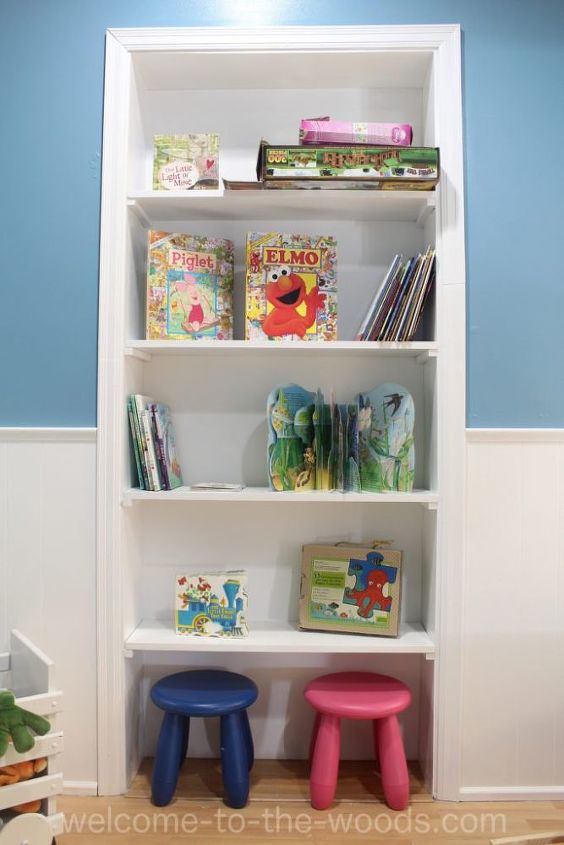
Next we set the shelves on top. We added little nails down through the shelf into the slats so that the shelf wouldn’t slide off or move. After touching up paint we were ready to style them!
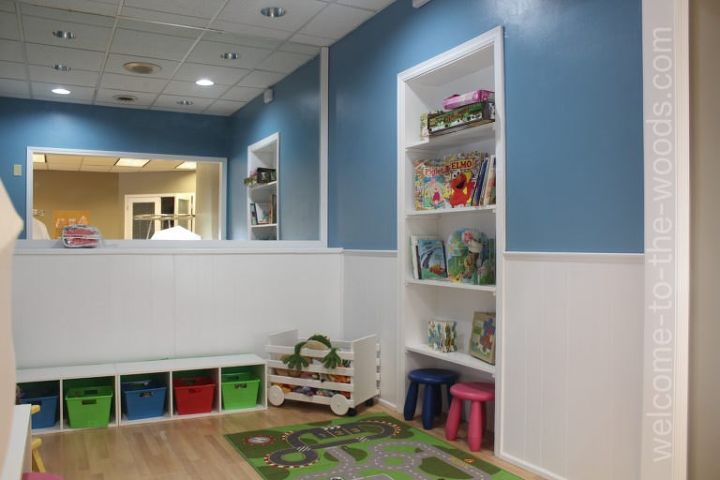
The bookshelves look so great! I love this built-in look and how useful the storage space is now. As a whole the playroom rocks!
Click to see my favorite shelving build ever on my blog!
Thanks for reading! I hope you enjoyed this fun project and I've inspired you today :)


Any price and availability information displayed on [relevant Amazon Site(s), as applicable] at the time of purchase will apply to the purchase of this product.
Hometalk may collect a small share of sales from the links on this page.More info

Want more details about this and other DIY projects? Check out my blog post!
Comments
Join the conversation
2 of 140 comments
-
This is such a fabulous idea. Great for a kids room or play room. Love it.
-
Brilliant


Frequently asked questions
Have a question about this project?
This looks great! Wouldn't it be cute if you could rework that bottom shelf so it could fold out and the kiddos would have an area to write/color.
Where can you purchase the film to create frosted glass?
How does it look from the other room?