


Giving an Old, Outdated Washstand a Makeover
12 Materials
$11
4 Hours
Easy
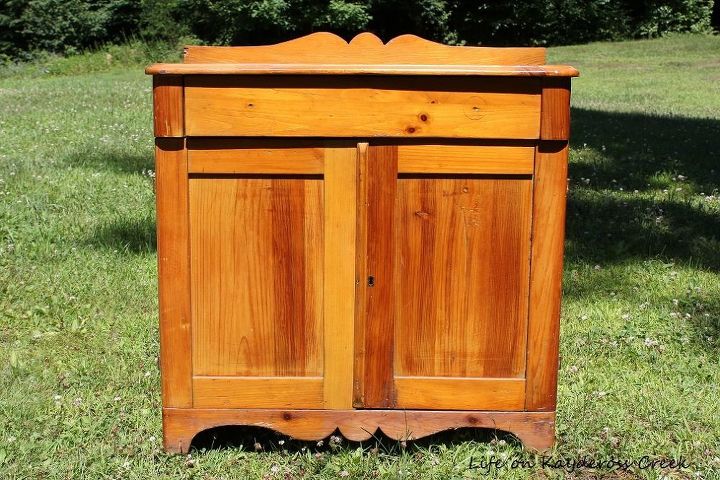
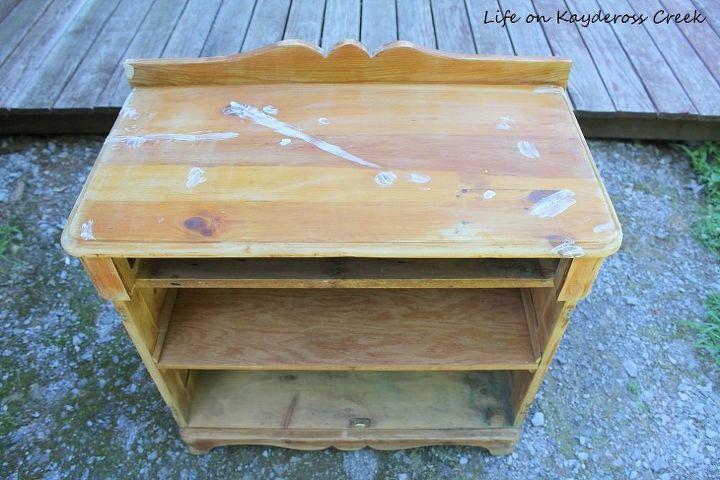
I picked up this beat up old washstand at a garage sale for just $5. It’s super cute with the curvy back and base but needed just a little (OK, a lot of) love.
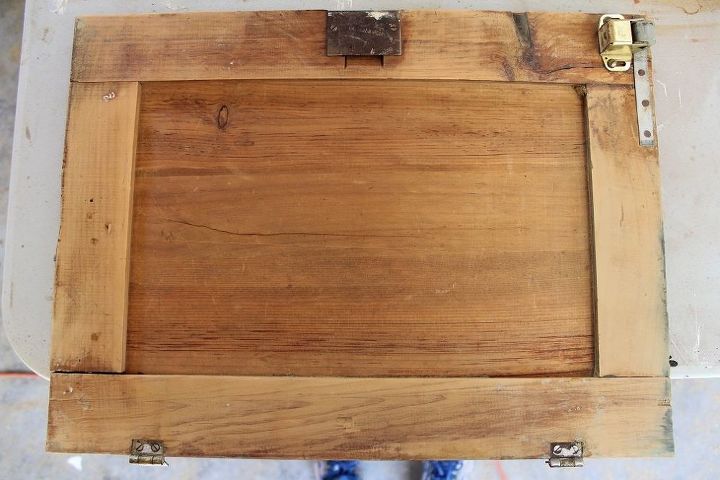
I started this makeover out like always and gave it a good cleaning with a mix of half water and half vinegar. It didn’t really have a bad smell but just a smell. Then we removed the doors to make working on the whole thing easier.
The finish on it was quite shiny and I wanted to make sure the paint would adhere well so I used 100 grit sandpaper with my palm sander to prepare the surface. I also primed it because I wasn’t sure how the white paint would cover all of the darker areas.
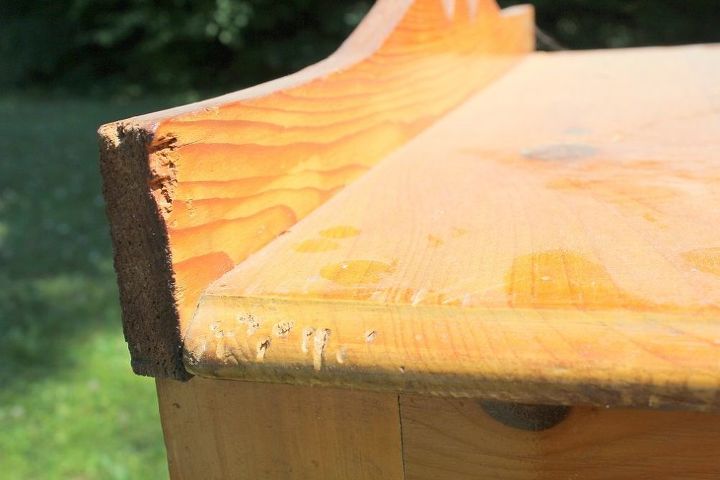
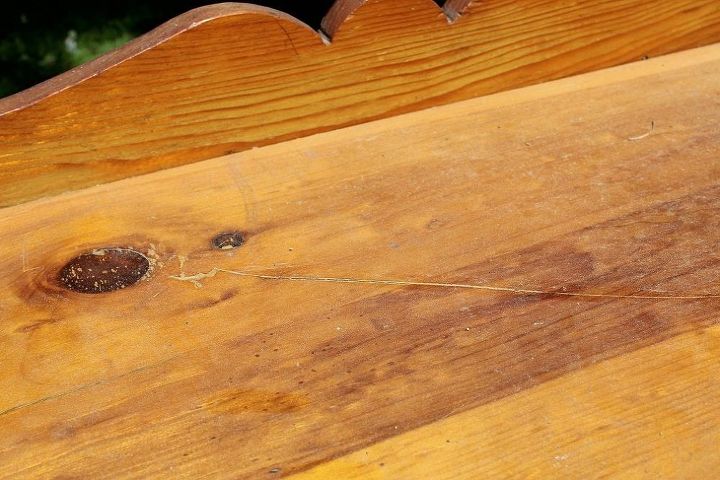
Before I could paint, I had to fix all of the wholes and scratches and I decided to use spackle. I already had it on hand and it’s easy to work with. I probably could have used wood filler but the cracks and holes were not that big.
Once the spackle was dry I sanded it again with a lighter sandpaper in 220 grit to smooth everything out.
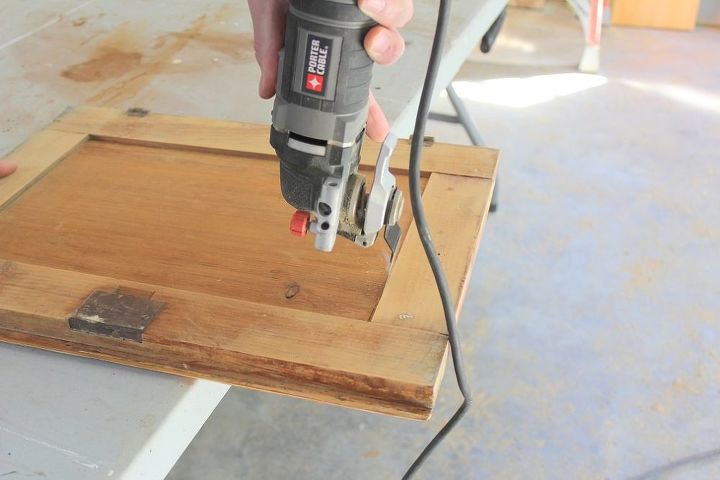
I wiped it all down to remove all of the dust and gave it a coat of primer. While that dried, we decided that we would remove the middle section (flat panel) of the doors and add chicken wire. They were somewhat cracked anyway and I wanted to do something different.
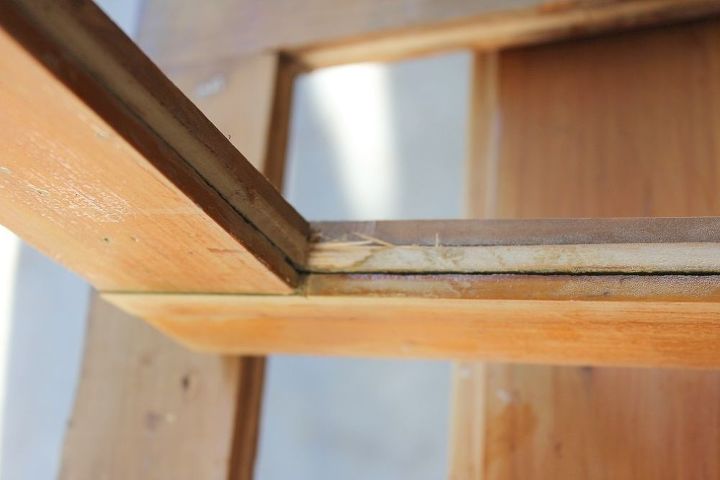
We used an oscillating tool to cut the panel out. An oscillating tool is a multi-functional tool that comes with different attachments to saw, sand, rasp, grind, scrape, cut and polish. It’s handy!
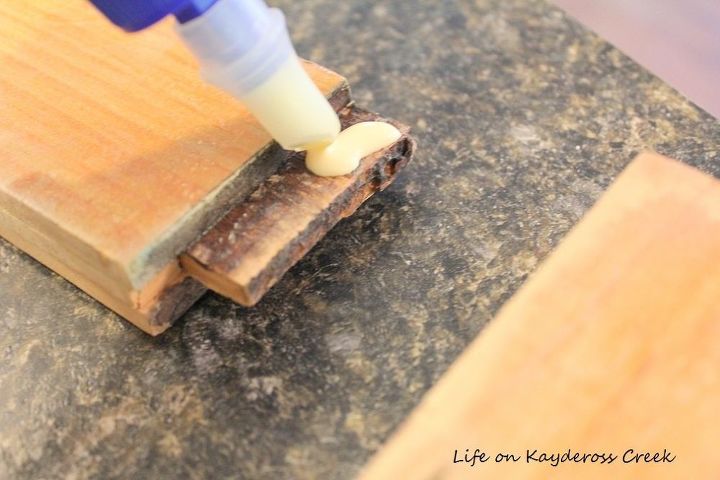
When the center was cut out, one of the doors was a bit wobbly. I took it apart and used wood glue to connect the pieces again.
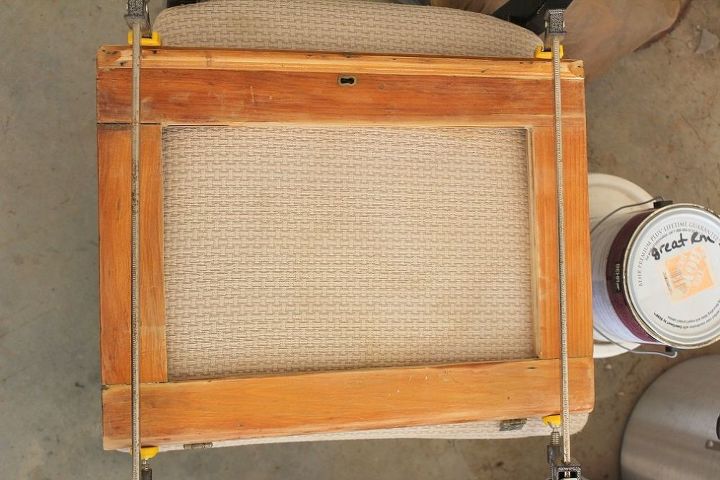
I used clamps to hold it together while it dried.
The inside edges were a bit rough so I sanded them with the palm sander. I filled in any holes with more spackle.
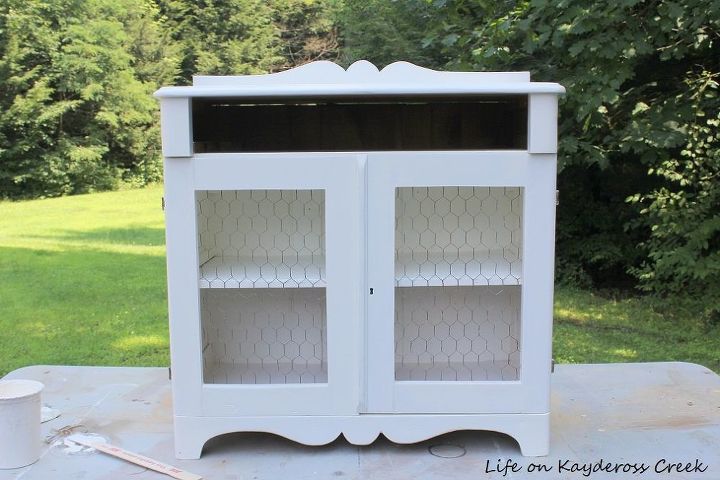
I gave everything two coats of homemade chalk paint.
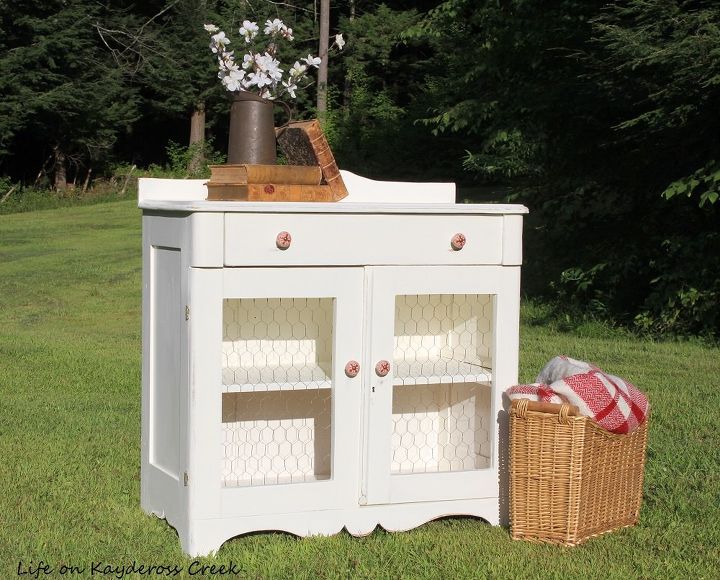
We added chicken wire to the doors. We laid the full piece of it over the opening of doors and used wire cutters to cut it to size.
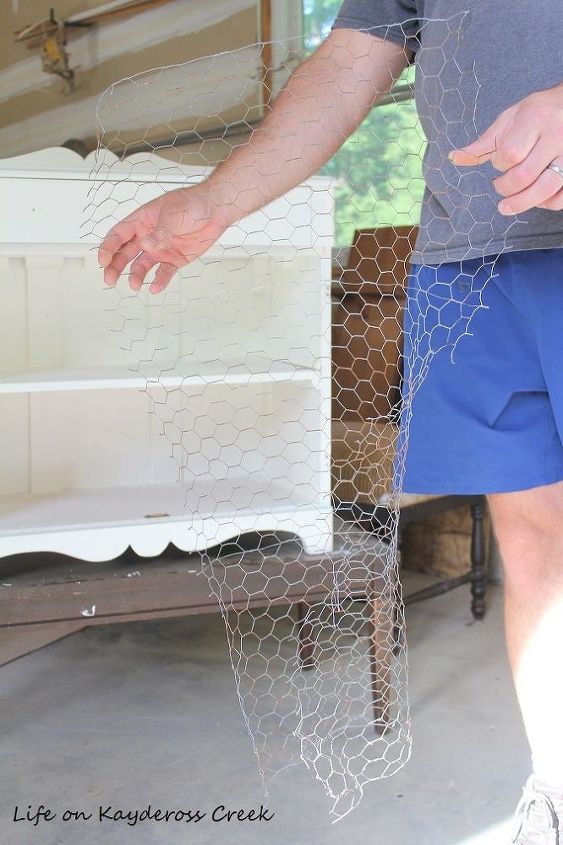
We attached the chicken wire to the back of the doors using a heavy duty staple gun and then reattached them to the washstand.
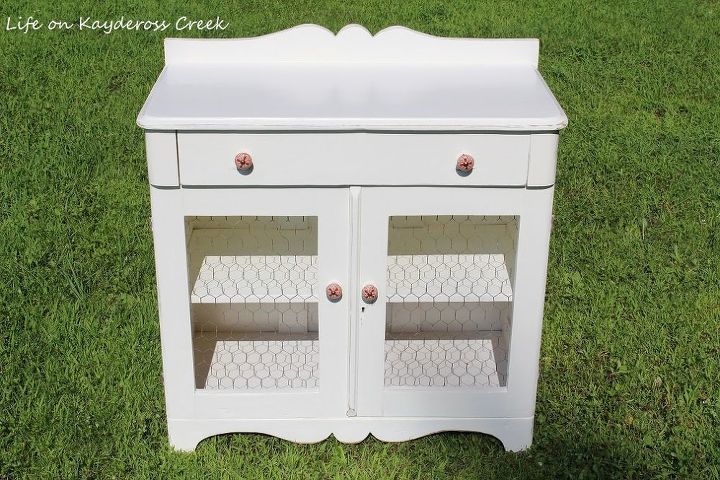
We attached the new knobs I picked up and here she is all finished. Super cute.
For more information on this project and many other furniture and décor projects, check out my blog at http://mylifeonkayderosscreek.com or find me on Instagram at https://www.instagram.com/lifeonkaydeross/
Resources for this project:
See all materials


Any price and availability information displayed on [relevant Amazon Site(s), as applicable] at the time of purchase will apply to the purchase of this product.
Hometalk may collect a small share of sales from the links on this page.More info

Want more details about this and other DIY projects? Check out my blog post!
Comments
Join the conversation
2 of 48 comments
-
Love it!
-
What a great transformation. Love it...


Frequently asked questions
Have a question about this project?
Looks so cute but I shudder when I think about getting scratched by the wire when reaching inside the cabinet. Did you put tape across the four sides of each panel?