


Flower Shoppe "to Go"

by
Lsherbach
5 Materials
$12
2 Hours
Easy
Finally, I am turning my passion for paper flowers into a portable business. I have always wanted to have a "stash" of paper flowers so I could put together an arrangement/creation at a moments notice. This was the motivation/inspiration for my Flower Shoppe "to go".
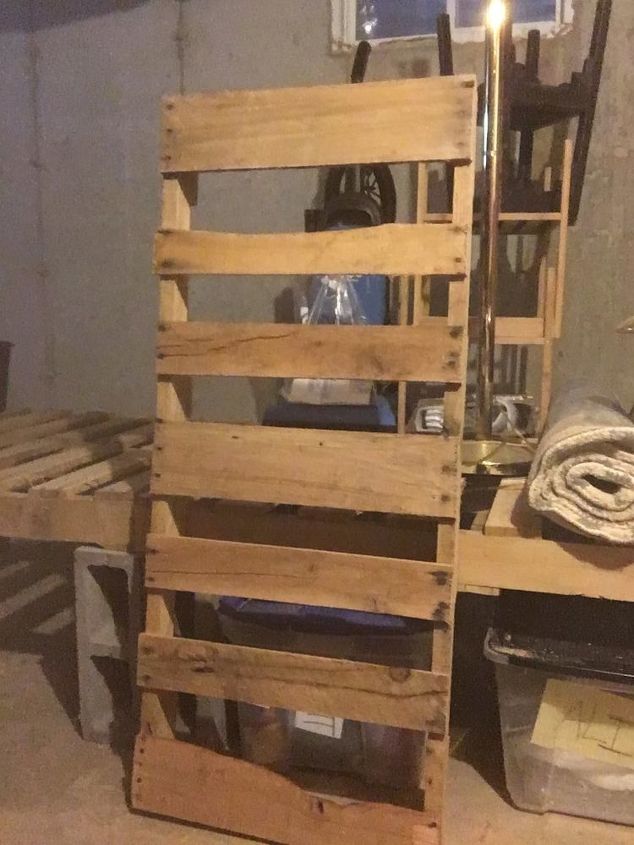
So I started by cutting a pallet in half and removing all the boards from the back. There are plenty of videos online to show you how to do this. This can be time-consuming, but its worth it just to get free wood.
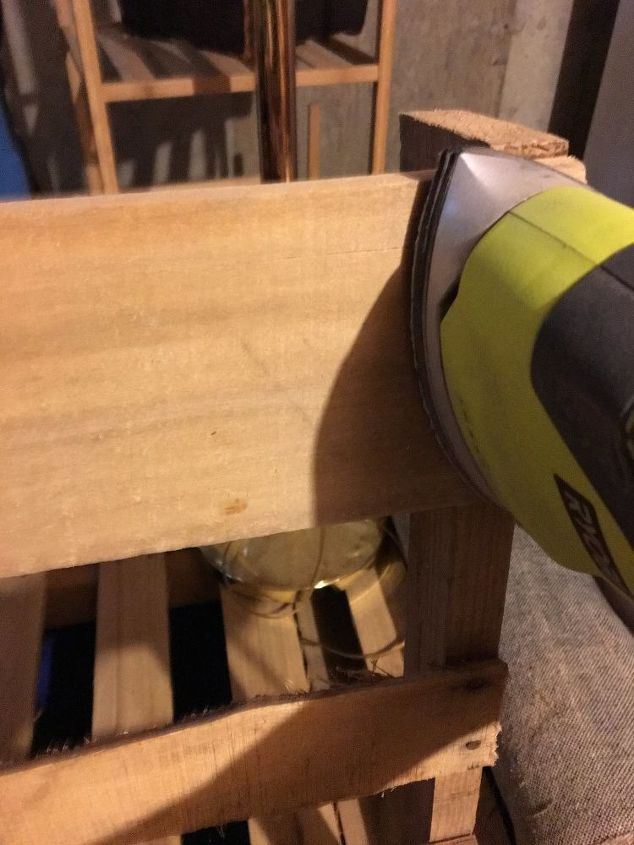
Next, I sanded all the surfaces, making sure I wouldn't be getting splinters.
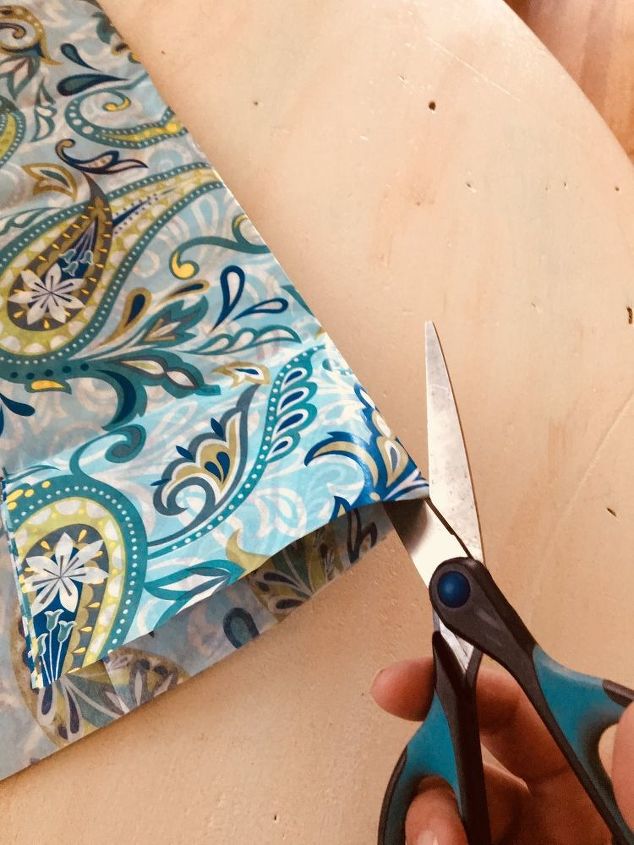
I wanted to give this project some color, and I knew paint wasn't gonna do the trick, so I opted for tissue paper, which I purchase from the $$ store and just cut to size.

Applied cut pieces of tissue paper to slats with modge podge
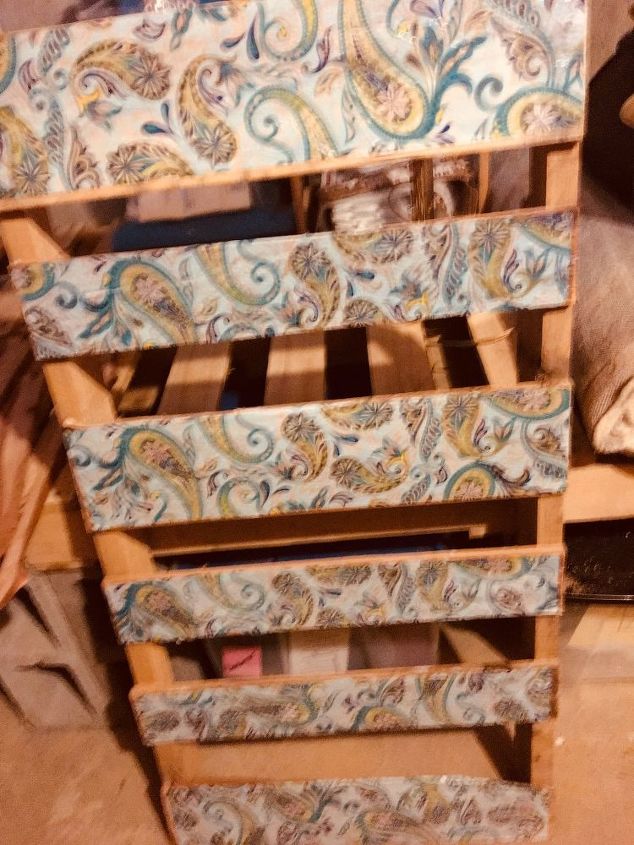
I then let the project dry overnight. Then I gave the whole project a second coat of modge podge. Just for the heck of it.
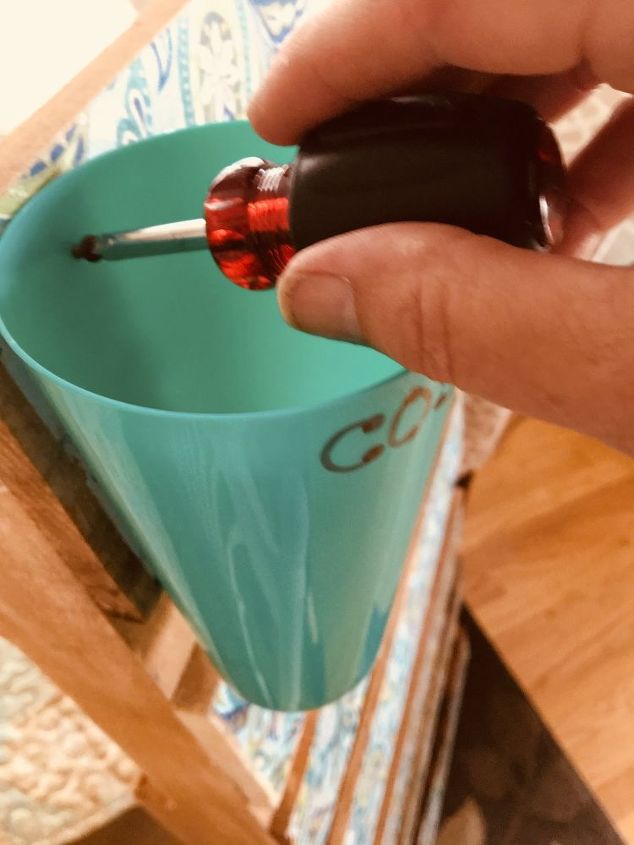
I then started attaching inexpensive plastic cups that I purchased from the $$ store that I would soon be using to display my finished flower creations.
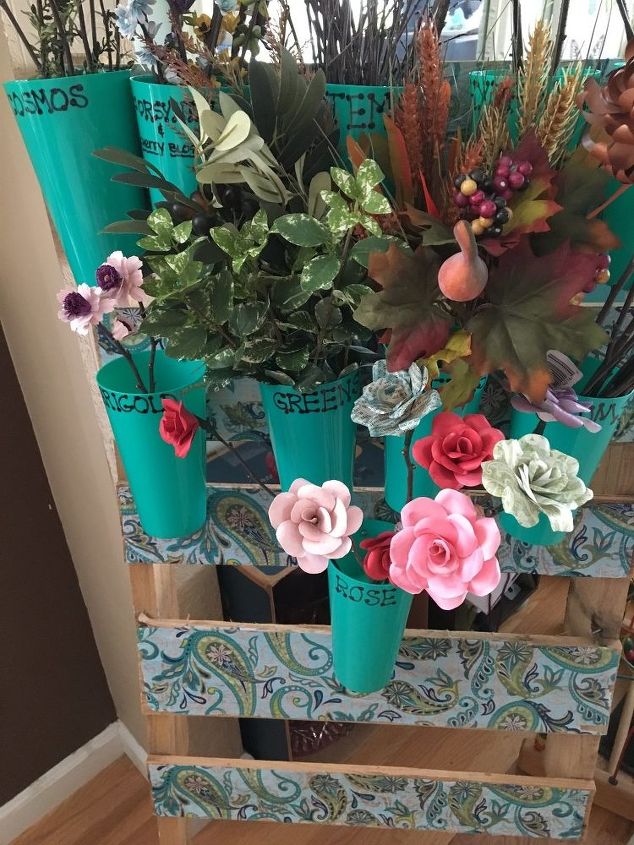
And here you have my finished flower shoppe display. Stay tuned for the flower shoppe sign that will soon be added. Another project.
Happy crafting everyone!
Resources for this project:
See all materials


Any price and availability information displayed on [relevant Amazon Site(s), as applicable] at the time of purchase will apply to the purchase of this product.
Hometalk may collect a small share of sales from the links on this page.More info


Frequently asked questions
Have a question about this project?