


Master Suite Remodel

2 Materials
$2000
2 Months
Medium
So in January we finally attacked the 4 rooms that make the master ensuite in our remodel project, which we've been at for 2 years last month. My vision was to put a full size murphy ironing board on the wall next to the windows, great for ironing! Add a linen closet (16" wide only) down the majority of the length of one wall in the 16 x 15 bedroom. Off the master was a dressing room/sink area with a walk in closet off of it to the right. Straight through is the room where the shower (used to be a ceramic coated cast iron tub) and toilet. When we bought the home, there was a hole in the floor next to the tub. I will post each of the remodel projects/rooms separately, way too many photos! So the first thing I did last year was to take a sledge hammer to the wall and open up where the ironing board would go. That was in March 2017. We didn't really start on the MBR until Jan 2018. Still one more item needed...the last thing to do is put the doors on the linen closet. I'm putting up two 15 pane glass french doors, after I do faux stained glass on them, hopefully by Thanksgiving (one more project to post later!). I plan on painting it with cherry blossoms.
Click on my name to see the other rooms as they were worked on. Hopefully I'll get them up this weekend!

This was what I saw when we walked through the house, prior to purchase, wall paper peeling in every room, carpet from 1979 literally,.

Had to pull down all the wall paper and the remove all the popcorn ceiling (after having it tested by a lab for absestos, yes, take the time to do this!)
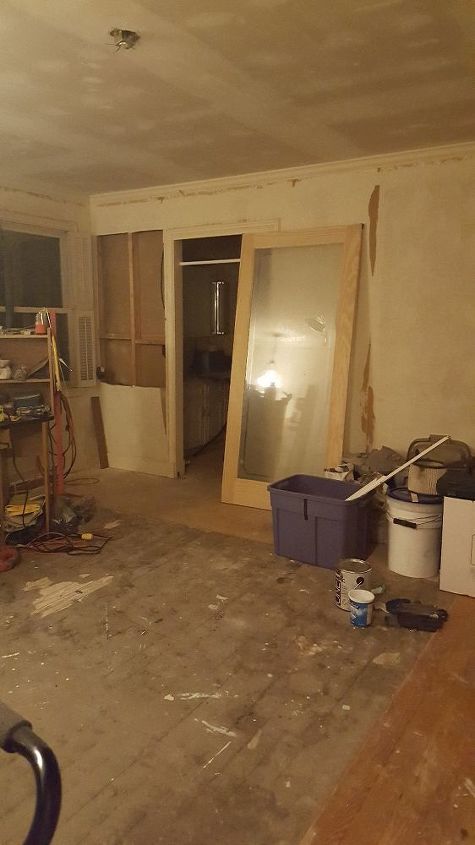
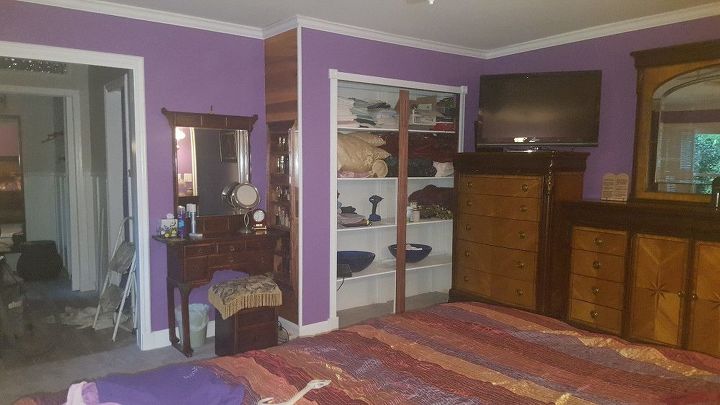
We used the master BR to work out of while remodeling all the other rooms of the house. You can see where I opened the wall for the ironing board center last year before we tackled the bedroom
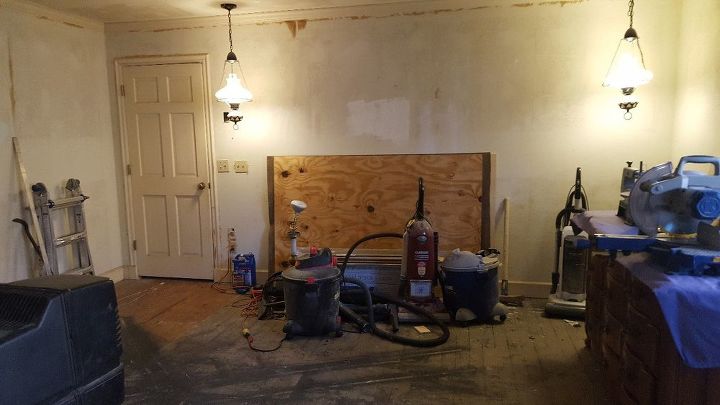
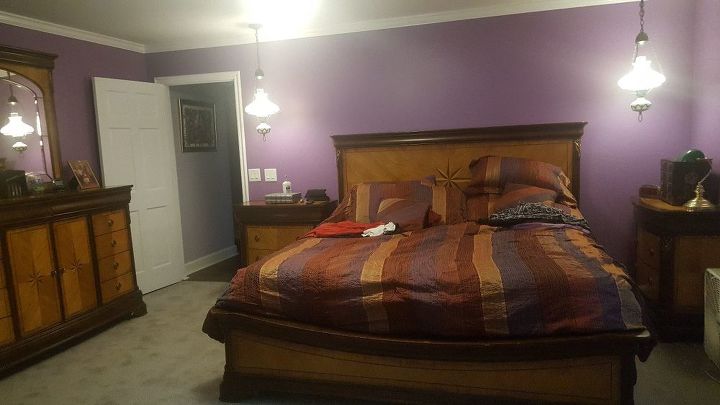
This is the other side of the bedroom. When the carpet was taken out, you could see where the room was added onto (knotty pine floors morphed into pressed board where the add on room was attached to the house. We kept the antique lamps.
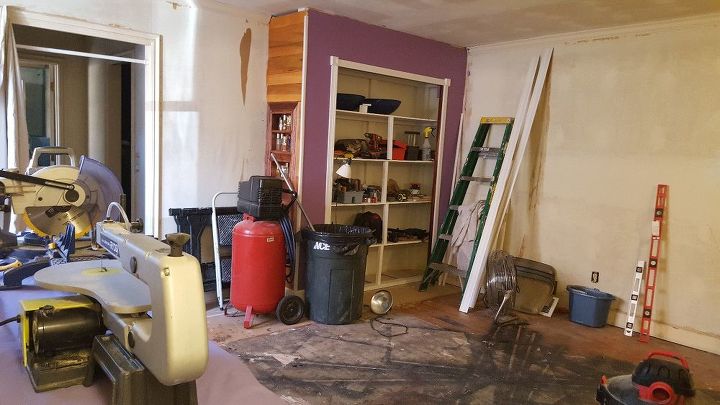
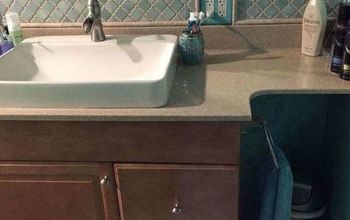
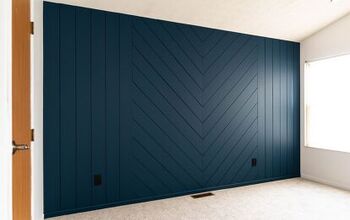
So we built a shallow linen closet but left space on the end for my dressing table I brought back from Korea. I crafted a shelf at the end for small items like perfumes.
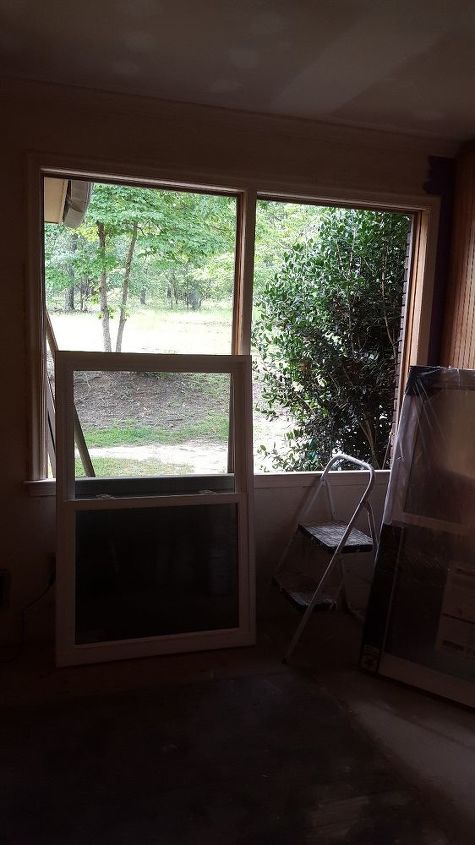
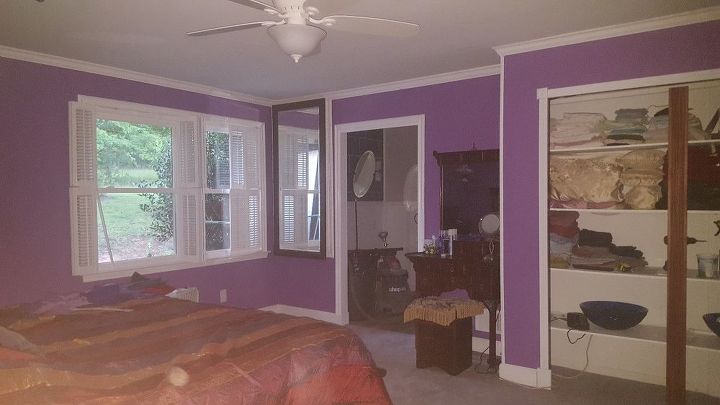
We learned how to replace the windows using you tube with the small window in the bathroom as our test bed...not so hard, so we tackled the bedroom windows. Low E double hung windows, very simple to install.
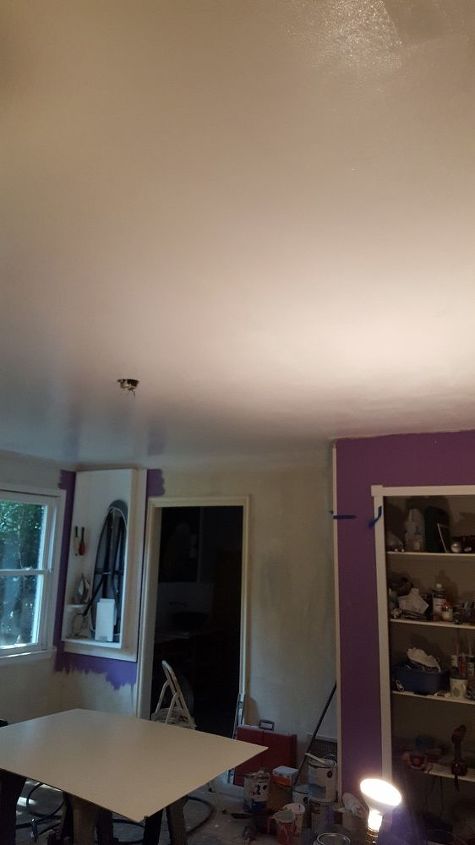
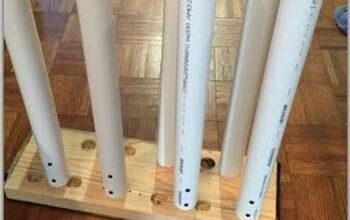
You can see the ironing board center in the back left. I bought boards from Lowes to frame it in the wall and put a wainscoting panel in the back. The bath on the other side had 3 outlets, one on the back of this wall. I took it out, turned it around, and installed the outlet in the bottom of the box the ironing board was in. I installed a short shelf for the iron to set on, and bought a swivel like you'd use on a bar stool to attach the ironing board to a swivel. You can lower the ironing board and rotate it left or right. I installed a light in the top of the cabinet and wired it to the light switch with a double switch in the bathroom immediately behind the box. This photo shows the ceiling painted.

We primed the walls with Kilz, the drywall is old and this sealed it nicely and gave us a good base for the paint. We also replaced all of the outlets with new ones.
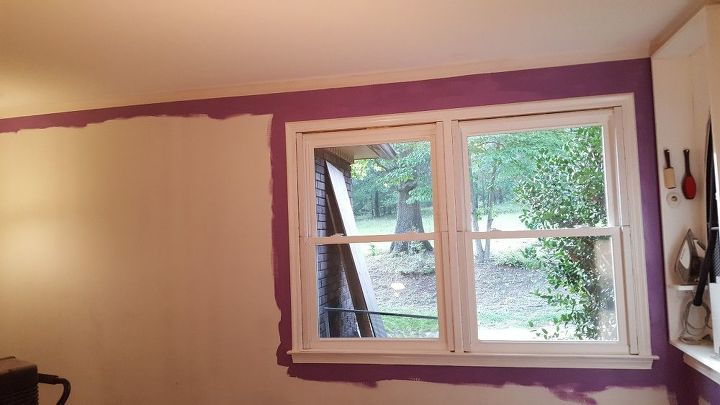
Trimming around the ceiling and windows
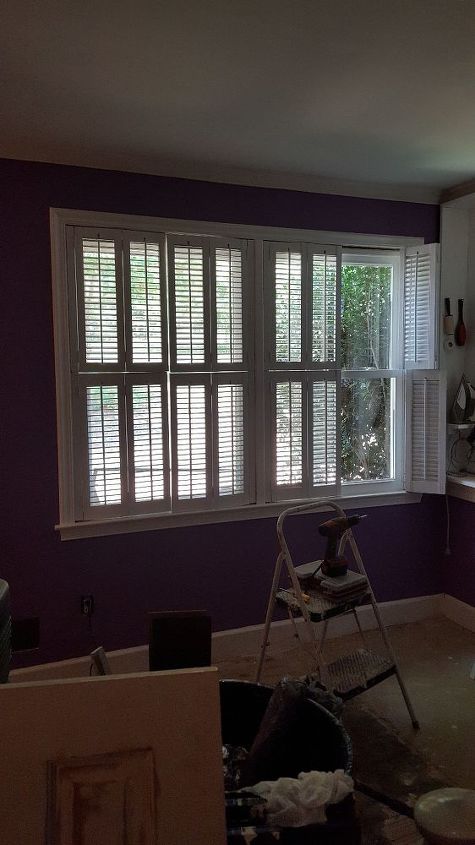
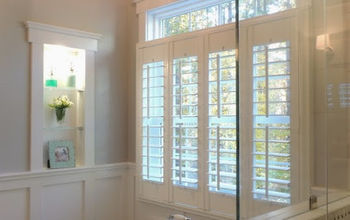
My husband sprayed the plantation shutters in the garage, and we reinstalled after painting the window trim
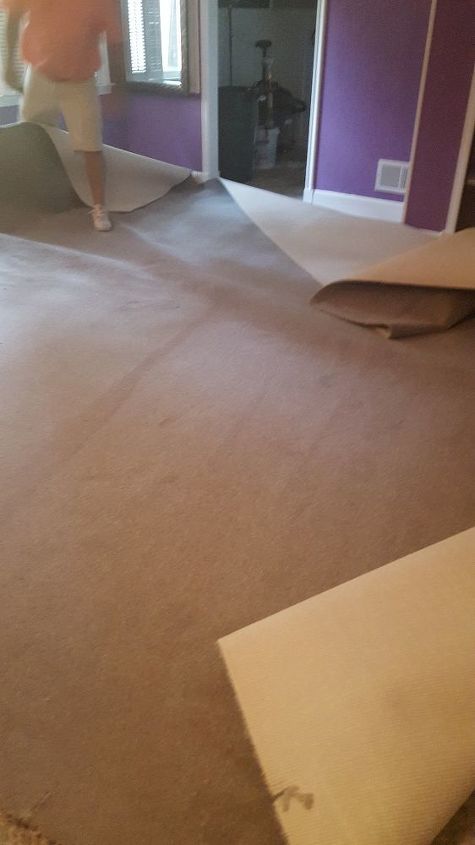
installing carpet isn't in my resume...all the painting is done by the time the carpet arrives. I had saved the crown molding from the wall behind the closet and reinstalled it on the outside so it matched
Furniture moved in, finally! Started on the suite in Feb! Still have to buy a double barn door hardware kit to hang the doors after I've painted them.
mirror installed over the ironing center. It has a small magnet latch to keep it closed.
Put in the ceiling light before the carpet arrived.
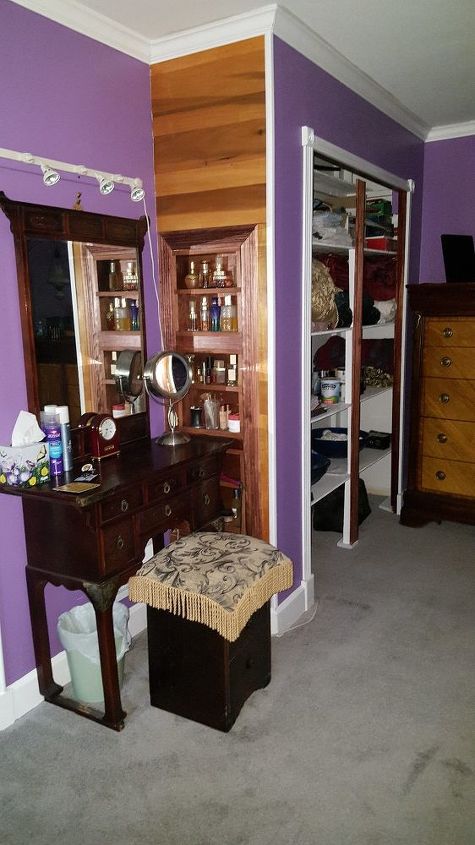
This shows the shelves I installed on the end of the closet. There is a foundation post right under this table which prevented us from bringing up another outlet. There was one on the wall inside the closet, so what I ended up doing was putting a cover over a hole in the closet and running the power cord of a power strip through the wall, then mounted the strip horizonal on the wall below the shelves. It works!
Comments
Join the conversation
2 comments
-
Lovely new look! Your hard work paid off!
-
I absolutely love the built into ironing board with shelves for the iron etc. and an outlet! It’s just brilliant!


Frequently asked questions
Have a question about this project?