


Children's Bench Goes Disney.

by
Lisa Cain
3 Materials
$15
6 Hours
Medium
I was given this cute childrens bench to makeover. It didn't take me long to realize what I wanted to do with it. I mean c'mon, tell me the top sides don't look like Mouse ears!
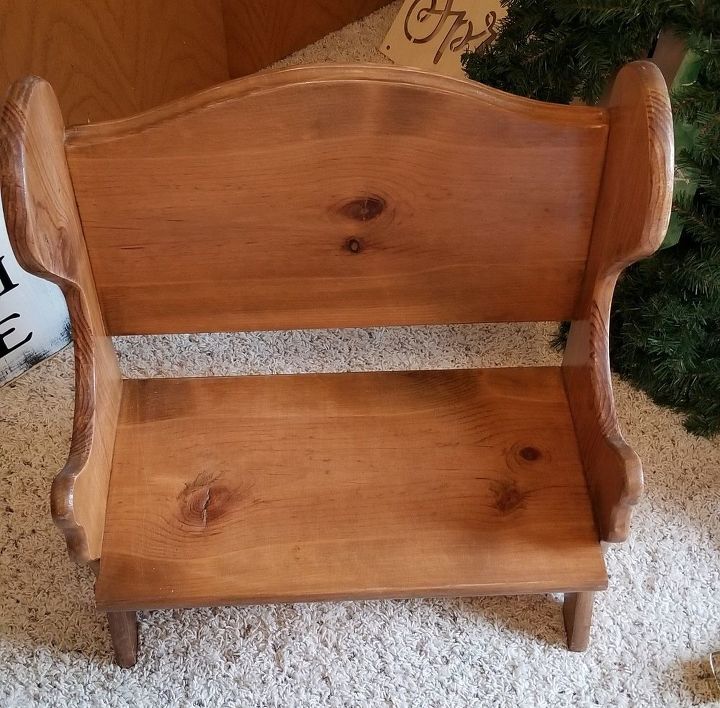
First things first, here is the cute bench. Sturdy and well made, but lacking in fun~ It's a nice size, so I decided two "littles" could probably sit in it at one time. Time to get started with my idea.
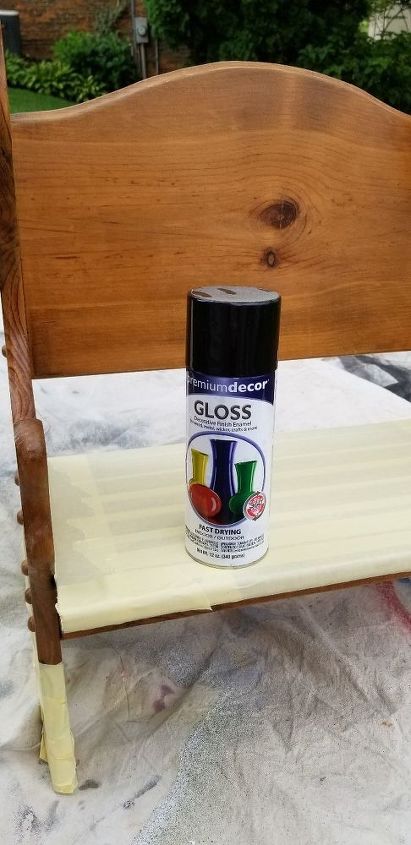
I sanded the whole thing down, then taped off to start spray painting. First black on the back and sides.

Then retaped and did yellow on bottom half of legs and eventually did red on the seating area. This took awhile as I allowed everything to dry fully before retaping (masking tape) to do another color.
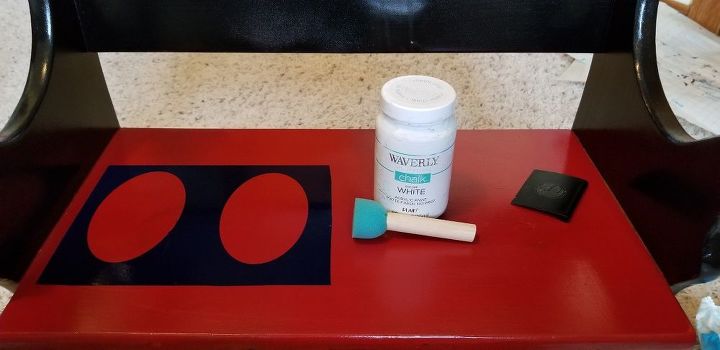
I wanted to use a stencil for Mickey's pants and Minnie's bow. So I cut them with my Silhouette Cameo machine, transferred onto the bench, then started "spouncing" (see sponge in picture) the White chalk paint onto the stencils.
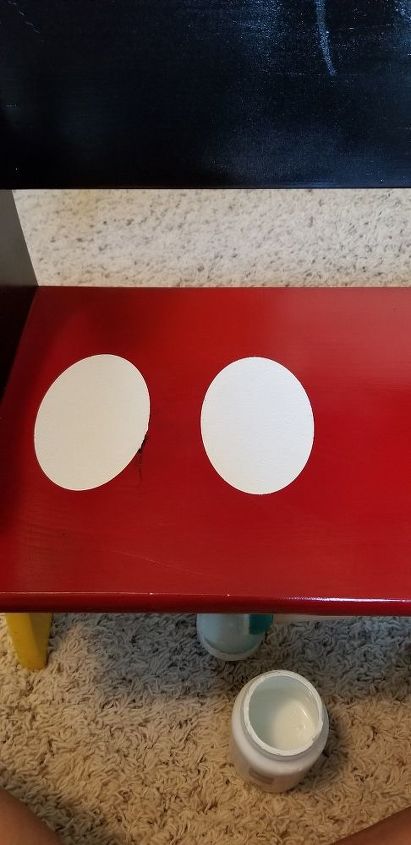
Here is Mickey's pants all painted.
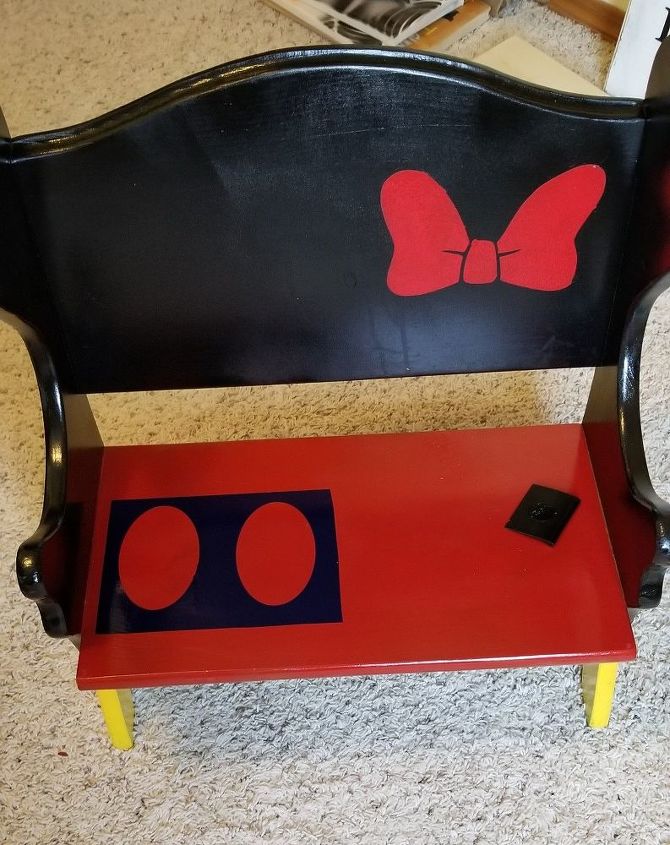
And Minnie's bow above. Used a stencil for that too.
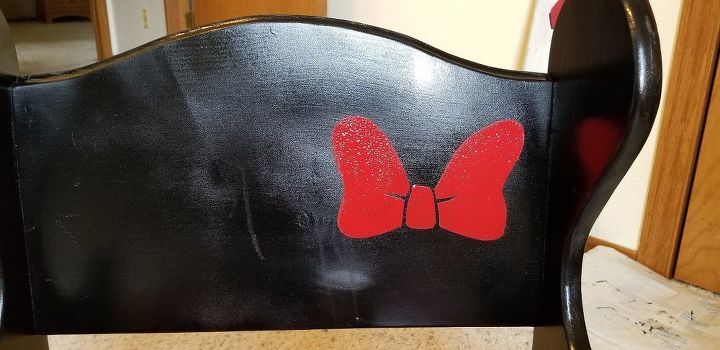
Close up of the bow.
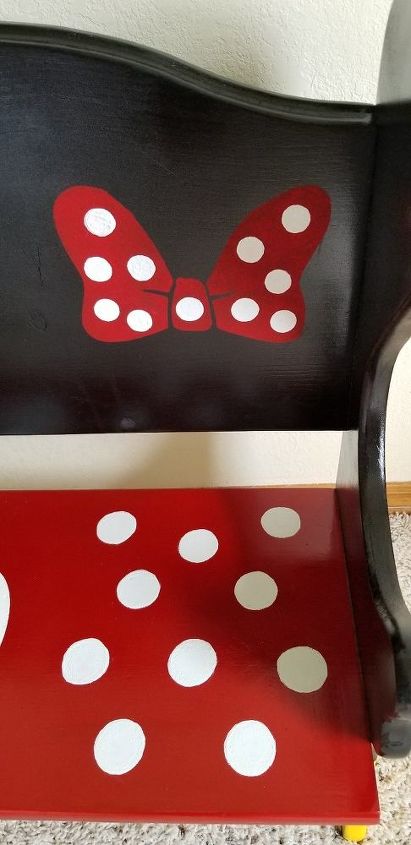
Next I took the same type of spouncer, and put dots on for Minnie's dress and a smaller spouncer to do dots on Minnie's bow. I think if I did it again, I would use a stencil for the spots, as the spouncer doesn't always spounce in a perfect circle, depending on how much paint is on it and the pressure used.
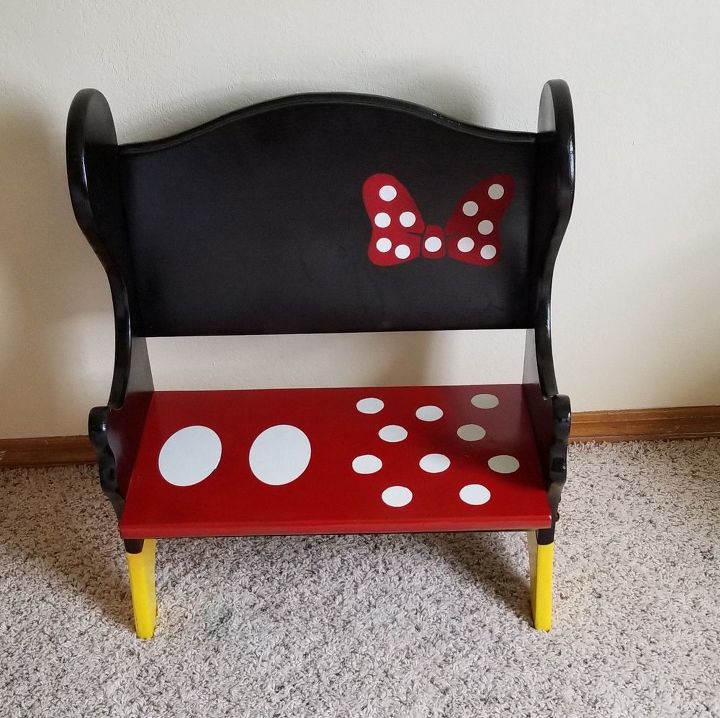
And here is the cute new Disney bench in all it's Glory! GAAAH...I'm so happy with the outcome. Mickey on one side, Minnie on the other, Good for a boy, a girl or both. Next time you see something that needs a redo, let your mind get creative. If not for the top sides looking like Mickey Mouse ears, I might not have thought of this fun idea~
Comments
Join the conversation
2 of 19 comments
-
very creative, love it!
-
Thanks so much Karin.


Frequently asked questions
Have a question about this project?