


Shower Build

18 Materials
$3500
5 Months
Advanced
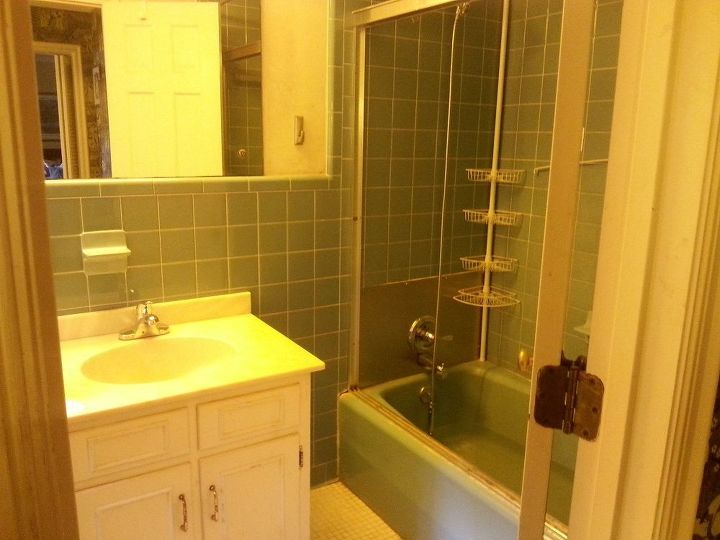
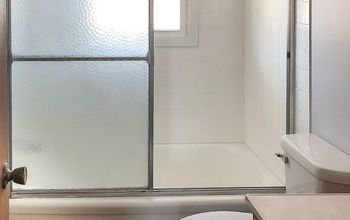
We bought a home in July 2016 and every room required remodel. We worked out of the master suite while we remodeled the rest of the home, and in February finally started on the 4 room master suite (15x16 master bedroom, dressing/sink room, walk in closet and shower/toilet room. This is half of the shower toilet room, since building a shower was very intense! Lots of youtube viewing made me decide to use the Schluter system to build the shower. It seemed pretty dummy proof!
So the original was dilapidated, there was a hole in the floor covered by a tile, what you can't see is the huge hole under the tub. Look at the poor repair job done for the plumbing, awful!
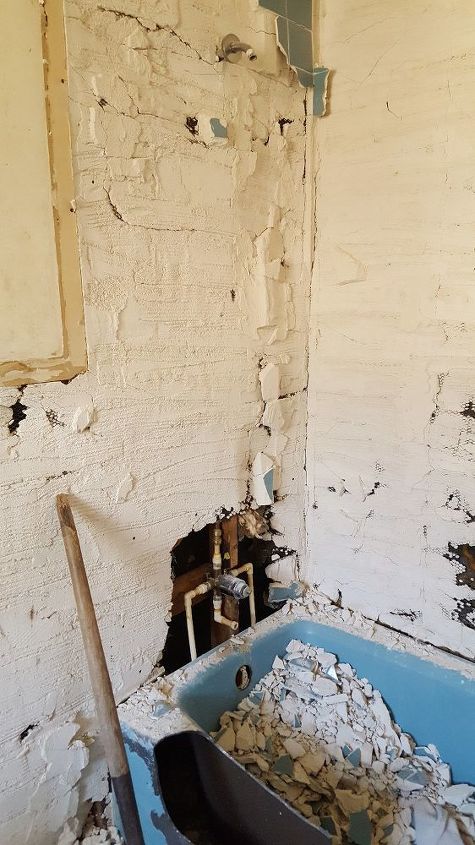
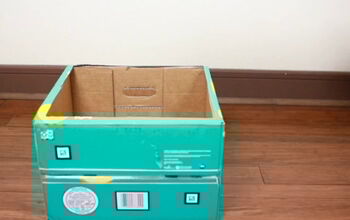
So tearing down 70s tile on top of 6 inches of concrete type substrate slapped on top of chicken wire nailed to the 2 x 4s takes a 10 to 20 lb sledge. You can't lift a 300 lb cast iron tub with ceramic overlay let alone move it through a 24 inch wide opening. That also comes apart by sledge. We emptied the pieces through the window using a 5 gal bucket, into other buckets we could load on the truck and take to the dump.

Days and several hundreds of pounds later we were down to the floor that was literally falling in. We had to be careful while we worked not to fall through.
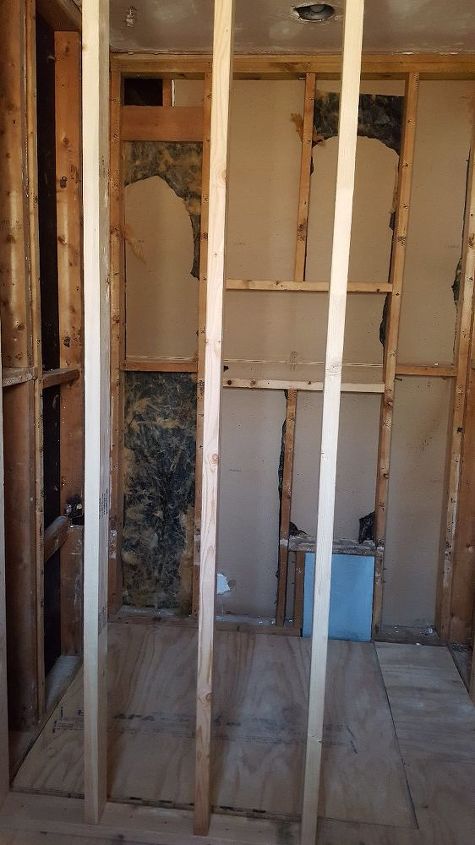
New floor installed, 3 foot wall for shower hardware framed out, and the nitch cut out and framed for the shower. The vent that is visible is acutally the back side of the vent that exits in the room behind this one. The one square of flooring in the shower was key, we fastened it absolutely last, as we could tilt it up to crawl under to move plumbing from the wall where the tub was to the wall we built, and to move the plumbing in the room with the sinks. Nailing the board down meant crawling under the home from a door at the other end of the house.
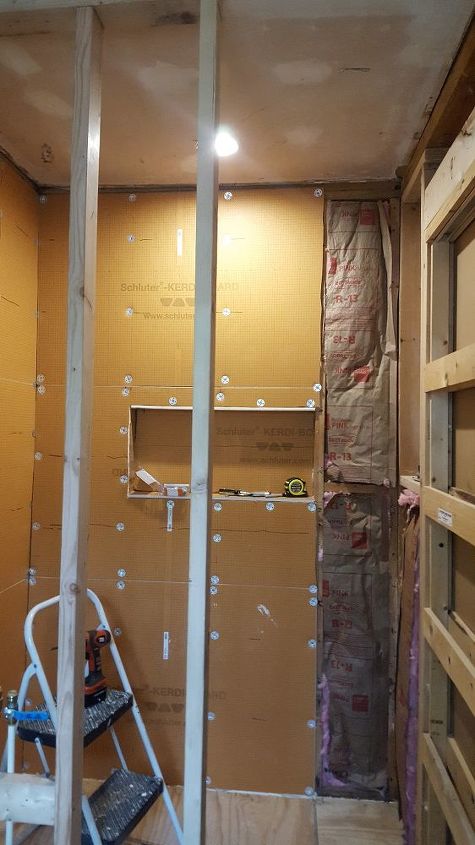
We put up batting as a sound barrier and installed the Schluter system, which consists of waterproof board that can be cut easily to fit your area with just using a razor. You attach it straight to the 2x4s with specialized screw fasteners
.
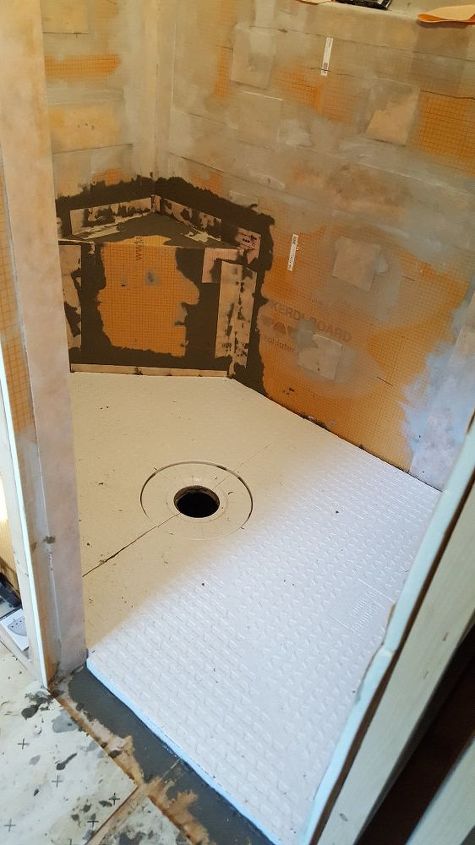
Once the hardware, flooring, and corner seat, is installed you use thin set and schluter waterproofing tape to waterproof all of the edges and screw fasteners.
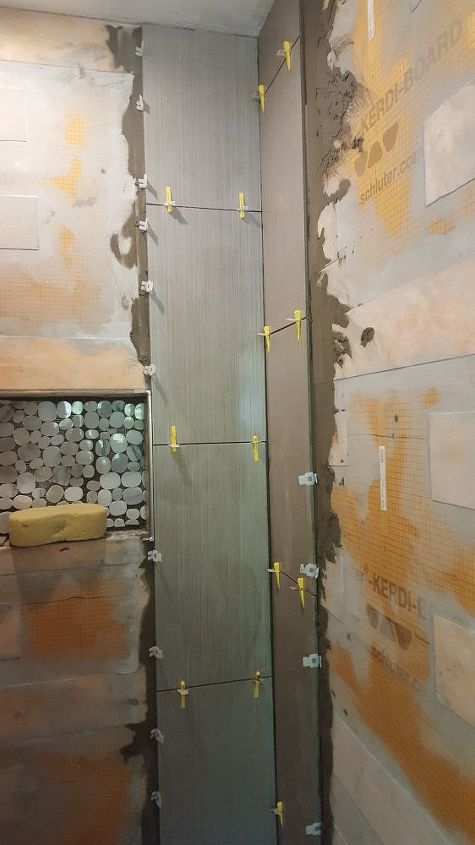
Starting to install the tile. We had the wet tile cutter set up in the BR on 2 old shower curtains to cut as we went. I opted to use the latch system to ensure all tiles remained level while setting up.
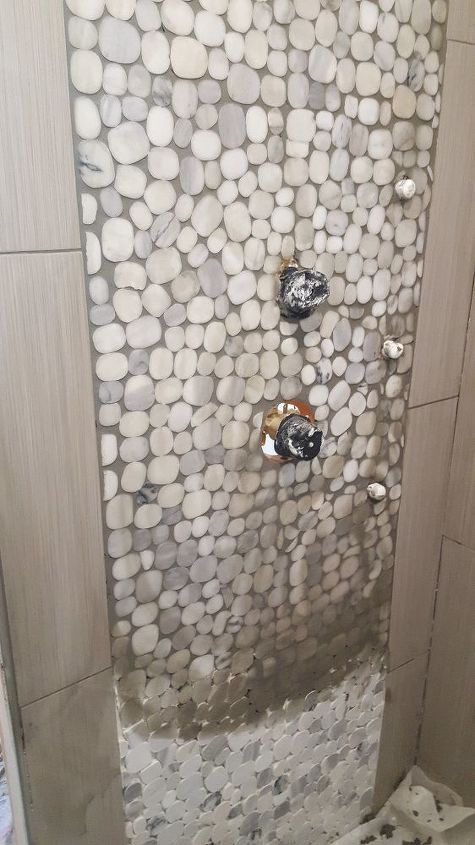
The hardware (a thermostatic valve and diverter, 3 jet shower heads) were easy to cut in by using the marble 12x12 inch tiles. Chose a gray grout that made the white marble stand out.
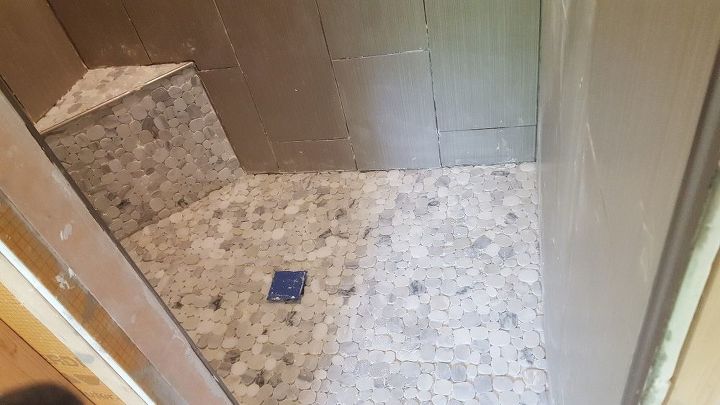
We chose the same 12x12 marble that was in the niche and hardware wall for the floor and bench. The Schluter system floor is already slanted slightly to drain on both the floor and bench.
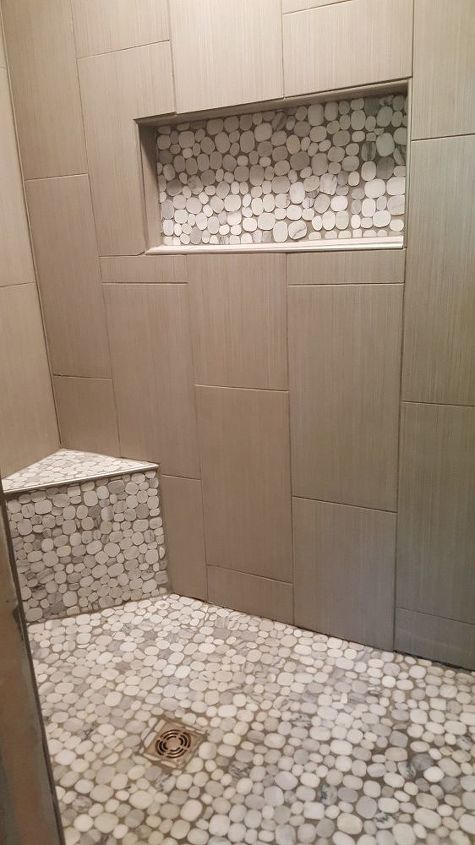
Grouted in all tile, installed the drain in (had to do that one twice! Forgot to ensure there was room to lower it to tile level) and the chrome edging was installed at the same time as the tile. On showers, you use colored caulk that matches the grout around the bottom of the walls, and at the junction of the walls. This prevents the grout from cracking if the house moves or shifts.
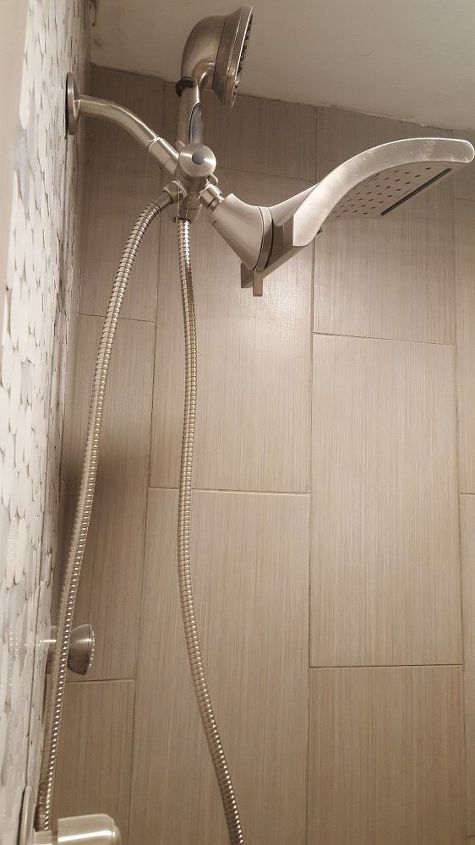
We installed the hardware so that we had a rain shower/waterfall head with a diverter to a hand held (on this shower head) and another diverter in the wall above the valve that goes to the jet shower heads.
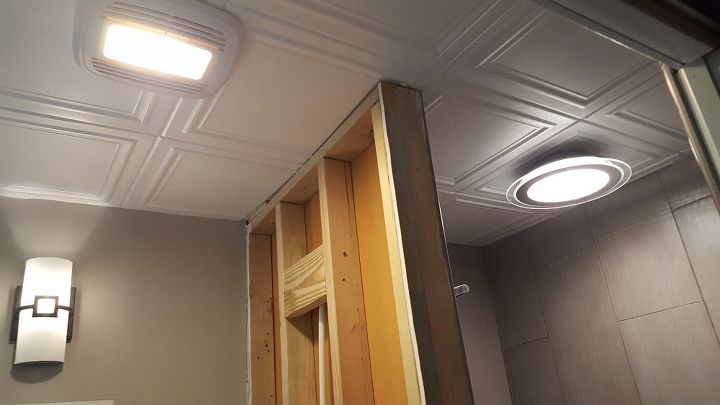
I ordered and installed the ceiling tiles. They look beautiful, and only took about 2 hours to put up. The only thing needed was adhesive grout on the back of the tiles to put them up. Although it doesn't look like it, these are made from styrofoam, light as a feather. We also bought a beautiful LED flat mount light for the shower and replaced the fan on the other side with a new LED fan/light option. Had to crawl into the attic to remove the can light and replace the mount for the new light.

I wanted future access to the water cut off and had seen this option on some web sites and pinterest. So I closed up the back of the wall with the wall (plywood) mounted on 2 heavy duty drawer slides so the wall slides opens if we need to turn off the water to work on it.
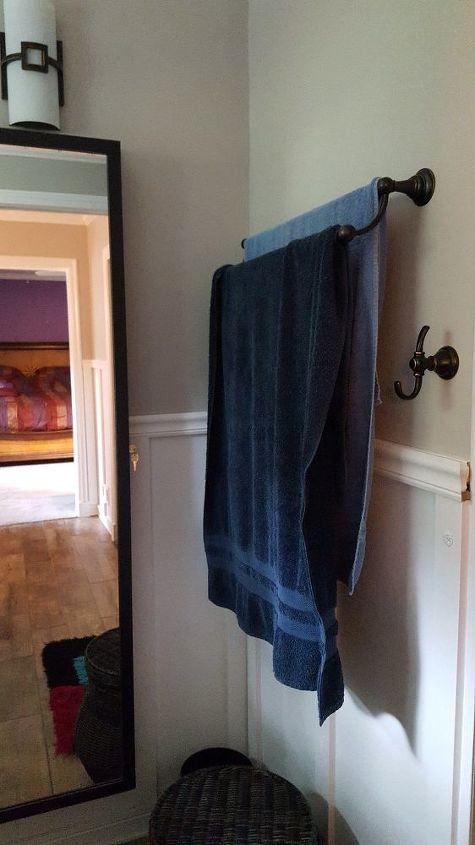
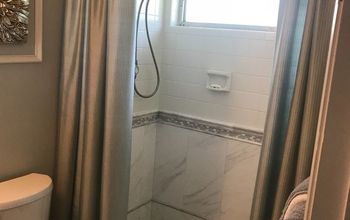
Once the wall was finished, I installed the towel rack and a hook for clothes. I also added 2 decorative screws at the top and bottom of this panel to hold it in place and close the gap. Remove the screws, and the wall slides open to access the on/off handles for the water. Shower complete!
Resources for this project:
See all materials


Any price and availability information displayed on [relevant Amazon Site(s), as applicable] at the time of purchase will apply to the purchase of this product.
Hometalk may collect a small share of sales from the links on this page.More info
Comments
Join the conversation
2 of 32 comments
-
This remodel turned out great!! When are you coming to NYC? hahaha
-
Wow! Great job! Wish you guys could do some remodeling for me. I can’t get that motivated.


Frequently asked questions
Have a question about this project?
LOL, Can you do my bathroom remodel? Love what you did!
In the picture with the drain in and tile complete is it grouted in that picture?
How much it cost for the make over