


Chippy Table Gone Bad To Beautiful Rustic End Table
4 Materials
$50
2 Days
Easy
I bought this end table from a friend's yard sale. It caught my eye from a distance because of all it's chippy goodness. When I got closer to it, I realized it was a chippy disaster. Whoever owned it before them had put a thick coat of yellow top coat on the piece and it wasn't put on evenly. There were really thick spots and there were drips. It was basically a chippy table gone bad. That didn't deter me from bringing it home though.
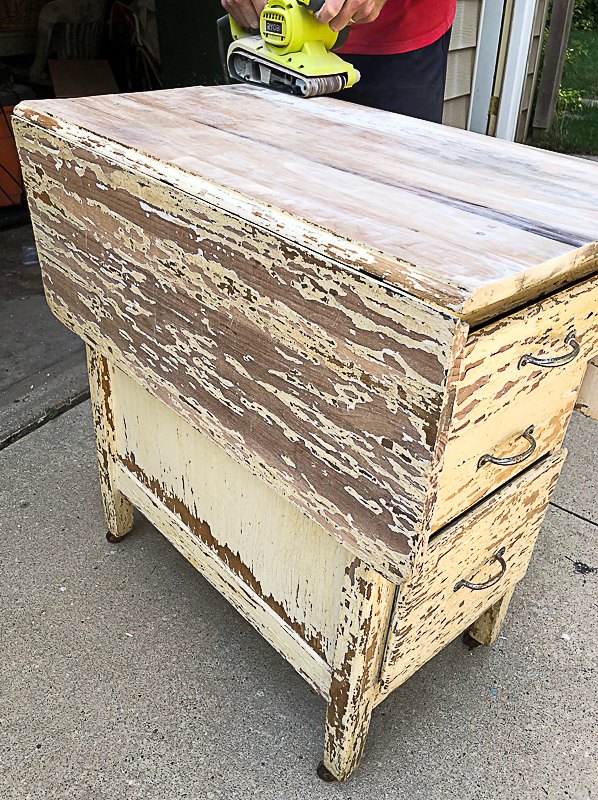
When I got it home, I started trying different ways to take the top coat off. The table looked so chippy, I thought I might be able to just scrap it off. Nope. Then, I tried some stripper solution and that didn't even budge it. My last idea was to use my {aff} HomeRight Heat Gun and it worked like a charm! Now, don't get my wrong, it did take a lot of time, but it took the top coat off great.

After we got the top coat and paint off the top of the table, we sanded it using our belt sander and orbital sander. The sander got the wood top completely smooth and rid of any excess finish.
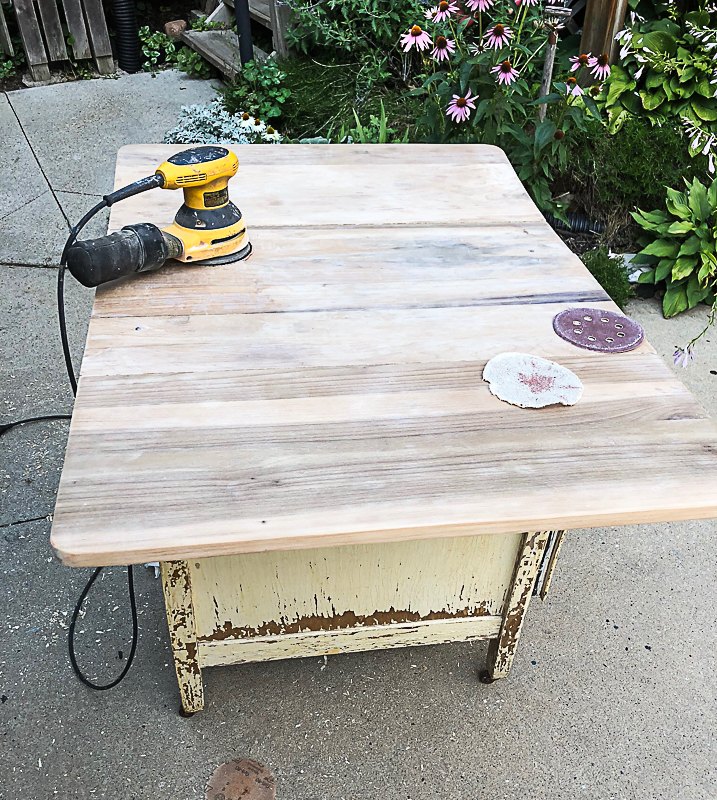
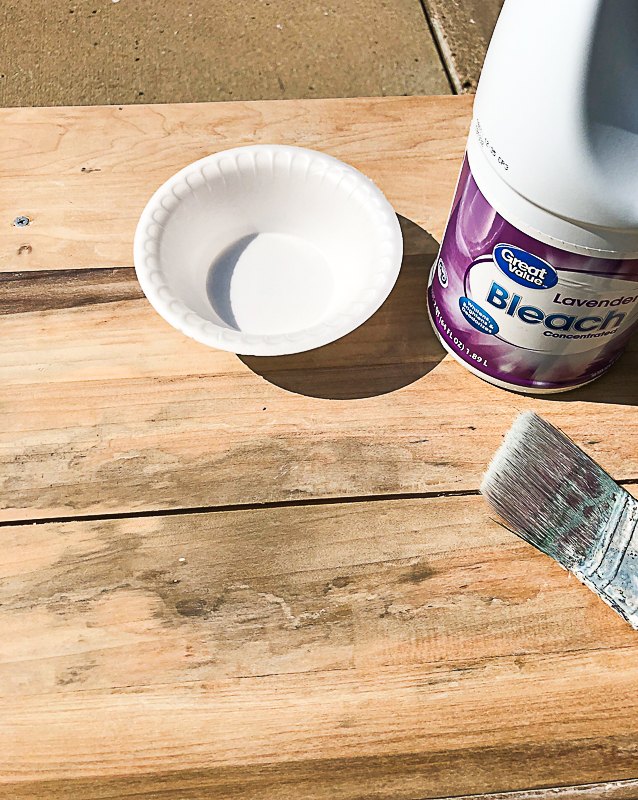
Once we had the top sanded down, there were still some dark areas in the wood. To get rid of this dark area, I brushed bleach all over it and let it dry out in the sun. I had to do this a few times, but it did get rid of the dark spot.
Once the bleach was dry and the dark spot was gone, I decided to paint and stain the piece. I love the look of paint and stain together so I thought the top and drawers should be stained and the rest painted.
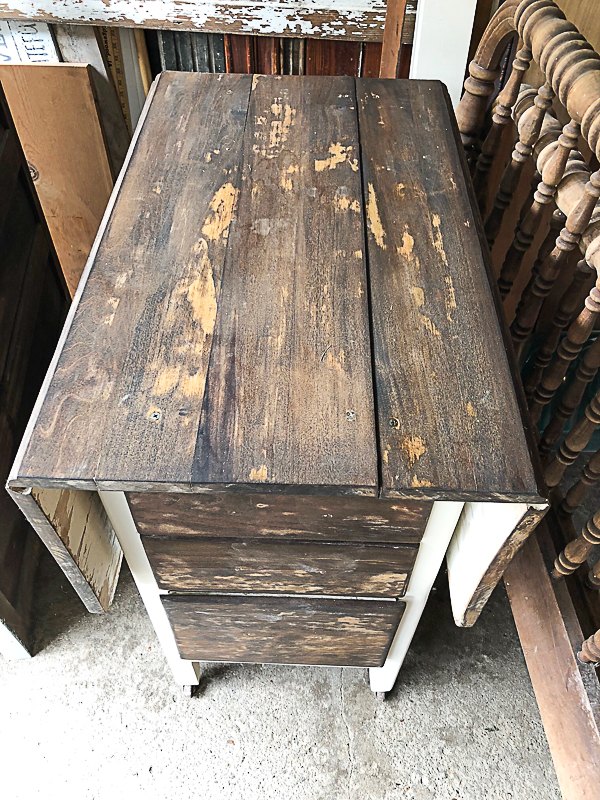
I painted the outer shell and then applied a dark stain to the top and drawers. The wood didn't take the stain in either place well. It was very blotchy. UGH! So, I had to go to plan B. I dry brushed the same color I put on the outer shell on all the stains surfaces.
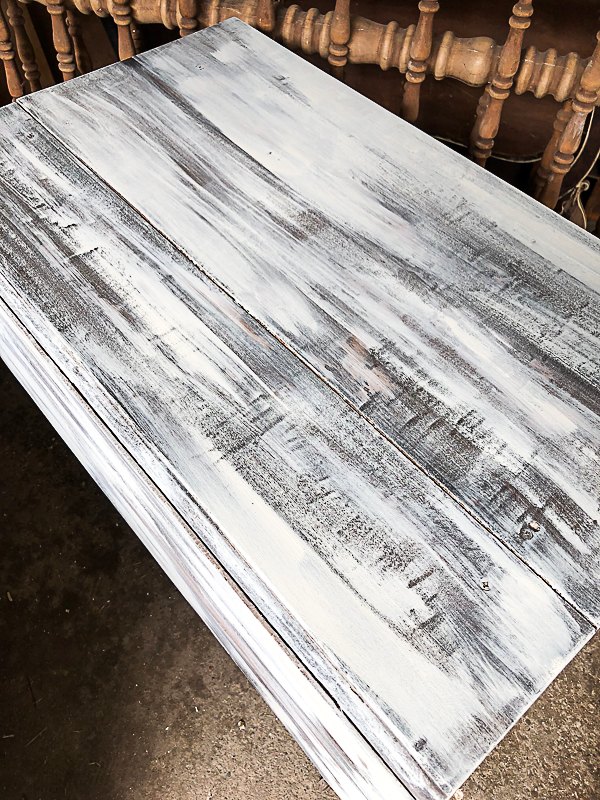
I wanted to cover the blotchy spots, but still let some of the stain color come through. After the "dry brush" paint dried, I used my orbital sander and roughed the top and drawers up so you really could see the stain coming through.
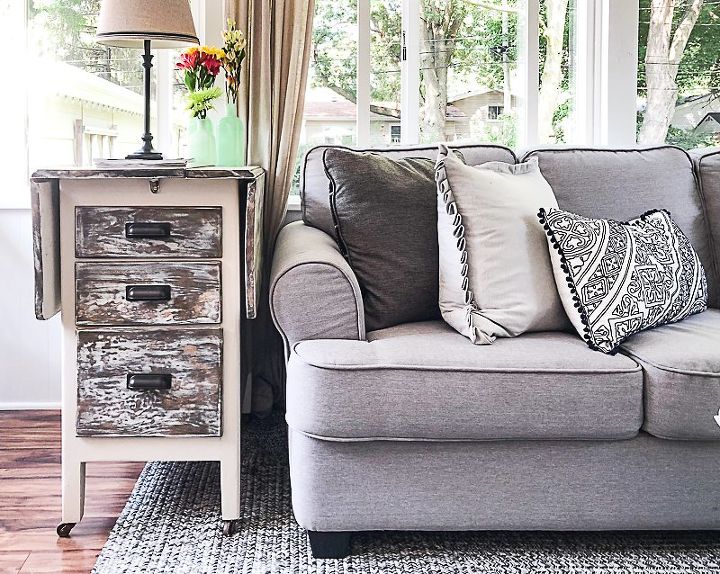
I added new hardware and viola! The chippy table gone bad turned into an amazing end table! Projects like this always teach me something new. I loved the entire process and learned easy ways to work around the problems I encountered.
To see more details about this project, tools, paint and stains colors, head over to my blog here: https://mycreativedays.porch.com/rustic-end-table-makeover/

Want more details about this and other DIY projects? Check out my blog post!


Frequently asked questions
Have a question about this project?