


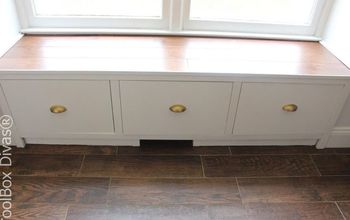
Window Bench

by
Susan Davia
8 Materials
$10
2 Hours
Easy
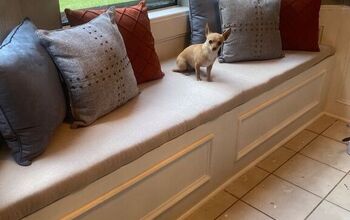
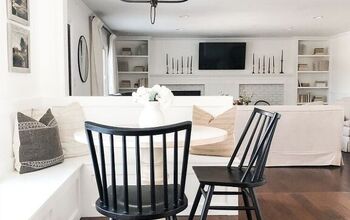
We finally made the window bench....it will have a dual purpose...late spring and summer and early fall it will be an additional seating...(I still have to make the cushion)...but late fall through winter it will house my plants that need overwintering in our Colorado area....there is even a plant light installed under the shelf hidden from view but still able to give the plants an added boost on cloudy days...(it gives off a pinkish hue).
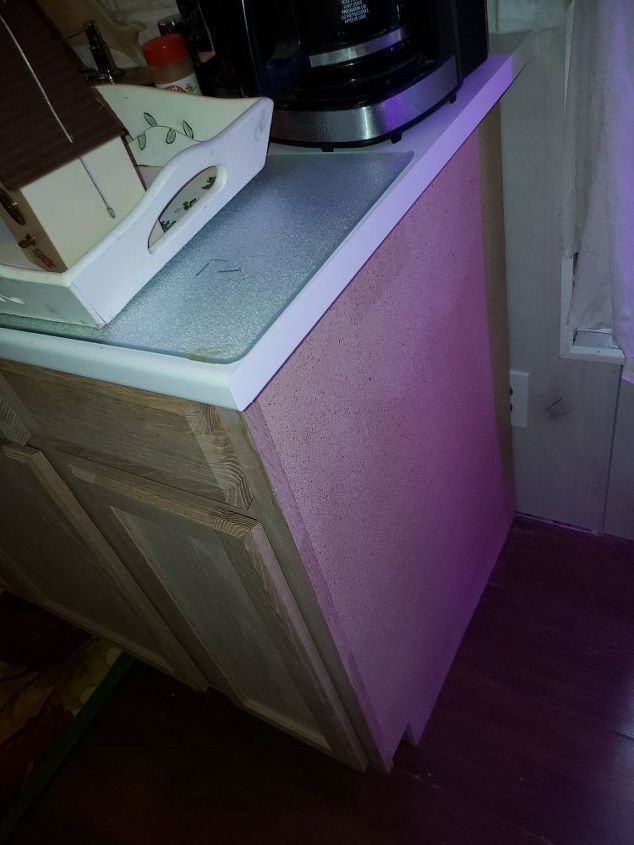
1st step was to add the finishing trim board on the kitchen cabinet....we used liquid nails.
Applying a generous amount of liquid nails
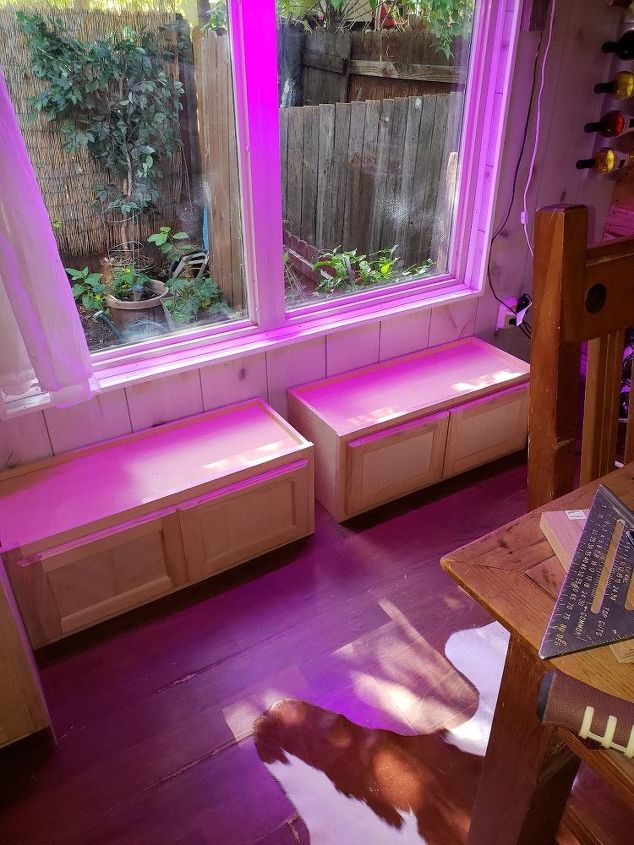
Now it is all about placement..... where the bench would go
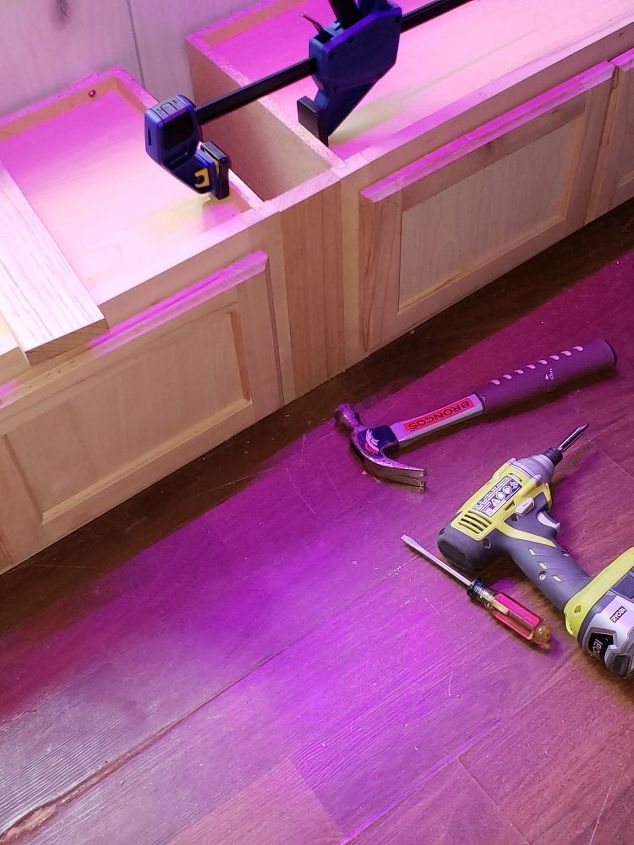
We cut and placed where the filler will be then clamped it tight
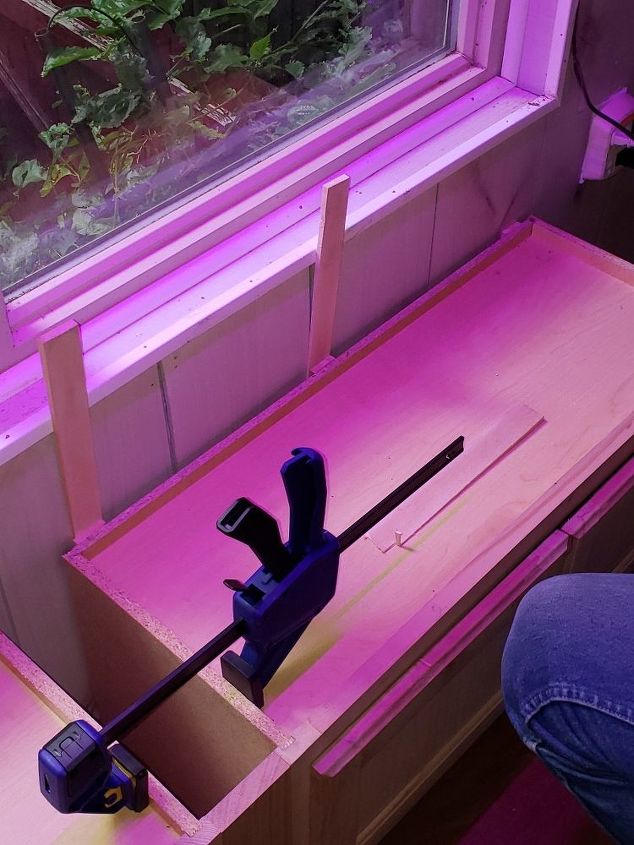
after clamping we shimed and secured to the wall with 3 inch cabinet screws...using a utility knife we scored the shimes and snapped off the access.
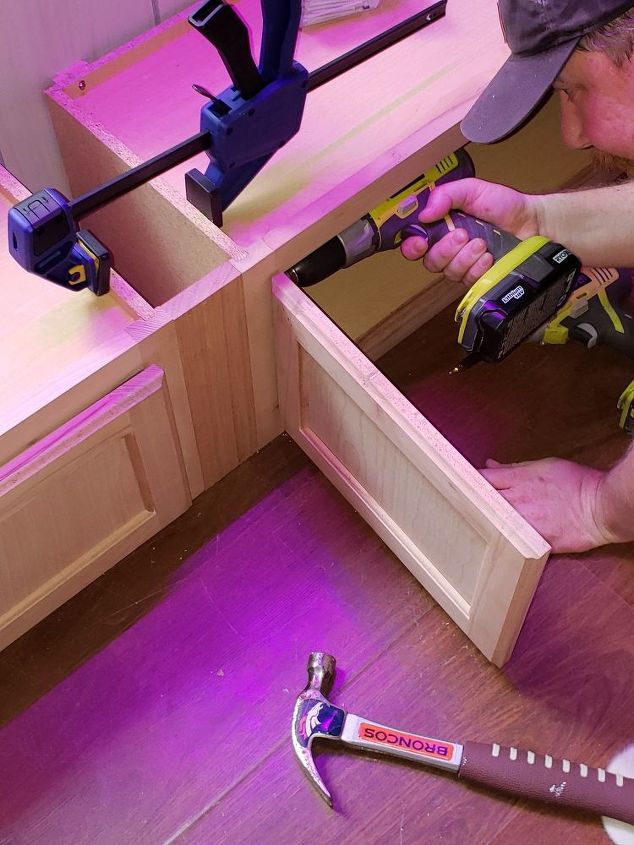
Next we attached the cabinets to the filler board using FIN/trim trim head screws 2-1/2" long....first predrill .
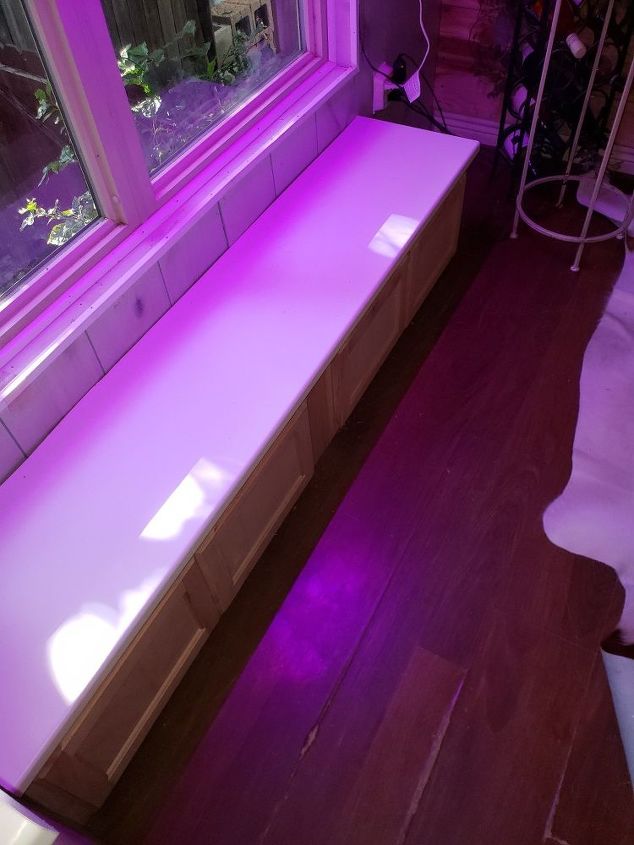
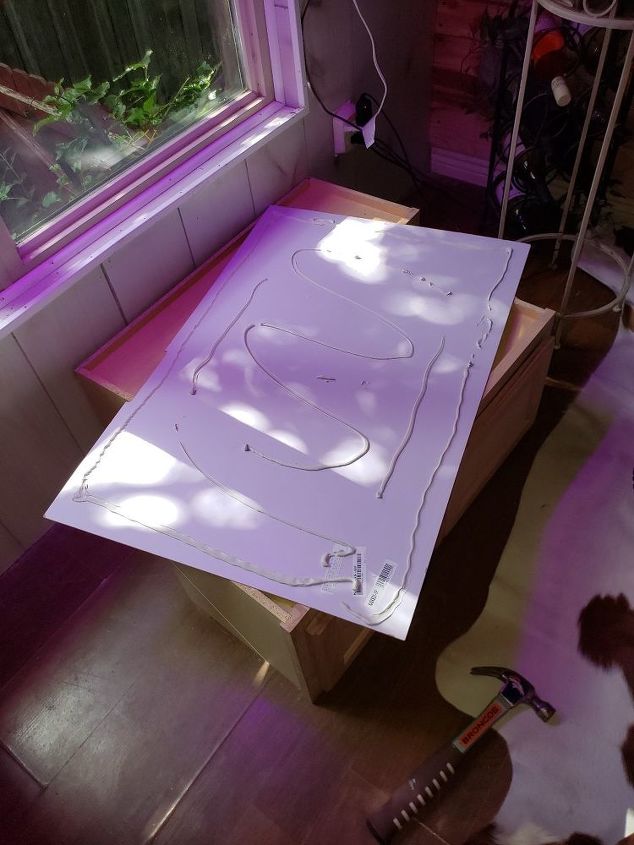
Next we measured the length and width of the countertop and cut and attached with liquid nails...I also caulked along the wall and cabinet since it will have plants and that occasional spill is bound to happen...also since some planters and saucers can discolor and leave watermarks I will be placing clear vinyl on top during plant season
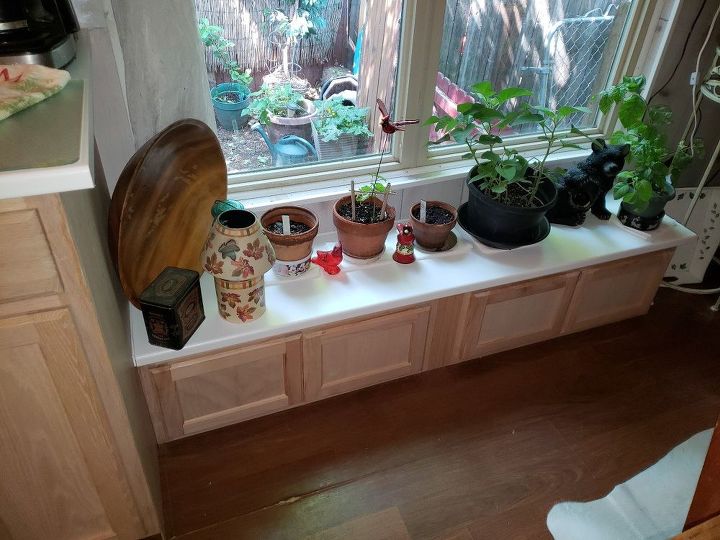
And this is the winter look of our window seat with some of the plants

and I just made the cushion the other day.....
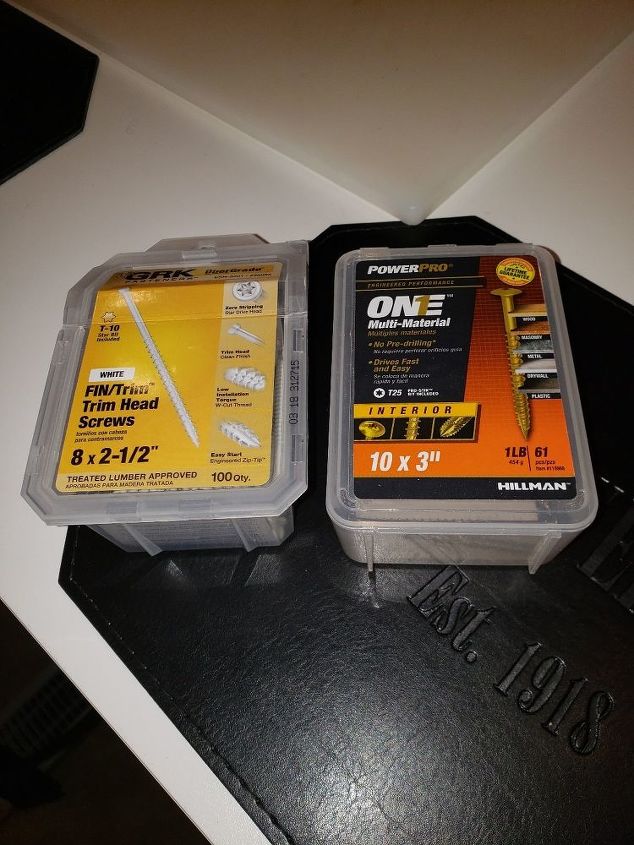
What the packages of screws look like
Comments
Join the conversation
4 of 47 comments
-
Beautiful and clever!!!
-
Love this!!!


Frequently asked questions
Have a question about this project?
Why does it look pink. Great idea
Are those upper cabinets you used for the base?
What did you do about the outlet that was half covered by the cabinet? did you just cover it or relocate it?