


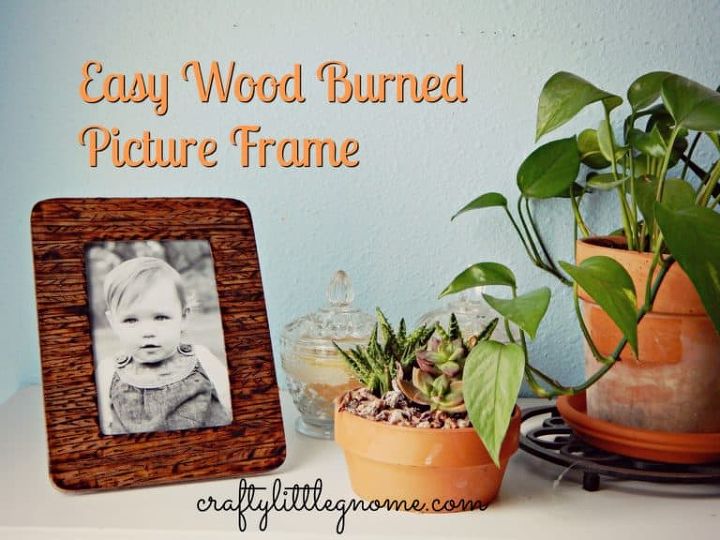
Wood Burned Picture Frame
This picture frame is easy to make with just a few supplies from the craft store. I used a plain wood frame and made marks on it with a wood burning tool. Then, I stained the whole thing and added a photo of my baby girl inside.
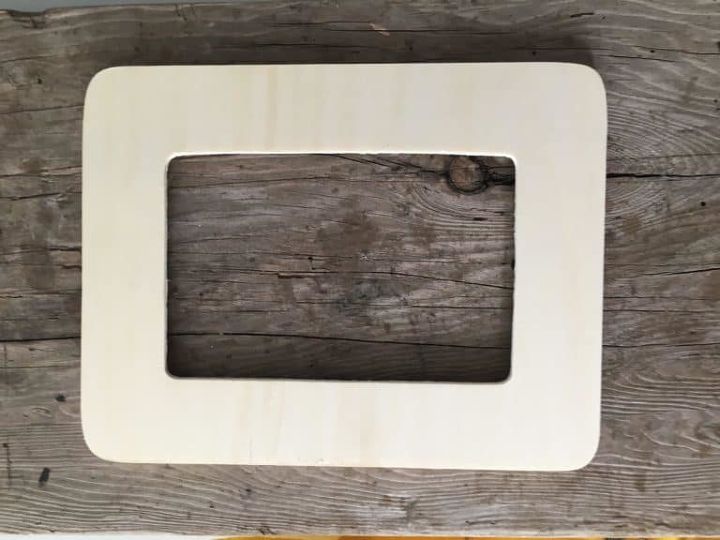
Start with a plain wood frame from the craft store. This frame cost me about a dollar. It fits a 4×6 picture.
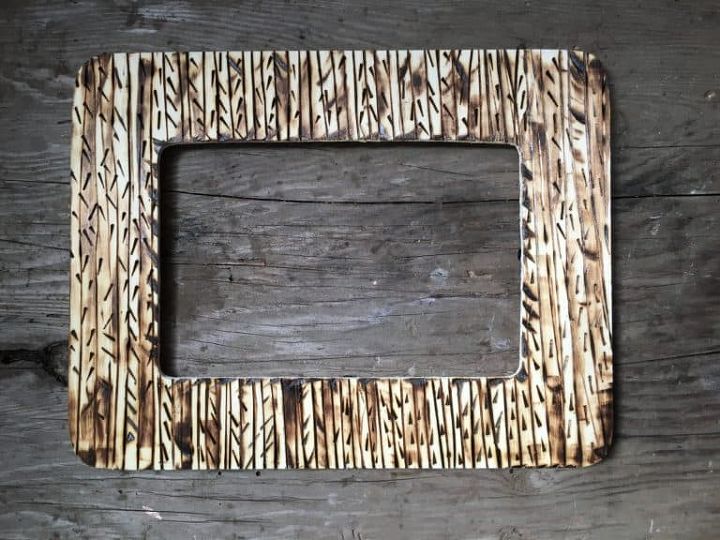
Set the temperature on your wood burning tool on high and start drawing lines across the frame to make stripes. You can then press the tip of the tool into the frame to make little dashes. I also used slanted the tip of the tool sideways to “shade” some areas darker. There is no wrong way to do this.
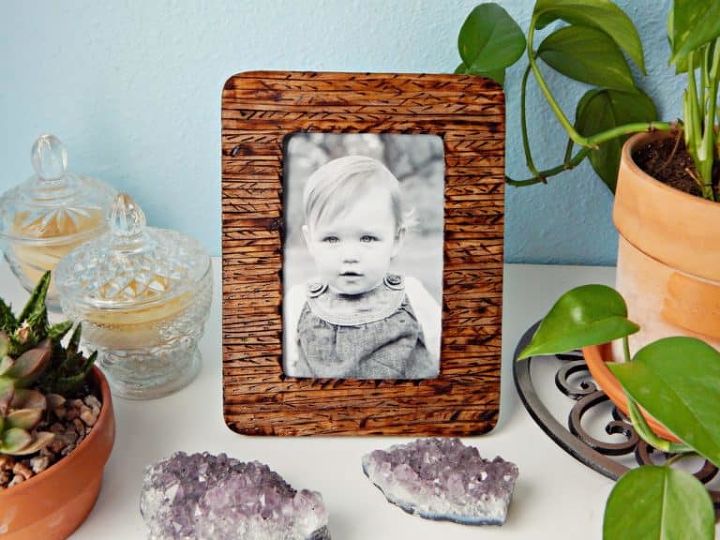
It didn’t look quite “done” so I decided to add a stain to it. I used Varathane Stain and Poly in Dark Walnut. I had this stain left over from another project. It’s water based so it’s easy to use and clean up. I put two coats of stain on this frame. No top coat needed, it’s included in the stain.
Here is the final result dried and on display. What do you think of my wood burned frame?
Resources for this project:


Frequently asked questions
Have a question about this project?