


DIY Rustic Wood and Metal Family Photo Frame
2 Materials
$15
2 Hours
Easy
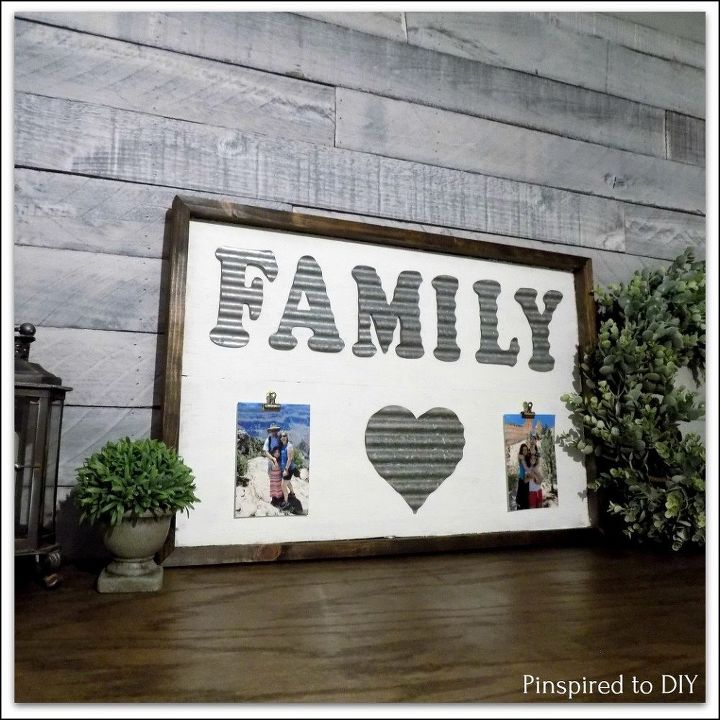
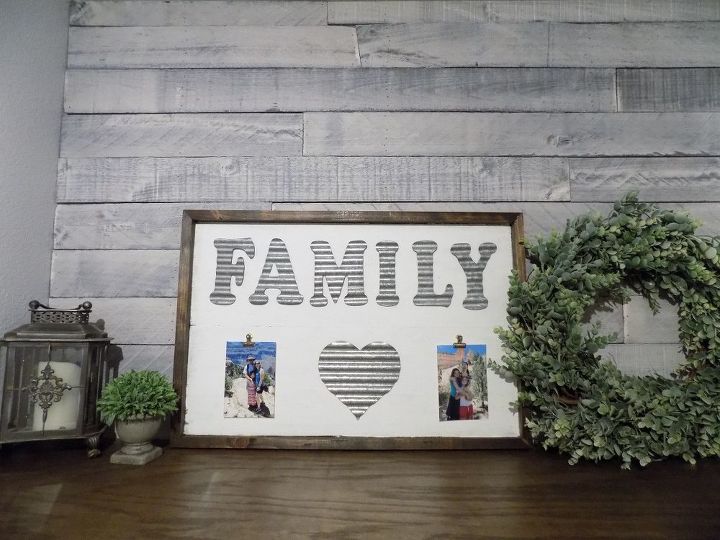
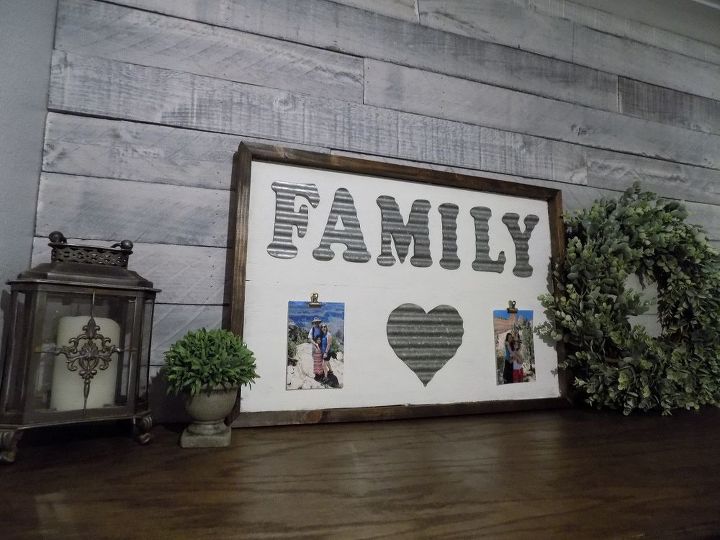
I had purchased some corrugated metal letters from Hobby Lobby a while ago and decided to use them to create a rustic "family" sign that was also a photo display frame.
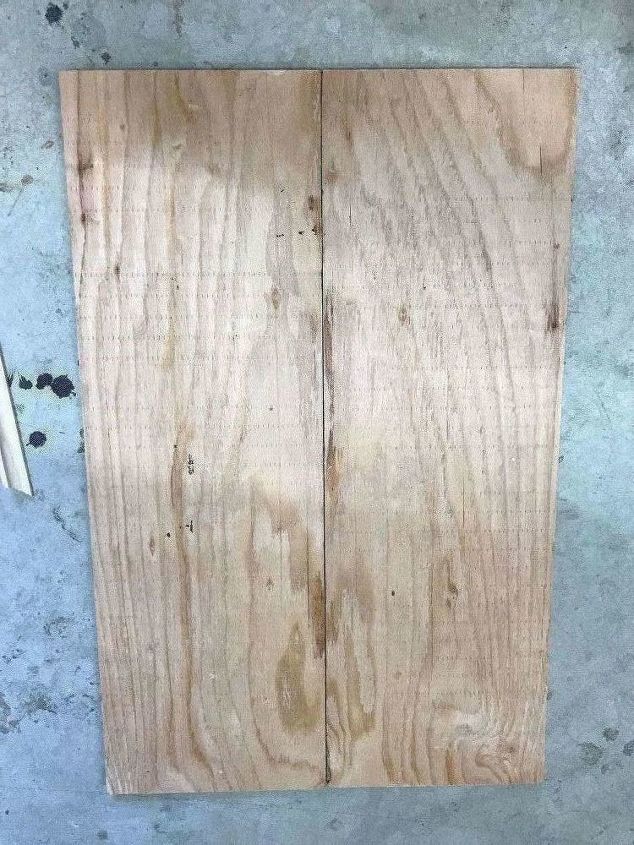
Here are the abbreviated instructions for how I created this sign, for a detailed tutorial and additional photos, please visit my blog using the link at the bottom of this post. First, I cut two 1/4" plywood boards to size to create the sign/photo frame backing. I then attached them together with wood glue.
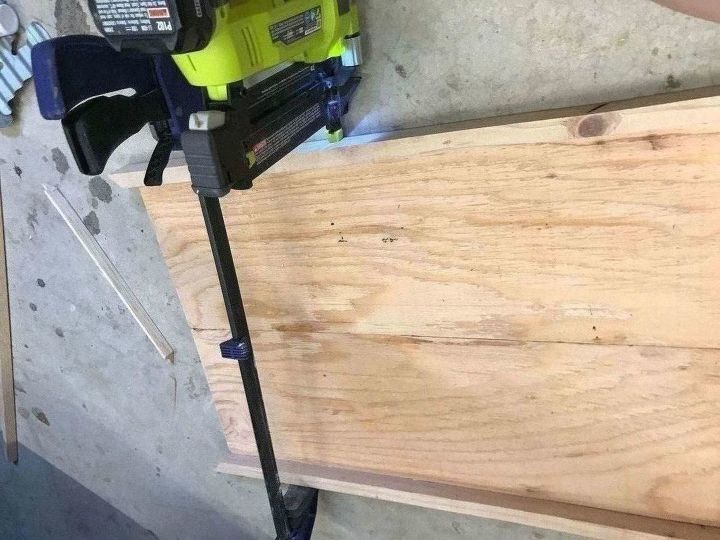
Next I cut the boards to make the frame and attached them to the plywood backing using wood glue and brad nails.
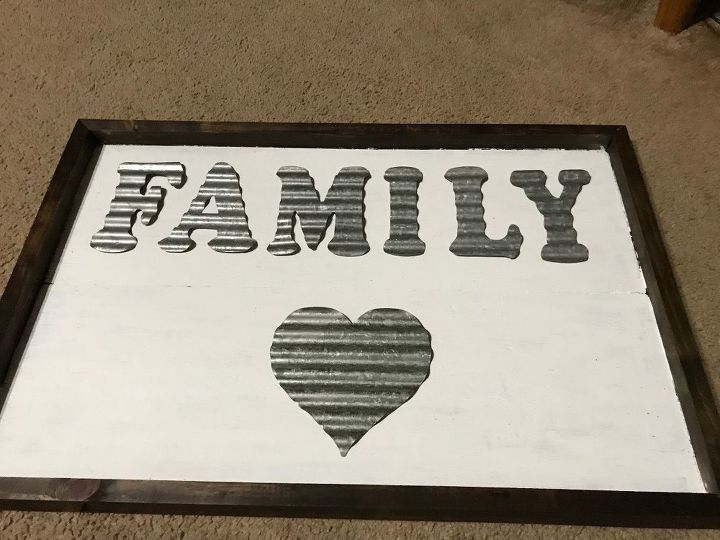
I then painted the plywood backing white, and stained the frame in a dark walnut color.
Next, I attached the corrugated letters and the heart shape to the plywood backing using wood glue.
I then attached a bulldog clip to each side of the corrugated metal heart.
I added a family photo to each clip and then placed my new rustic artwork in the perfect spot!

Want more details about this and other DIY projects? Check out my blog post!


Frequently asked questions
Have a question about this project?