


Here Comes the Bride

7 Materials
$10
2 Hours
Easy
My family and I have been extremely busy preparing for my granddughter’s
wedding. Let me say, the preparation and decorating pretty much dominated our lives for the last few months. It was all worth the time and energy we put into everything. Their wedding was absolutely beautiful! I, for one, am glad the wedding was a success and it is over. This leads me to one of my recent projects. The wedding venue was an old country barn, located on a long, bumpy road in the hills of Tennessee, where navigation will get you so far. So to help the guests, easily spot the place to turn, we needed a sign. My daughter was so worried about what we could for a sign that would look nice and festive. One night while prowling through my stash of stuff, I had an idea.
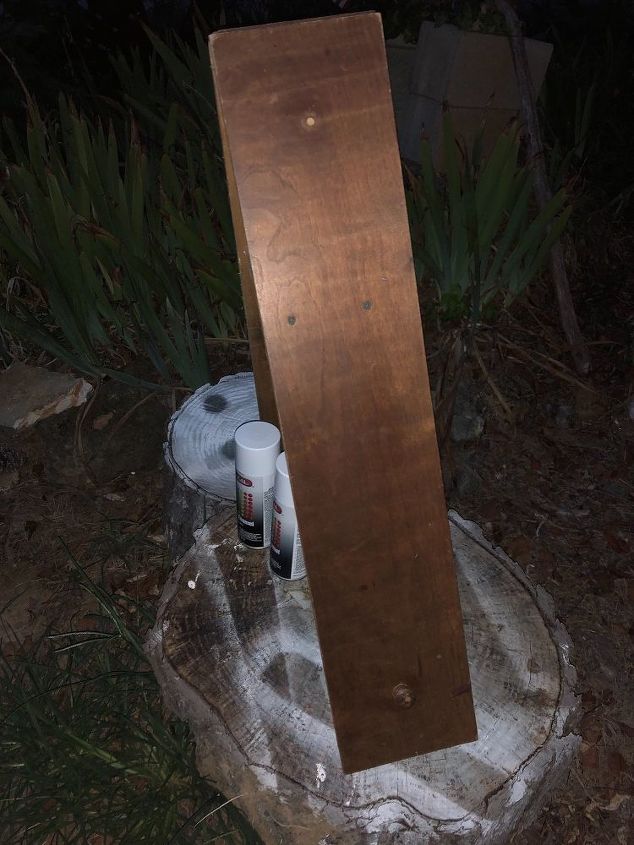
I found the front of two drawers from an old chest of drawers. The finish on the front of the drawers was smooth and did not need any work. So glad I saved these drawer fronts. Yea me!!!
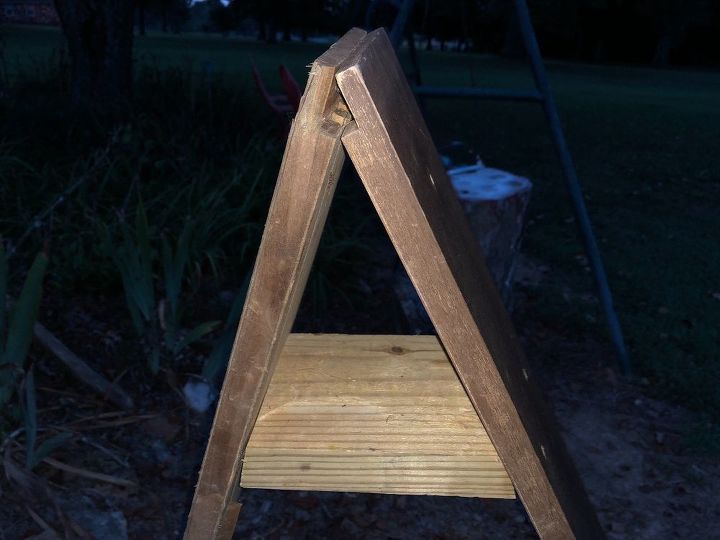
I cut a piece of scrap wood to use as a brace to help support the a frame shape for the sign. Next, I used a hand held battery operated drill and added a screw on each side to hold the brace in place. Sorry, but I did not have my phone to take pics of the before pics of putting the drawers together to make the sign. It was now sturdy enough to stand by the road.
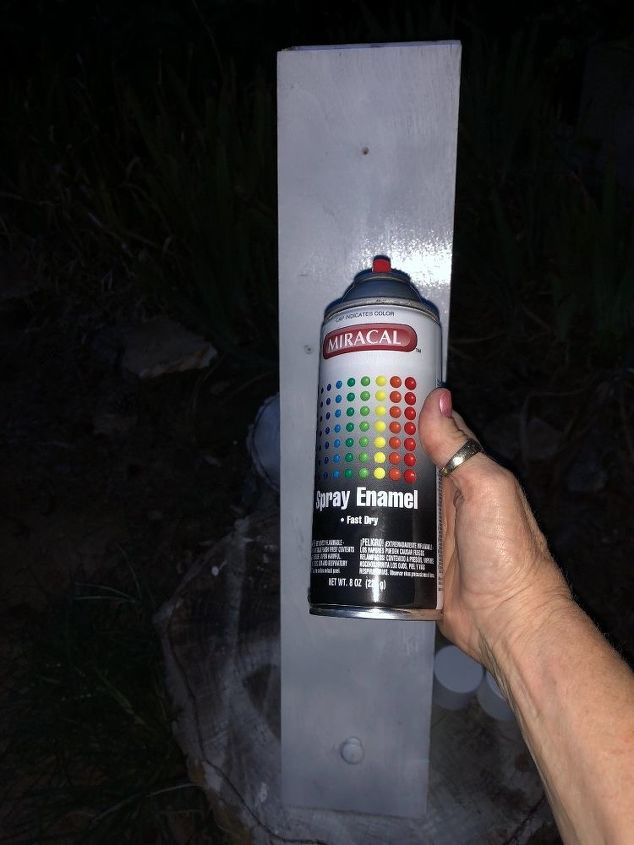
The color of the drawer fronts was a dark walnut shade. So, using spray paint, I painted the sign white and let it dry for about an hour.
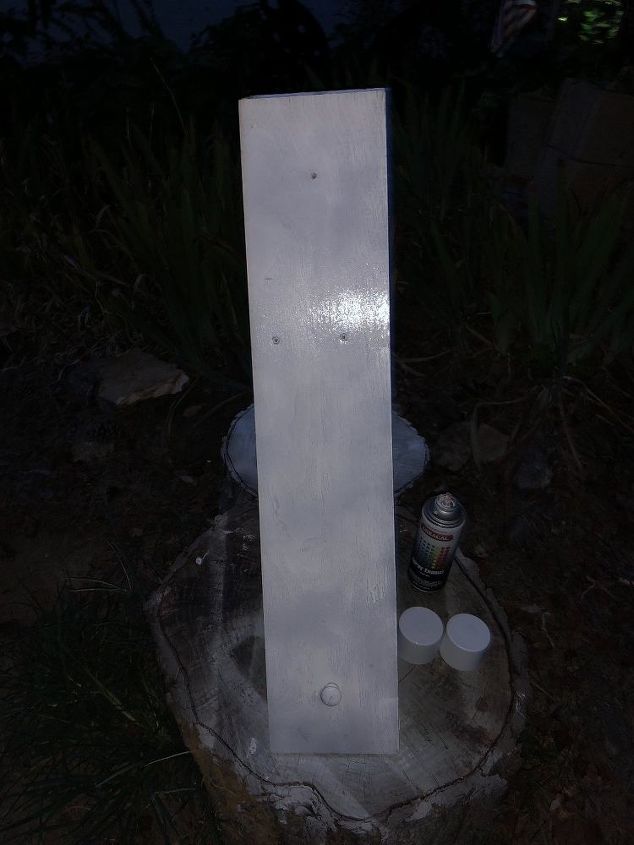
After the paint was dry to the touch, I added another coat of spray paint and again I allowed time for the paint to dry to the touch.
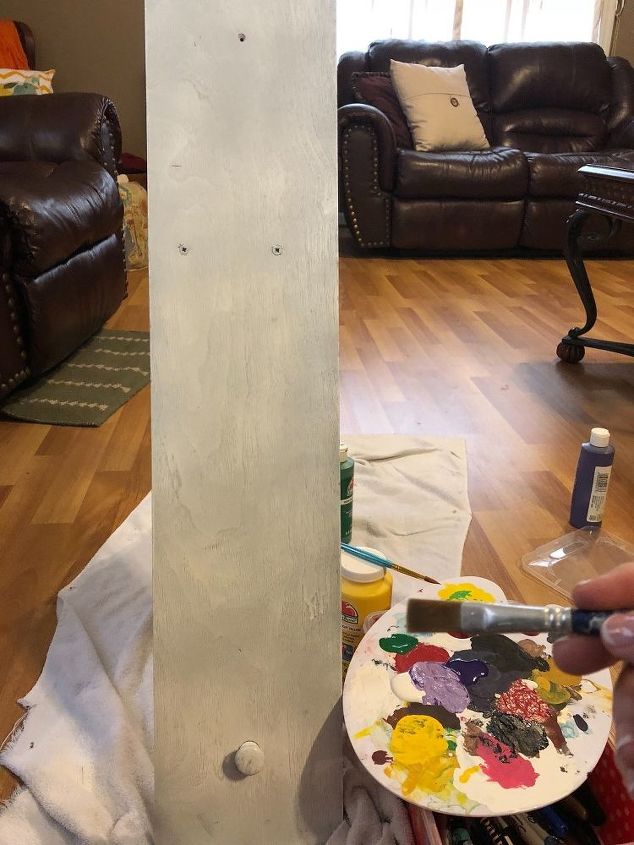
I brought the piece inside to paint the wording on It. Since we had guests coming from both directions, I painted both sides.
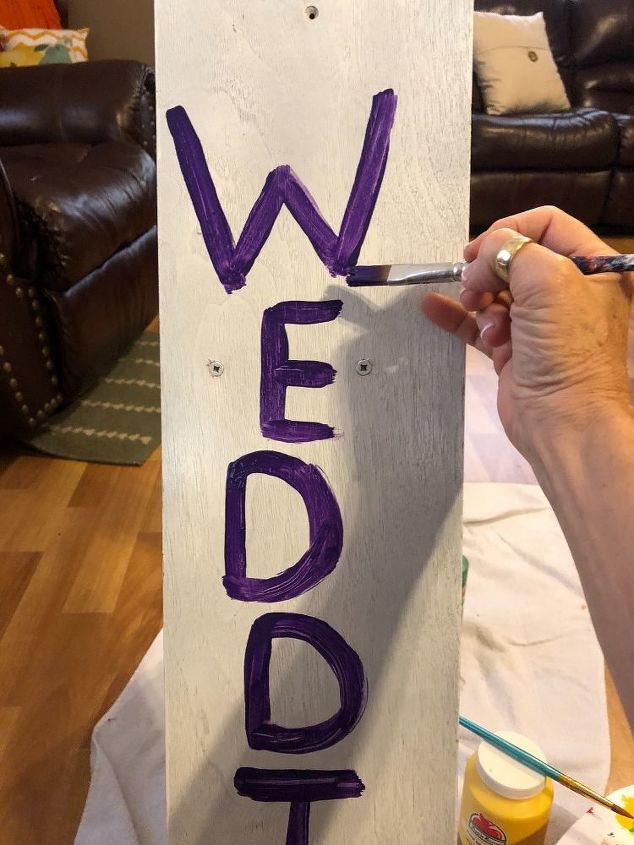
Using purple paint and a medium width paint brush, I wrote the word wedding on each side. I dropped down a little from the top so I could add the last names of the bride and groom at the top of the sign.
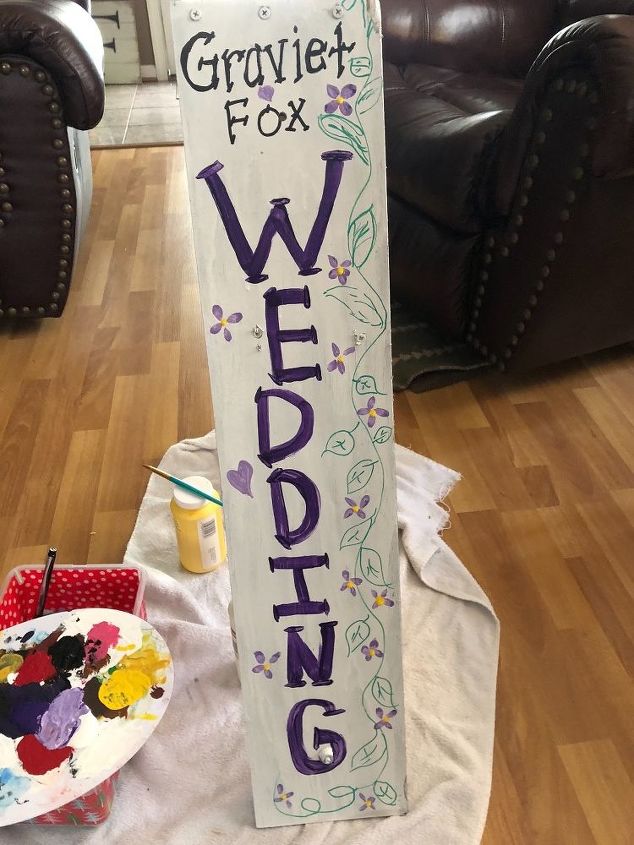
I drew greenery and painted flowers around the lettering.
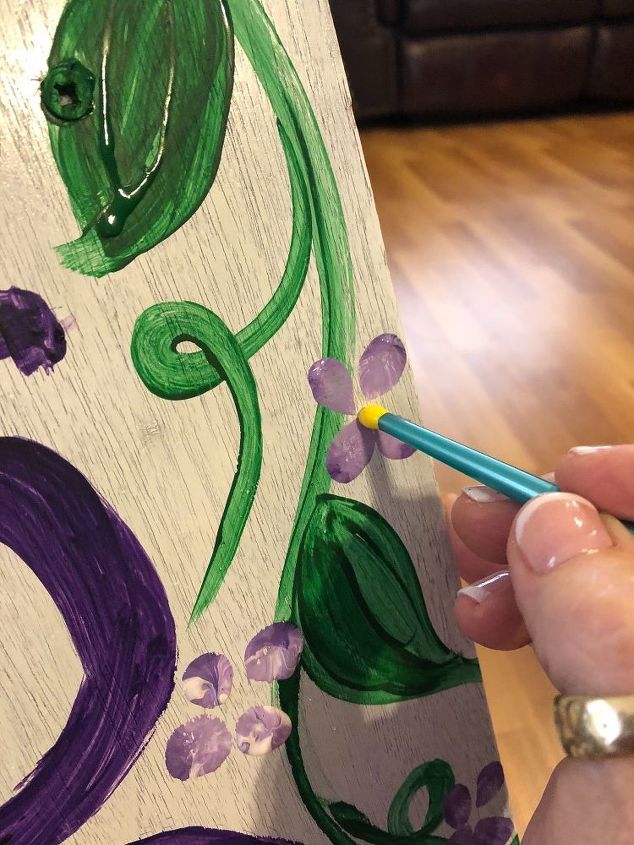
I filled in the leaves with green paint and using the tip of the brush, I pressed the shape of flower petals in various locations. I used the wood end of the brush to make the dots for the flowers.
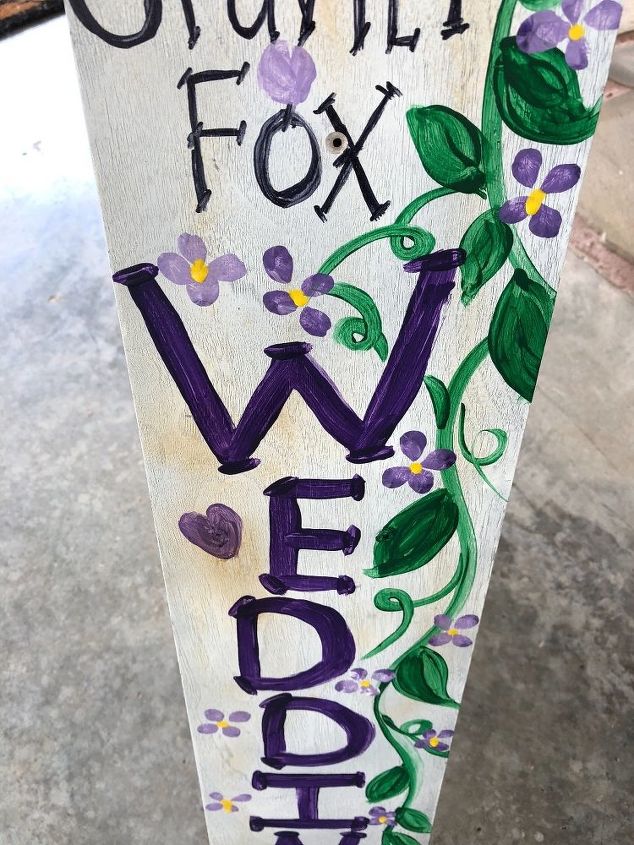
I added the bride and groom’s last names on both sides, at the top of the sign. Then I spray cleared spray paint on th sign to protect it, in case of a shower. In this picture, You can see a yellow spot. This made me sick. I guess the clear spray was old... Luckily, I stopped as soon as I noticed the color change. Hubby to the rescue, he brought me a new can of clear spray paint. The other went in the trash. I turned this side of the side in the direction that less guests would be entering from. I didn’t want to spend more time working on the sign, since it would probably be trashed after the wedding.
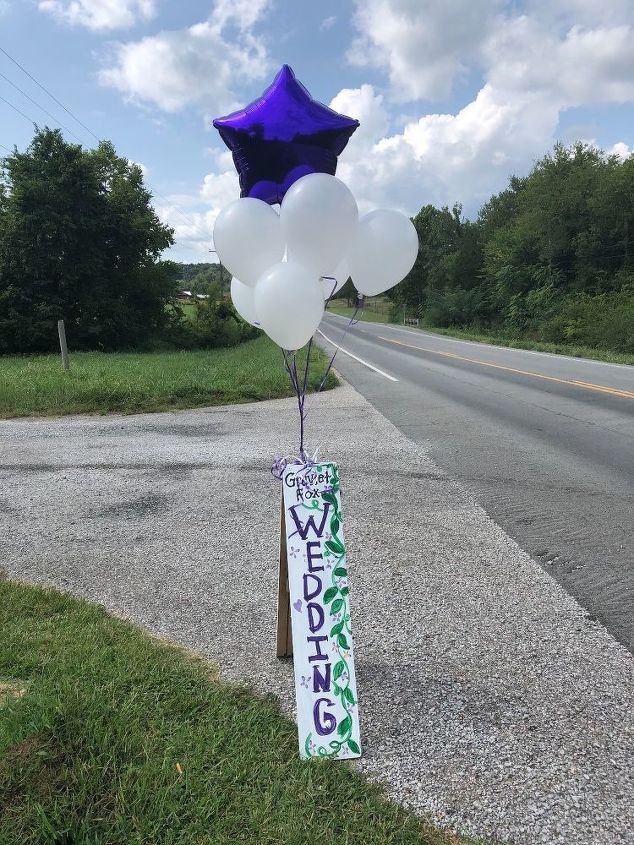
Here is the sign placed for all guests to see. A few helium filled balloons provided an additional festive touch.
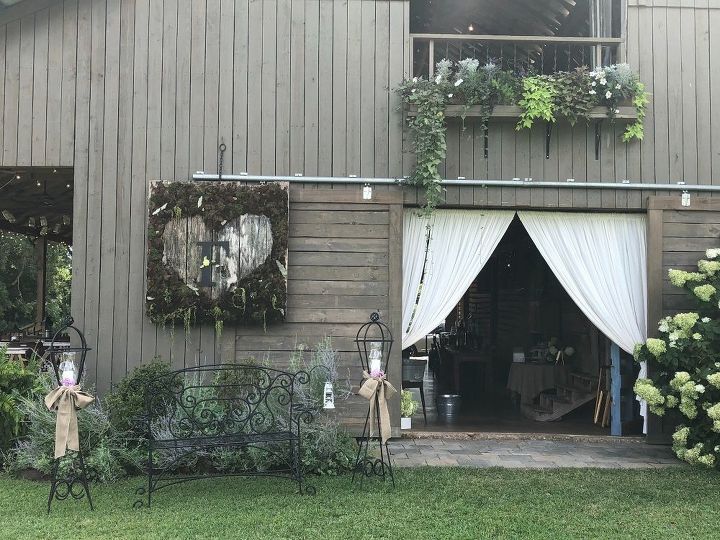
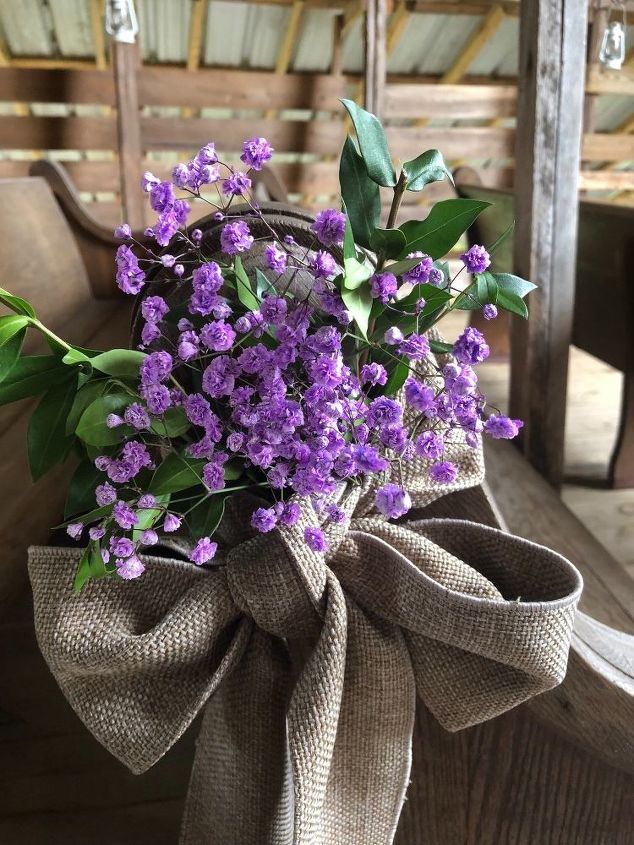
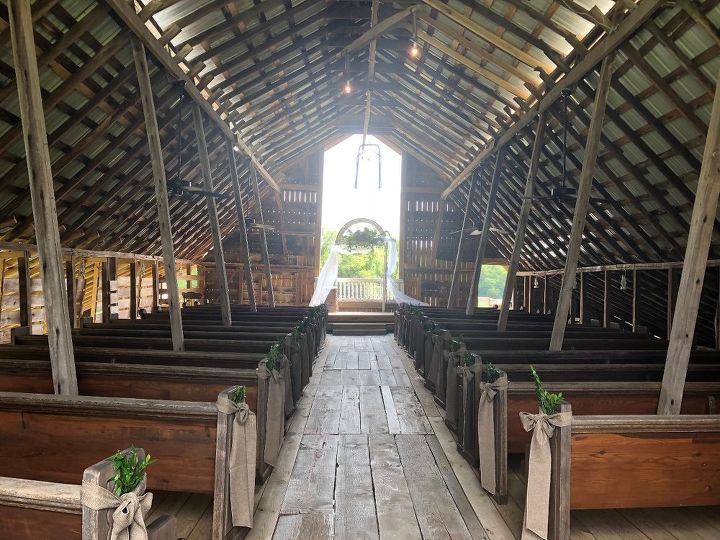
just a few views of the venue....
Resources for this project:
See all materials


Any price and availability information displayed on [relevant Amazon Site(s), as applicable] at the time of purchase will apply to the purchase of this product.
Hometalk may collect a small share of sales from the links on this page.More info
Comments
Join the conversation
2 of 9 comments
-
Nice job - I hope the Happy couple was able to save the sign, as a reminder of their special day 💐🎉💖 😁
-
Thank you!


Frequently asked questions
Have a question about this project?