


A New House Number for My House

by
Cynthia H
7 Materials
$2
1 Hour
Easy
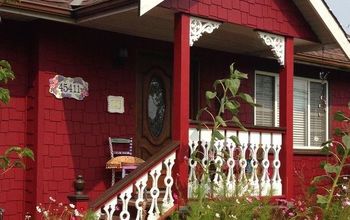
With all the extremes in weather this year, I've been trying to find inexpensive ways to brighten up my front (and back) entries. As I've mentioned in other posts, our driveway is in the back of our house, so it is the entry we look at several times a day. The only time I'm out front is to drag the garbage cans to the curb, to get the mail, to answer the front door (usually a package delivery or someone polling), or water my monster morning glory plant (I kid you not, some rich soil, an inexpensive pot, some seeds, and it's trying to take over the front of my house). Now if it would just bloom more! But, anyway, I tend to forget the front is the curb appeal from the street. My hydrangea and other plants are all luscious this year, thrilled with all the rain/heat/sun/rain. So luscious in fact, that the forsythia is arguing with the hydrangea for space (they will be separated). So, while checking that out, I took a good look at the front of the house. We are going to power wash the siding before the snow drifts come, since it is looking a little grimy, a new sidewalk is scheduled to be put in next week (replacing the slate sidewalk that I loved, but, my husband hated), the mailbox needs a fresh coat of paint (I plan to keep its pretty blue vibe going), and as pretty as my wreath is, on the front door, time to pay attention to the front.
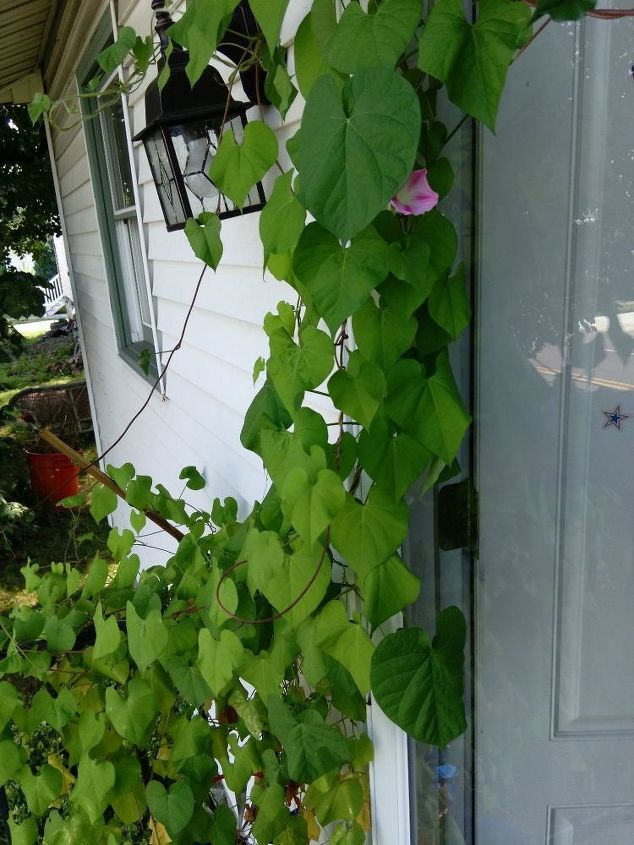
My monster Morning Glory
This is the front porch. I'm thrilled I managed to grow this huge plant since I often have little success starting from seed with a few notable successes like this one.
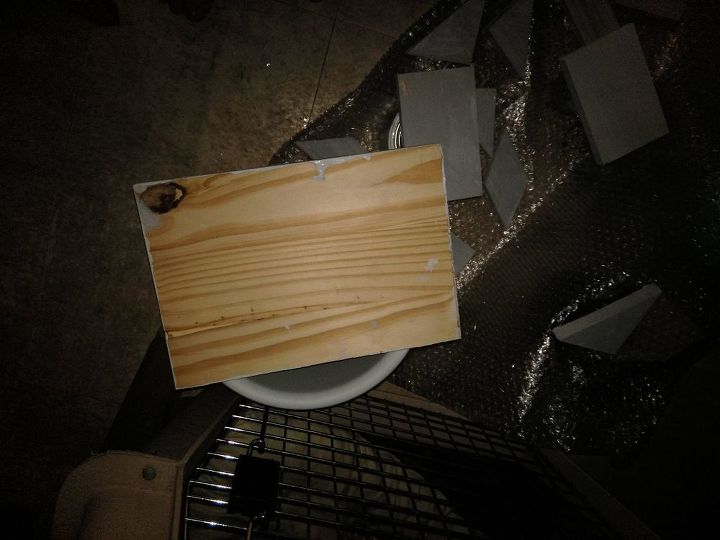
a scrap of wood
Anyway, back to the project for today. I had this piece of wood left over from my kitchen island project. I hoard pieces of wood, much to my husband's amusement, although the numerous times I've provided a piece of wood just the right size when he needed one should have convinced him by now, that it's a great idea.
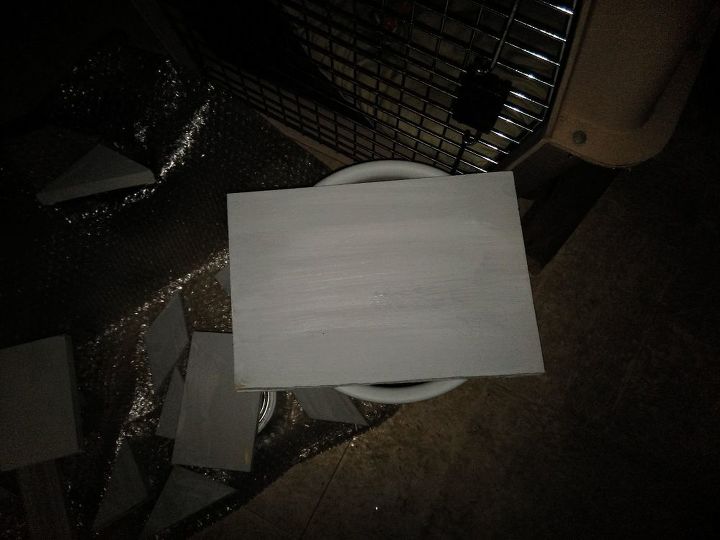
after painting the wood
I painted it with leftover paint and decided I liked it. It's Parisian Grey. It won't be exposed to the weather, since we have a full length storm door protecting the front door, I decided to not seal it. If it were for the back door, which gets the sun all day, and is more exposed to the weather, I would have put an exterior sealer on it. Besides, I can always paint it another color or update it in another way. Might be fun to paint some other scrap wood pieces in seasonal colors to swap out when I update the wreath on the front!
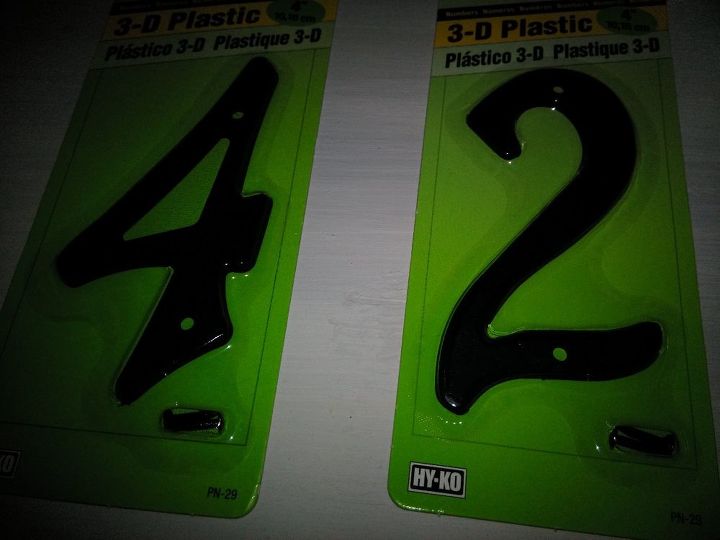
the numbers
I found these four inch numbers for ninety-eight cents each at Walmart. They are come with nails. Since I had the scrap wood, the paint, the Command strips and only needed to purchase the two numbers, my only actual purchase was less than two dollars. Buying a small amount of paint, the wood, or the Command strips would add to your cost. They all are items I buy enough for to do multiple projects, but, none are expensive. You could pick up an inexpensive paint sample (they even have sample chalk paint), use a picture hanger instead of the Command strips, or attach a string, ribbon, etc., and stencil or free hand draw your numbers, or buy a small plaque at your local craft store and still spend well under ten dollars with leftover paint, etc. The time was an hour because I had to wait for the paint to dry. Some paint dries faster or slower. Then, the next step.
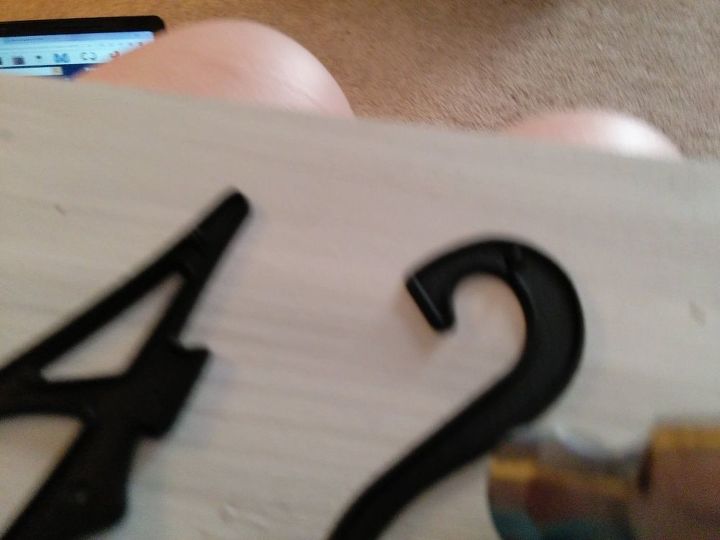
I used my hammer to pound in the little nails. Honestly, the pine is so soft, I was able to push the nails in, and with a couple of taps secured them in place.
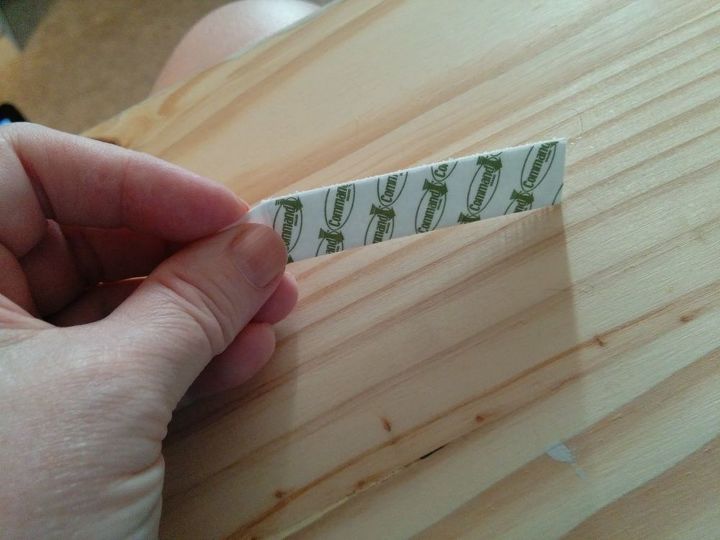
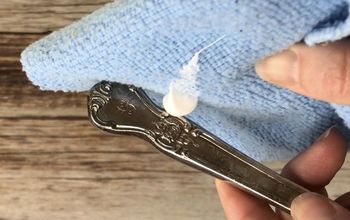
I love Command strips for hanging pictures. I buy a large package from Amazon and use them for hanging anything. Watch the weight limit listed in the upper right corner of the package. I usually have them on hand for the sixteen pound limit and have used them for everything from mirrors to paintings successfully.
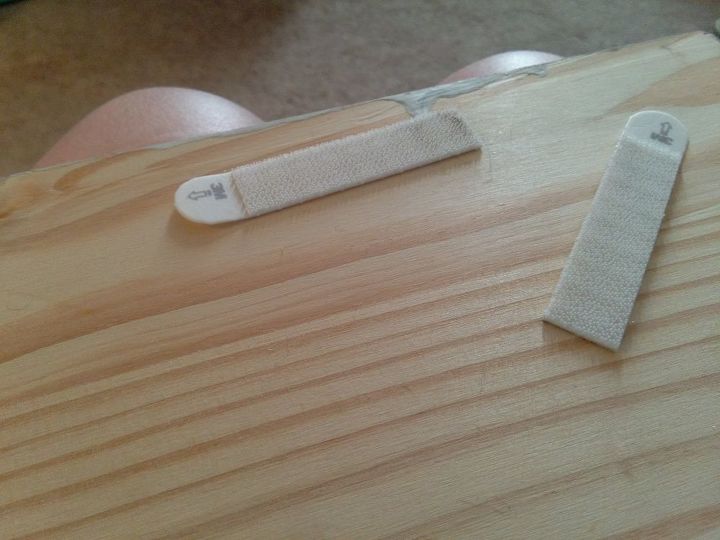
I usually apply a strip to the back of what I'm hanging. You can place the other strip on the surface where you're going to hang it, or press them together like Velcro, with the tabs lined up, and then peel the second cover off and press it against the surface where you want to hang the item. Either way, make sure you are applying the strips to a clean surface or it won't stick.
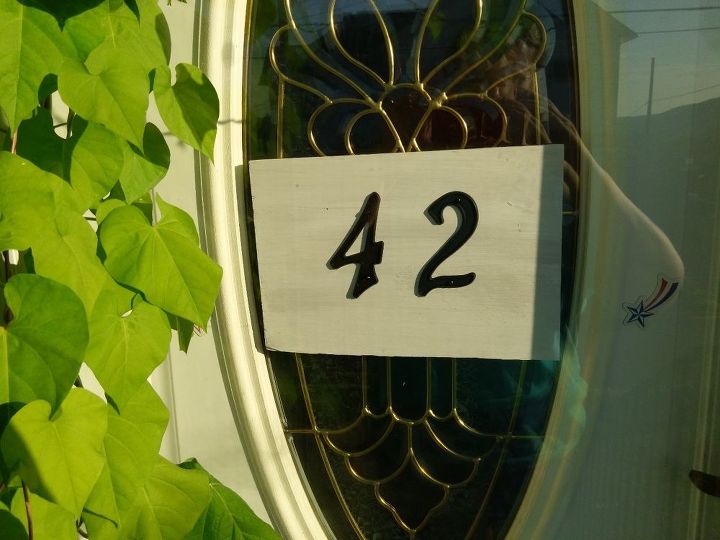
I think the Morning Glory likes it!
Resources for this project:
See all materials


Any price and availability information displayed on [relevant Amazon Site(s), as applicable] at the time of purchase will apply to the purchase of this product.
Hometalk may collect a small share of sales from the links on this page.More info
Comments
Join the conversation
3 of 5 comments
-
Thanks for the command strip tip! When you get tired of that I think it would look nice with the numbers painted a gold and stuck on, with no wood! Love the idea of getting the numbers-great housewarming or xmas gift! Thanks for sharing!
-
not a very good picture, doesn't do your project justice, maybe if you stepped farther back


Frequently asked questions
Have a question about this project?
I can't get command hooks to adhear to wood. How do you do that
I have never had luck using command strips for pictures. Do you have a secret?