


Mason Jar Lid Pumpkins

by
Donna Powell
2 Materials
$4
1 Hour
Easy
Last month when I made some mini wreath ornaments out of mason jar lid rims, I was left with several of the lids with no purpose. I'm not a canning person so to me mason jars are mostly used for crafts and storage and in everyday decor - because I just like them so much.
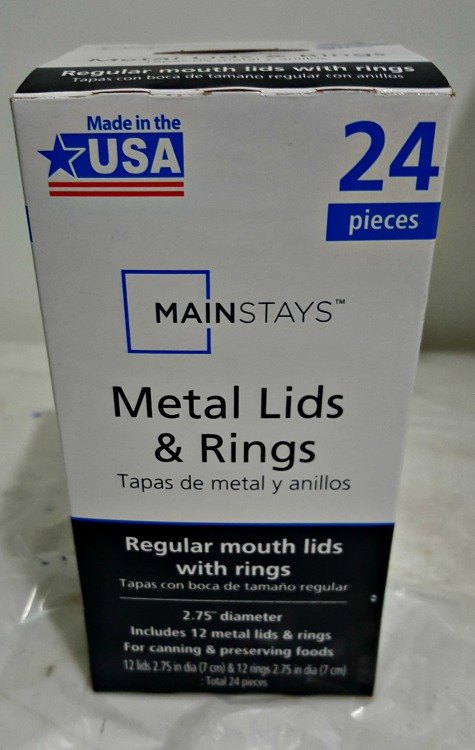
This project is so simple and easy. It takes three lids to make the pumpkin shape. I used chalk paint to paint a base coat of orange paint on each lid.
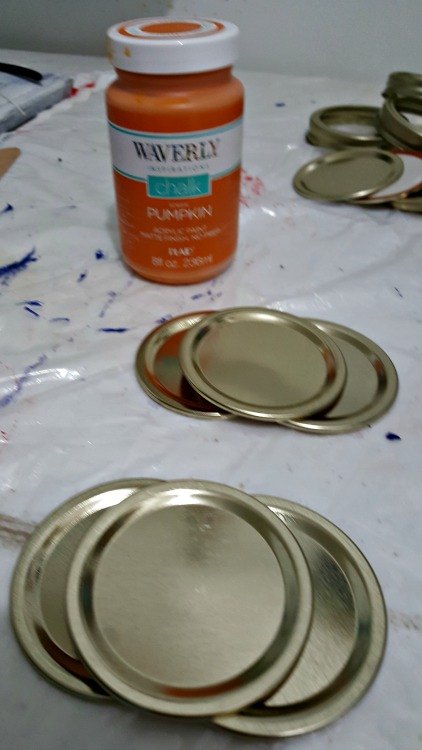
It actually took at least three coats of the chalk paint to fully cover each lid. After they were dry I overlapped two lids and glued them together with hot glue. Then I placed a third lid on top of the first two and secured it with hot glue as well
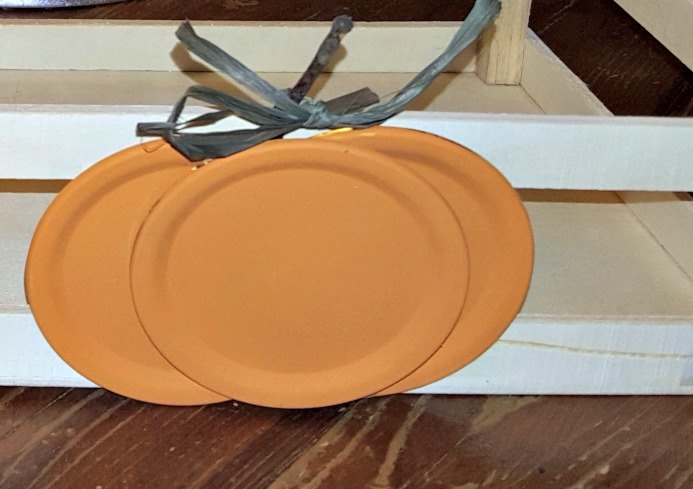
The last two steps to complete the mason jar lid pumpkin was to glue a small twig from my yard to the back and tie a strand of green raffia to the twig.

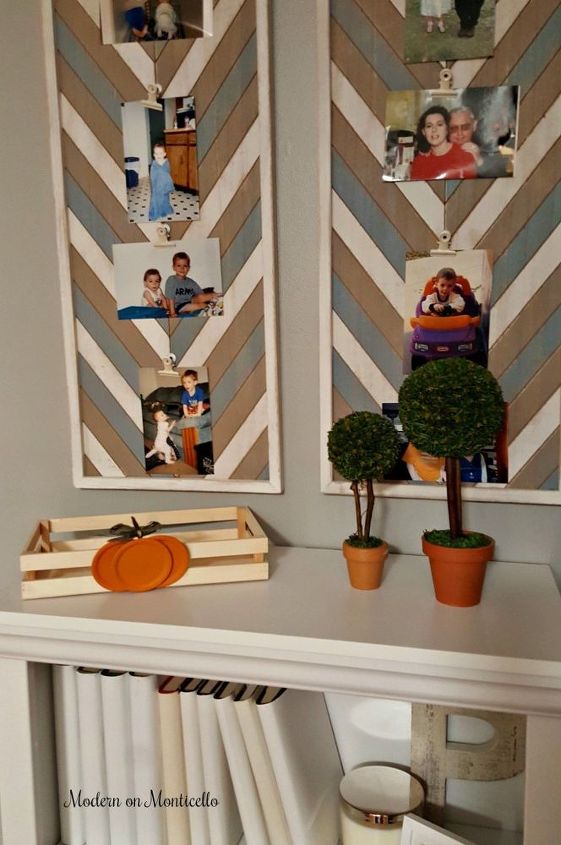
I had a couple of unfinished wooden crates in my craft stash and the mason jar lid pumpkins were the perfect Fall accent to add to the front of them. Again, I attached the lid pumpkins with hot glue. These could easily be used on any type of basket or box, or even as refrigerator magnets. For now these look adorable next to my painted pine cone bouquet.
Want more details about this and other DIY projects? Check out my blog post!
Comments
Join the conversation
2 comments
-
Cute idea!
-
I love this idea! soooo adorable and couldn't be easier. Thanks for the great idea!


Frequently asked questions
Have a question about this project?