


How-to Découpage Fall Leaves on a Pumpkin
4 Materials
$15
30 Minutes
Easy
Looking for a fun no carve and kid friendly way to decorate pumpkins? Using Mod Podge to découpage paper cutouts or fall leaves is a great option!
How-To Apply Fall Leaves to a Pumpkin
I would suggest finding a plastic pumpkin for this project. Then you can reuse it year after year!
If kids are involved, buy some colored construction paper and create leaf cutouts with them!
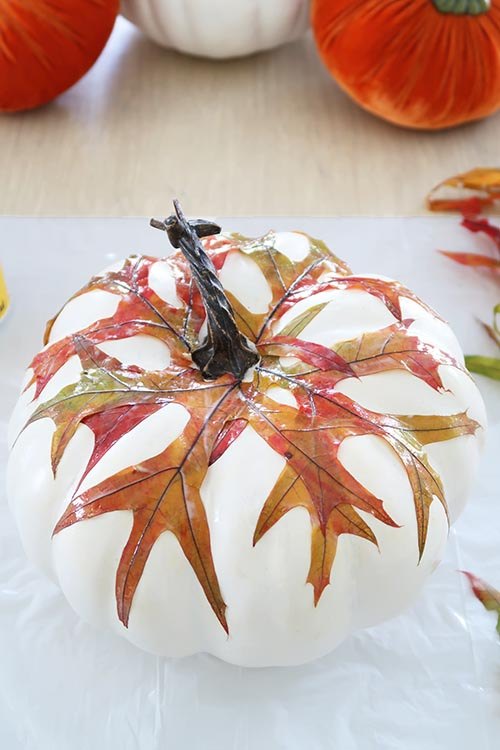
The preserved leaves I used were a bit more challenging because they had actual stems. I had to really work to get them to stick! However, the look was amazing with the variety of color.
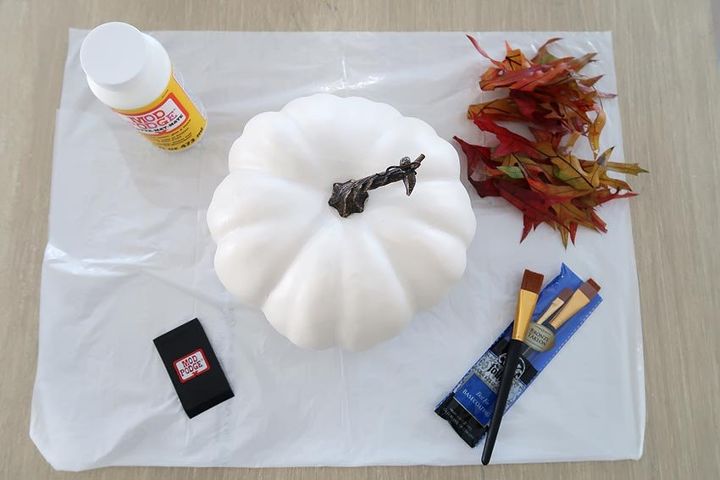
Supplies
- Craft brushes
- Mod Podge in matte
- Mod Podge applicator set
- Fall leaves
- Faux pumpkin (Hobby Lobby was sold out!)
- Kitchen trash bag
Mod Podge is glue, so you definitely want to put down some plastic to protect the surrounding surfaces. I used my regular kitchen trash bag and folded it in half.
In preparation, I also cut the leaves into individual pieces so they were ready for application. It was important to avoid leaves with thick branches because they won
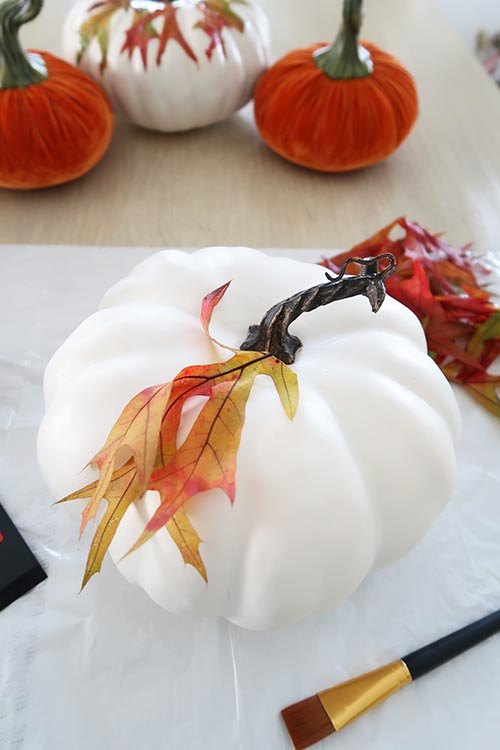
Step 1
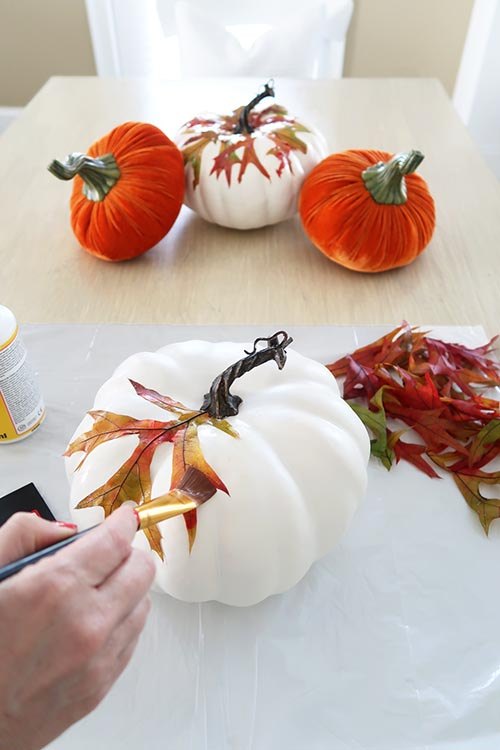
Map out where you want to place your first leaf. You can lay them out however you wish! I decided I wanted a design that fanned out from the stem of the pumpkin.
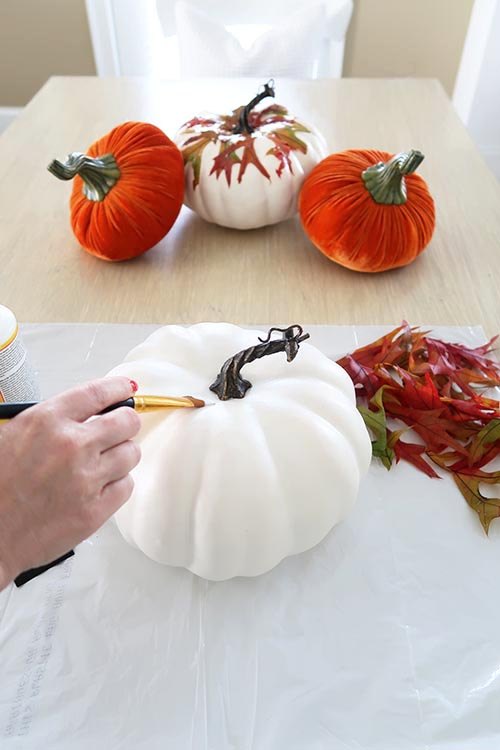
Step 2
Pick up the leaf and set it aside. Brush on Mod Podge in the same area the leaf will be placed.
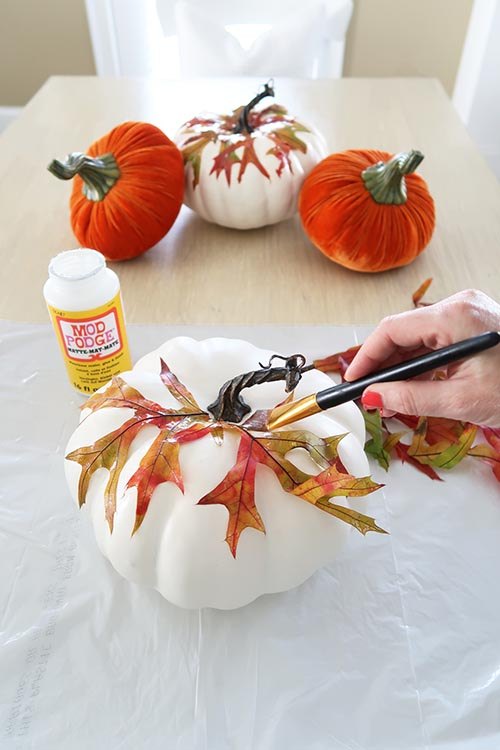
Step 3
Apply leaf. Add a little extra at the stem area for extra hold.
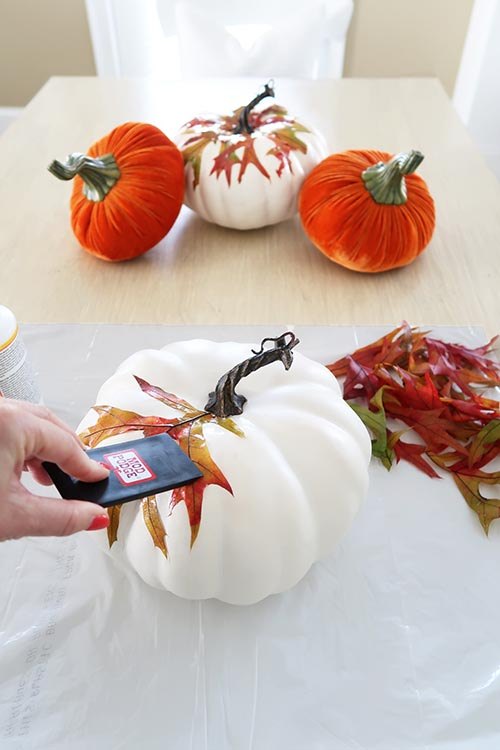
I found letting the glue dry for about 30 seconds made it a bit stickier and held down the leaf faster.
Press down with your fingers or using the Mod Podge applicator. Count to 10 and specifically hold down areas that don't automatically adhere.
Then brush on more Mod Podge to smooth down the leaf to the pumpkin.
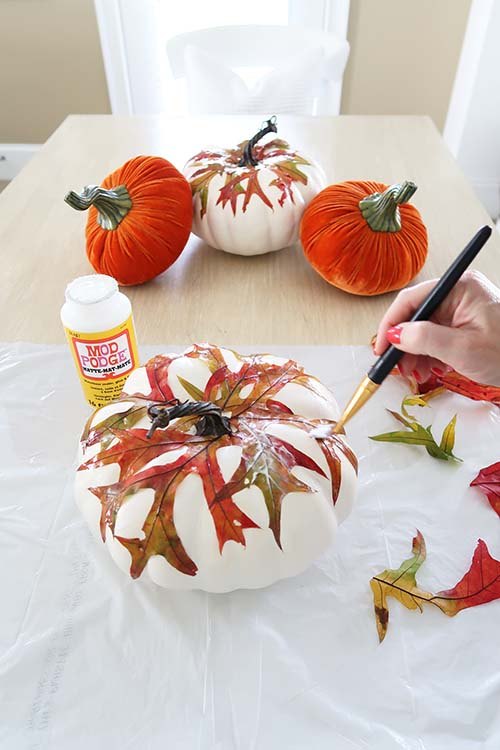
Step 4
Keep adding leaves in the same manner. Watch to see where they are lifting. Brush on Mod Podge underneath the leaf and over the top of the leaf.
Remember it gets stickier as it dries making it easier to adhere the leaves.
Step 5
Once all leaves are applied, cover over with a generous coat of Mod Podge.
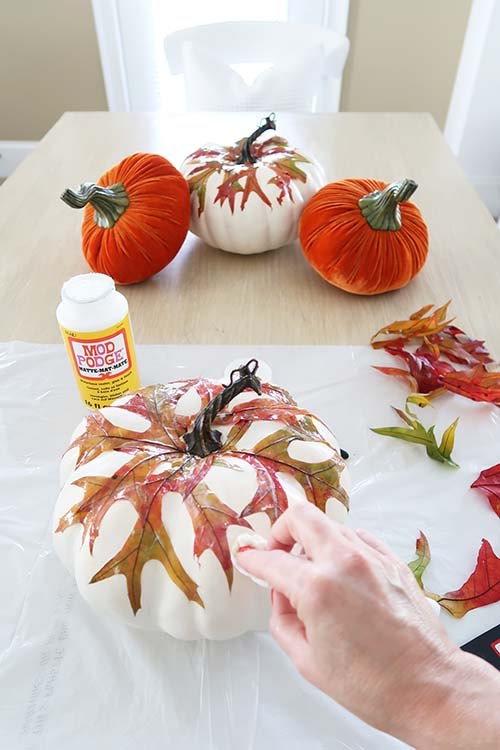
If you have over applied on the pumpkin itself, just wipe away with a damp paper towel.
I also had some color bleed from the leaves onto the white pumpkin and I removed it in the same manner.
Step 6
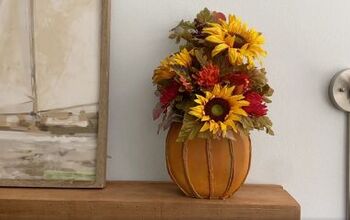
Let the Mod Podge dry about 1 hour. Then apply 2 more coats to protect the leaves. Dry 1 hour in between coats. Here is what it looks like before it dries clear.
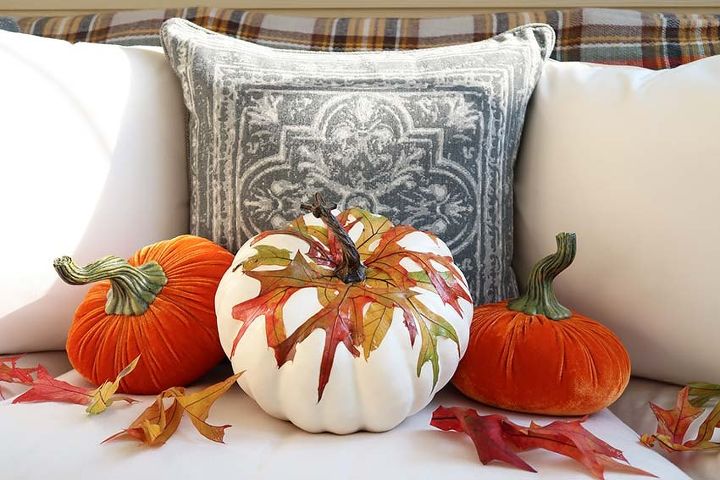
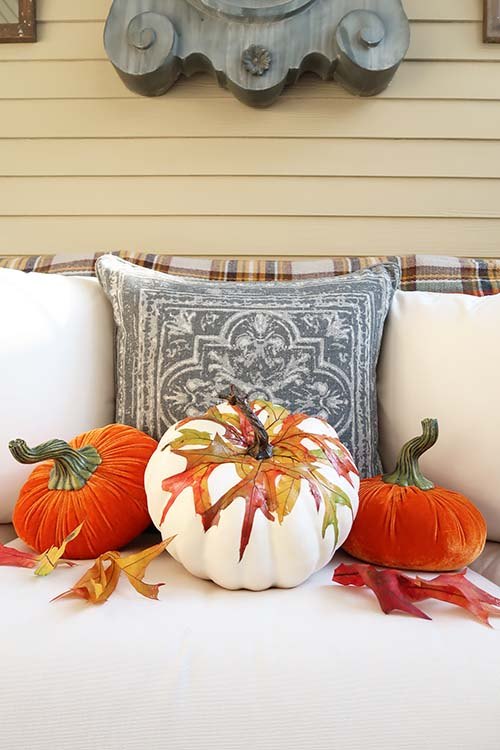
All done! Now find fun places to use your new fall home decor. Isn't it fun to know you made something so cool?
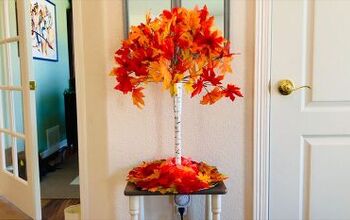
I have more fall decorating ideas CLICK HERE!
Resources for this project:
See all materials


Any price and availability information displayed on [relevant Amazon Site(s), as applicable] at the time of purchase will apply to the purchase of this product.
Hometalk may collect a small share of sales from the links on this page.More info

Want more details about this and other DIY projects? Check out my blog post!
Comments
Join the conversation
2 comments
-
This is beautiful! I have a bag of leaves I've been thinking of what else can I use them for. Very creative. I will make this!
TFS 🧡


Frequently asked questions
Have a question about this project?