


DIY LIGHT UP TWINE PUMPKIN

2 Materials
$4
1 Hour
Easy
Here is show you how to create this super easy Fall decor a twine light up pumpkin. You will only need a few supplies and it will only cost you a a couple dollars to make.
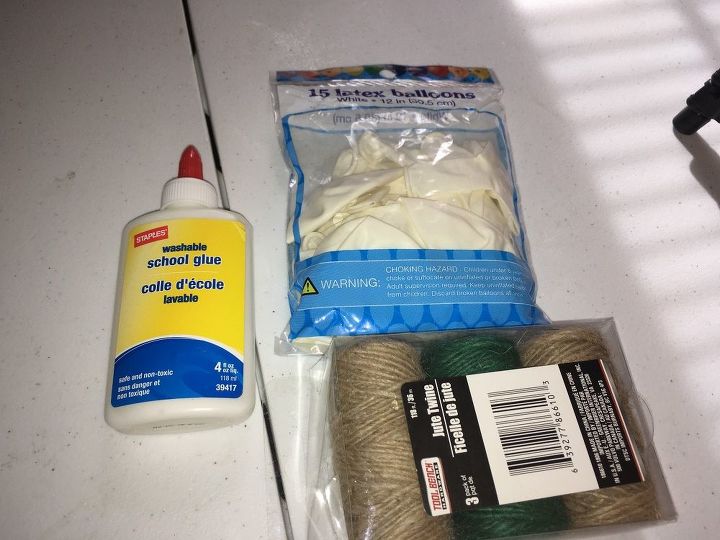
Here are the supplies you will need, some school glue or Mod Podge, pack of balloons and 2 rolls of twine. You can find these supplies at Dollar Tree.
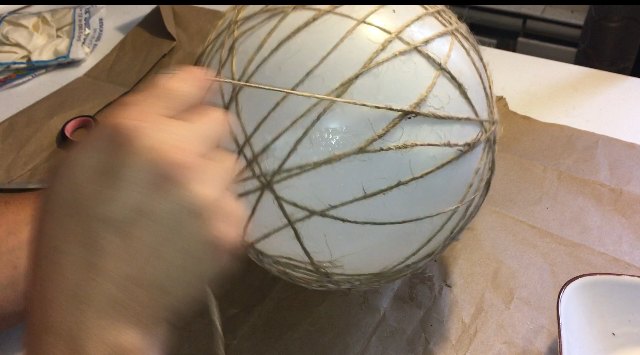
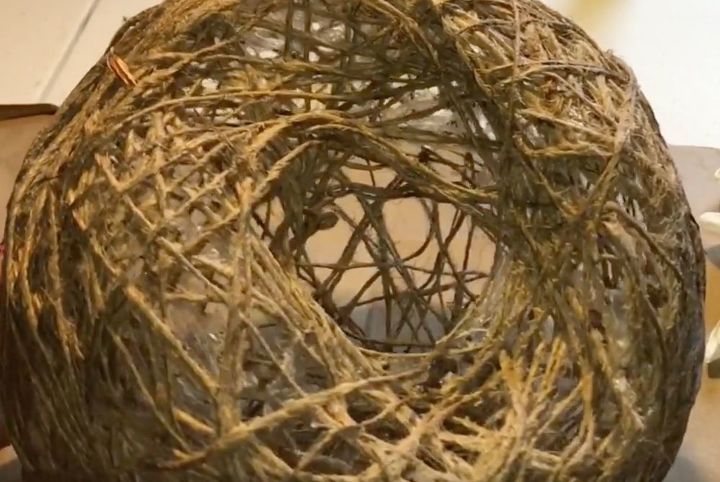
next you will blow up one balloon to the size you would like your pumpkin to be. Then start wrapping the balloon with twine. I used two rolls.
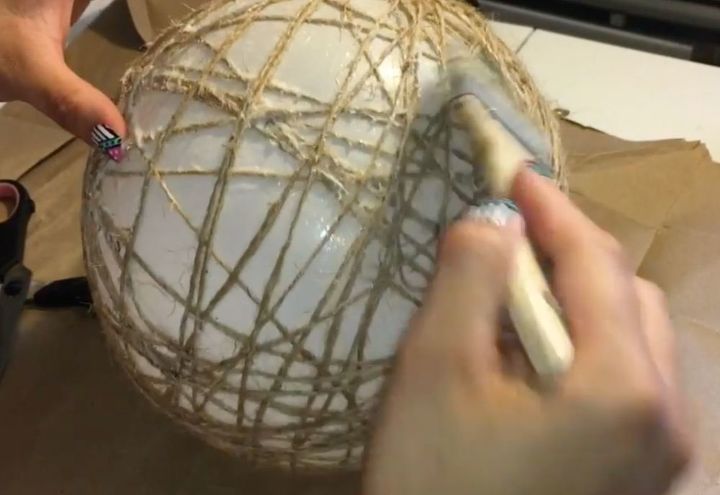
Next you will add the glue covering the twine, then repeat the process with the second roll of twine.
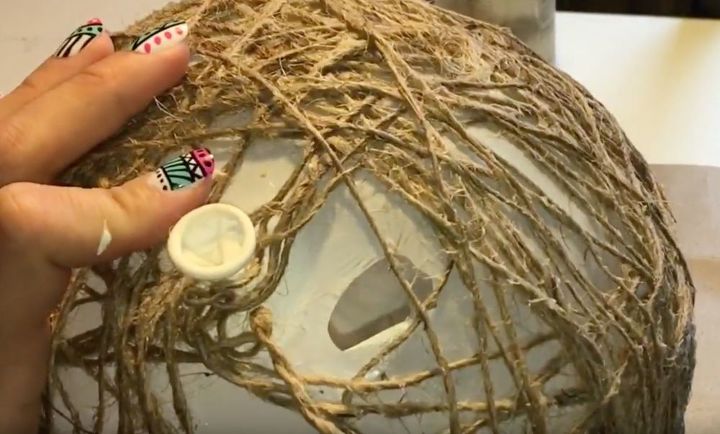
Next you will need to pop the balloon just keep poking ballon until it separates from twine.
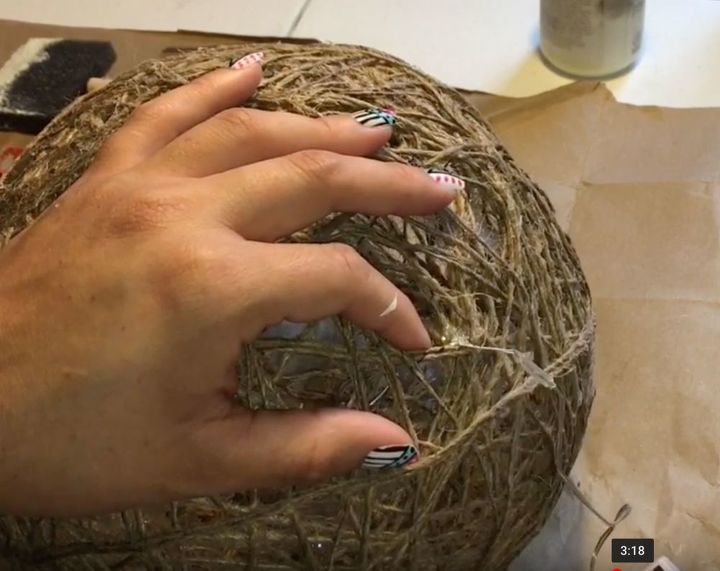
Next you want to form the top to be more flat then round giving it a more pumpkin shape. Also do this to center of bottom of twine. Here you can also reach through top hole and pull out the remainder of the ballon.
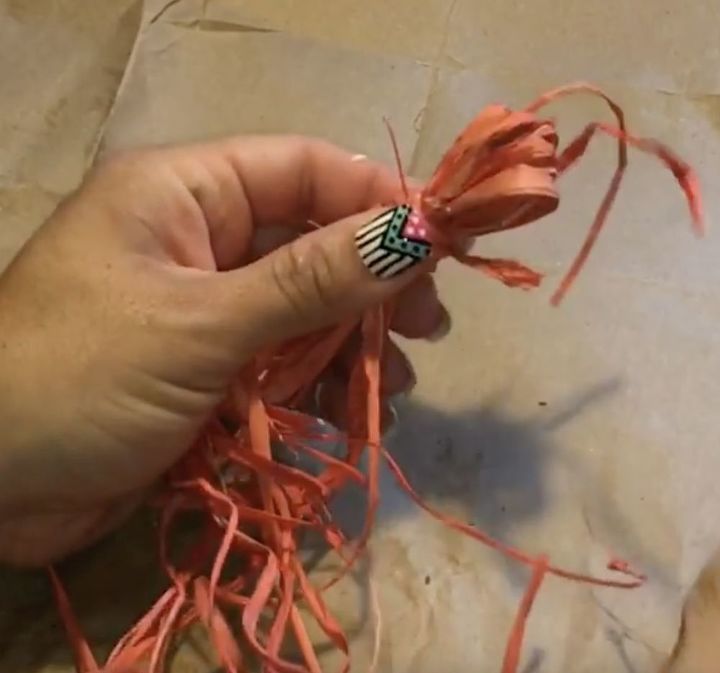
Next I used some Raffia to use as a stem for the pumpkin by cutting it to size and folding the cut part up and tying.
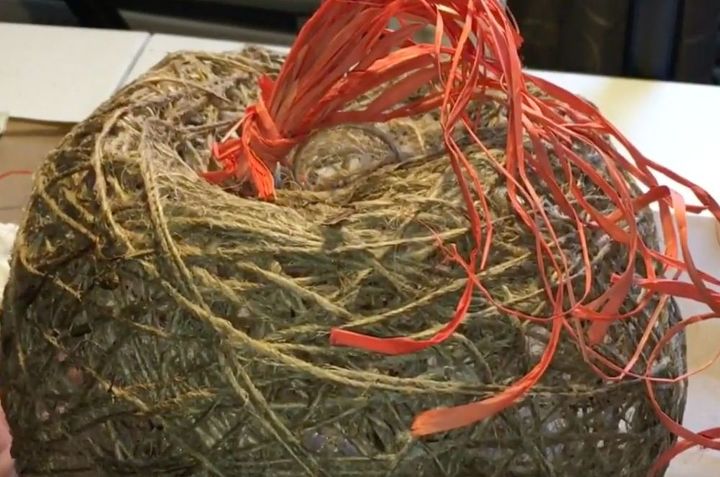
Next I used hot glue to attach stem on top of pumpkin.
Next I added some string light from Dollar Tree and fed it through the bottom of pumpkin leaving the battery pack out...
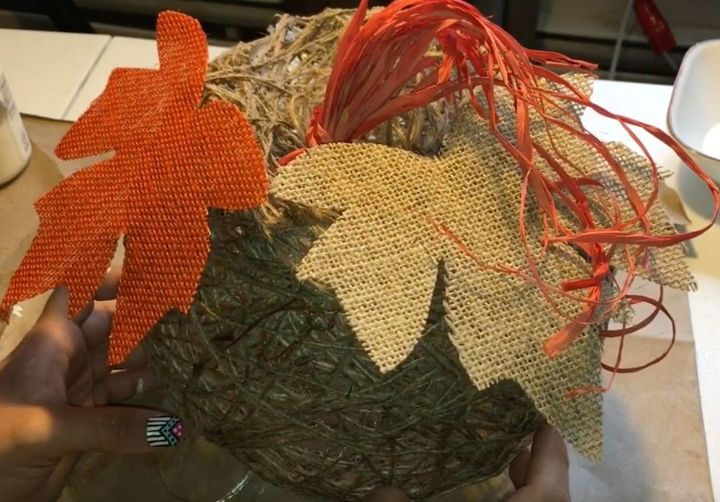
Finally I added some burlap leaves to the top. I have also provide a video tutorial on how to make this light up twine pumpkin. I hope you enjoy and are inspired to make one yourself!
{
"id": "5080356",
"alt": "",
"title": "",
"video_link": "https://www.youtube.com/embed/GUew0c7cXgw",
"youtube_video_id": "GUew0c7cXgw"
}
{
"width": 634,
"height": 357,
"showRelated": true
}


Frequently asked questions
Have a question about this project?