


DIY Mudcloth Pumpkins

by
Patti
2 Materials
$15
1 Hour
Easy
Tired of traditional fall decor? Get ahead of the trend and update your home with this DIY mudcloth pumpkins tutorial!
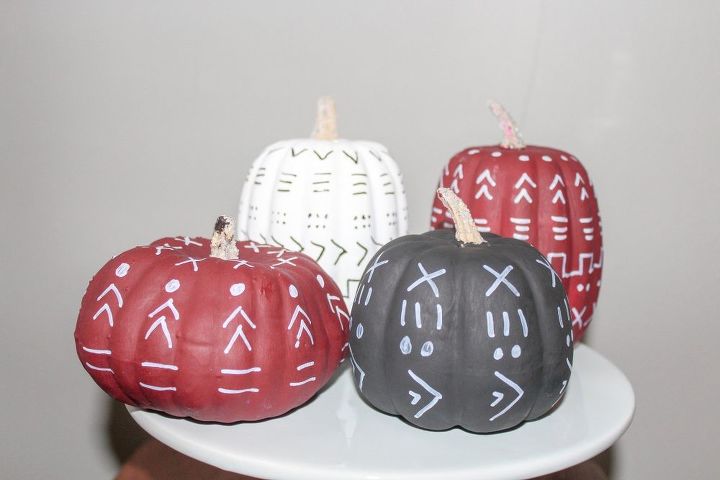
One of my favorite trends right now is mudcloth. You can find the pattern on anything from pillows to tapestries, and now…to pumpkins! I was inspired by the patterns I saw on some mudcloth pillows and thought they would look great on my decor for this year. You know you want some of your own, so follow along with my tutorial of 4 easy steps to make your very own!
Materials:
- Foam pumpkins in assorted sizes
- Paint in the colors you like (I chose white, black, and wine)
- Sharpie paint pens (I chose white and black)
- Paint brush
- Glue
- Glitter
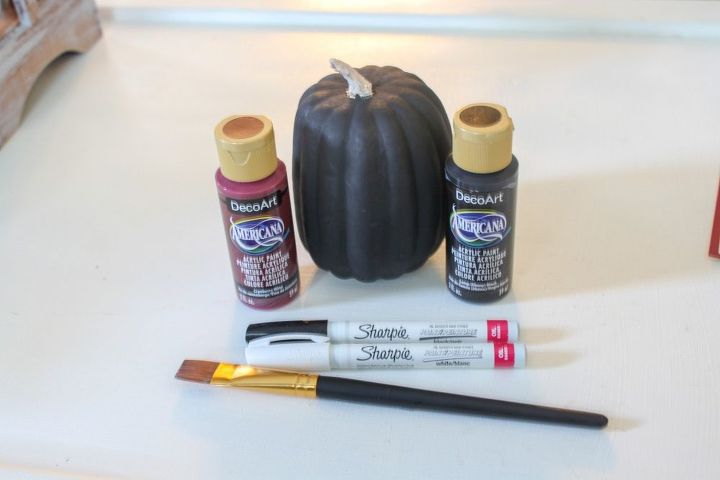
First- paint your pumpkins with the colors you purchased. I chose to go with white, black, and wine because those are typically the colors you see with the mudcloth pattern, and the wine color is my go-to fall accent color of 2018. Mainly because I love wine.
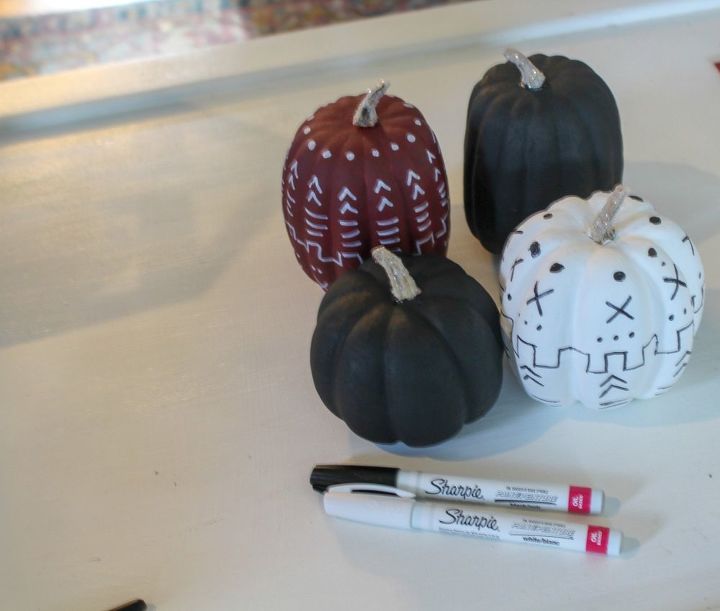
Second- Figure out what patterns you like from various mudcloth photos. I went onto Pinterest and looked at a few of the shapes and settled on dots, V’s, lines of 3, X’s, and a few other patterns.
Third, use the Sharpie paint pen to draw the various patterns onto the pumpkins. I used white for the darker colors and black Sharpie on the white pumpkin. You could even use some metallic paint pens to jazz up the color.
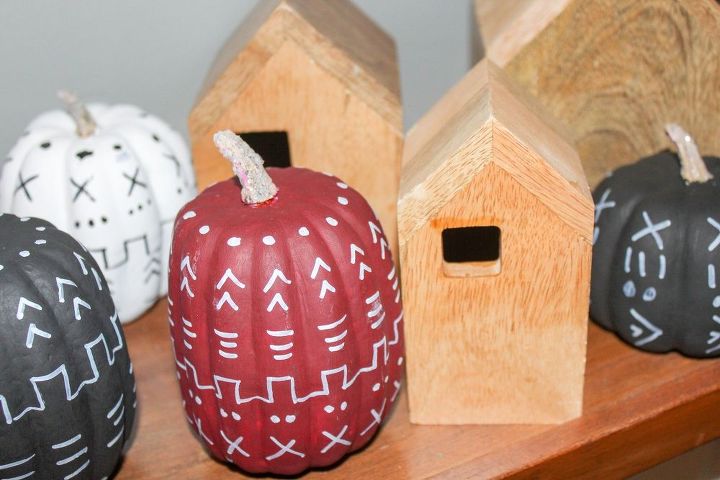
Fourth- Put glue on the stem of the pumpkin (I used old school Elmer’s glue) and sprinkle on some glitter. I used a white/ silver glitter for the stem. Shake off the excess, let dry, and DECORATE!
Want more details about this and other DIY projects? Check out my blog post!


Frequently asked questions
Have a question about this project?