


DIY Welcome Mat
4 Materials
$35
2 Hours
Easy
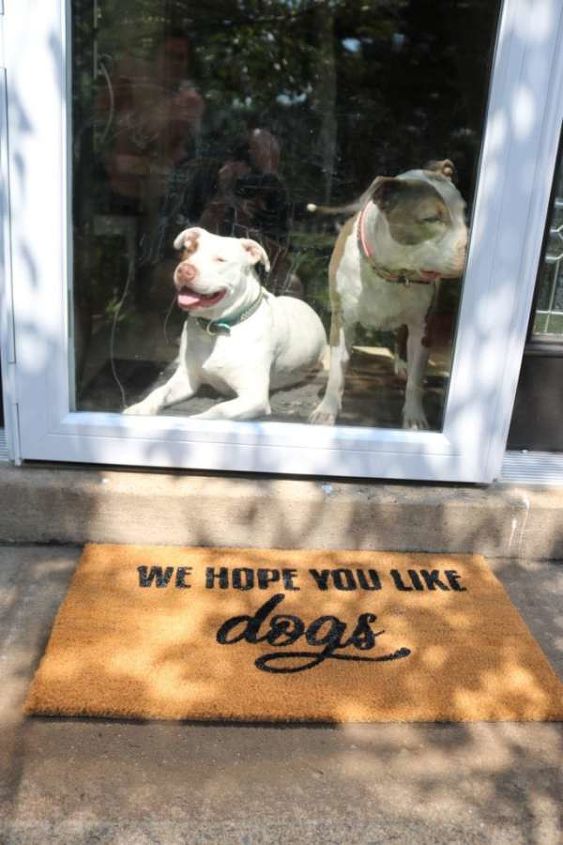
It’s no secret here that we’re obsessed with dogs. Brian and I joke all the time that we go to work so the dogs can live their best life. So why not make a welcome mat that’s about dogs? Makes perfect sense to us!We give a big paws/thumbs up for this super simple DIY! This took less than two hours and cost less than $35.
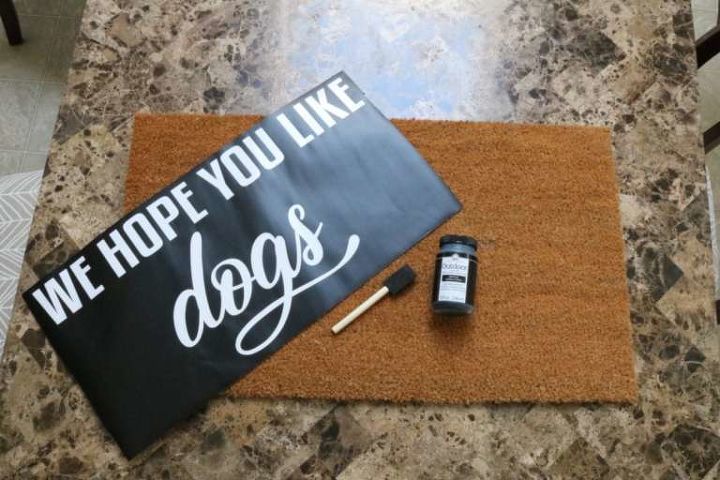
Here’s what you’ll need:
- Outdoor Welcome Mat
- Outdoor Paint
- Sponge Brush
- Vinyl Stencil and Transfer Paper (OR Printer Paper and Double Sided Tape)
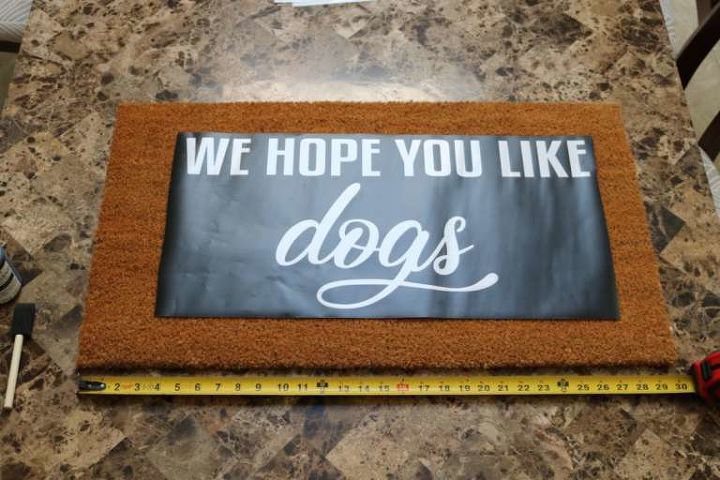
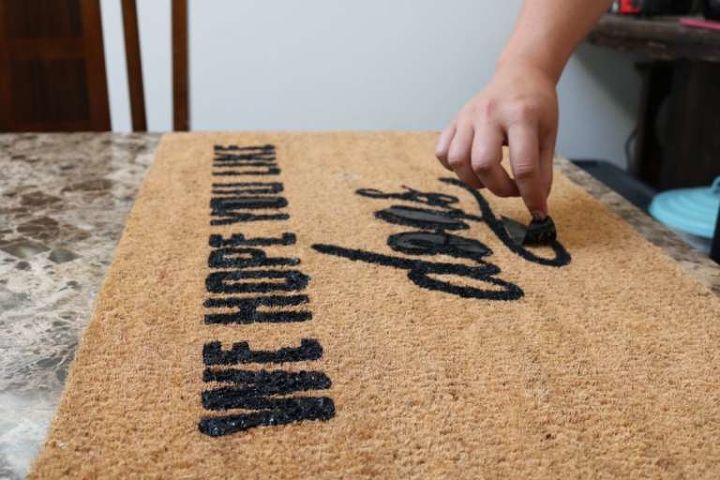
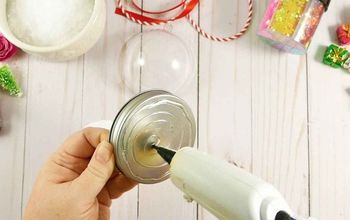
You can use a measuring tape to get it on center, or just eyeball it. I like to do both  I used the transfer paper to get the vinyl stencil in place.
I used the transfer paper to get the vinyl stencil in place.
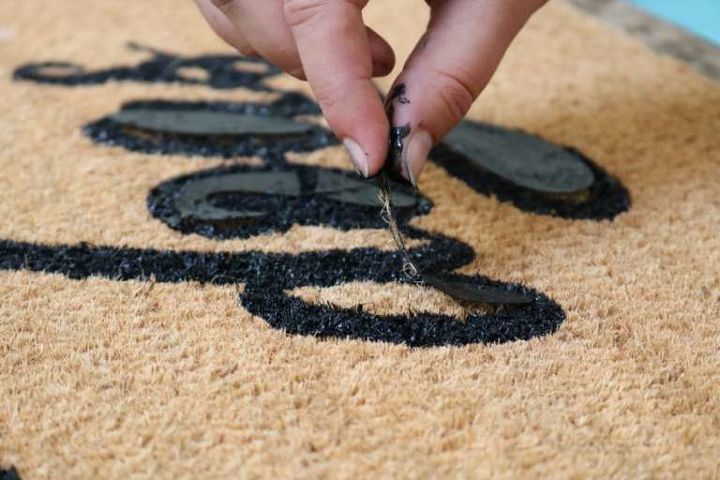
Admittedly, I was so excited to do this DIY, I didn’t notice the stencil had moved. When I pulled the transfer paper off, it shifted a little. I should have taken an extra few mins to really make sure the stencil was centered. Take your time with this step and make sure it’s in the exact spot you want it before you start painting.
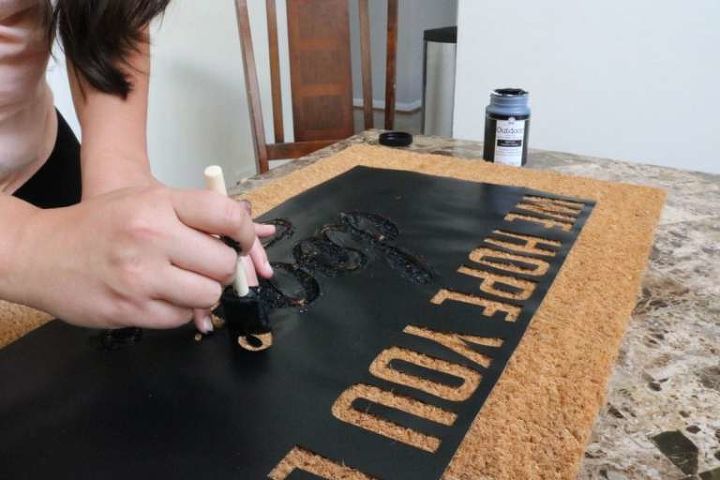
The mat is really coarse so the vinyl doesn’t adhere the same as it does to smooth surfaces. Go slow! I was painting with one hand and holding the stencil down in the other. The negative space in letters are particularly tricky to paint around.
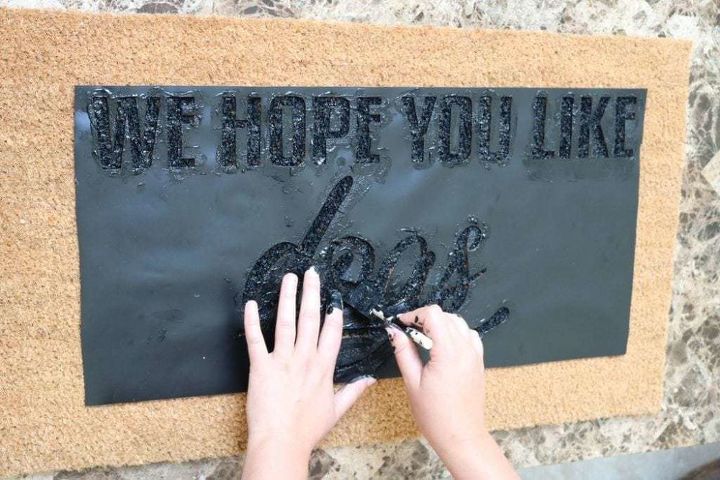
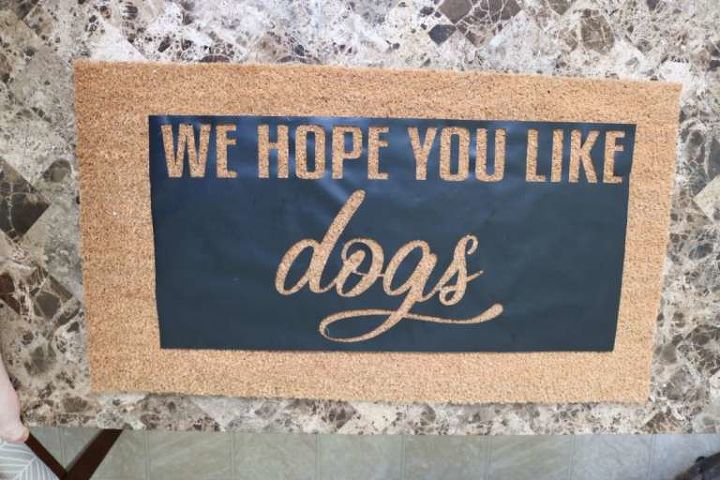
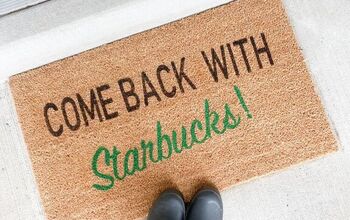
I painted the entire stencil once, then I went back and filled in some bald spots. The mat is pretty thick, so in some areas I laid the paint on pretty heavy! Like I mentioned before, the mat is really coarse, so while the stencil was shifting a little, the paint definitely was not. The paint did not bleed AT ALL!
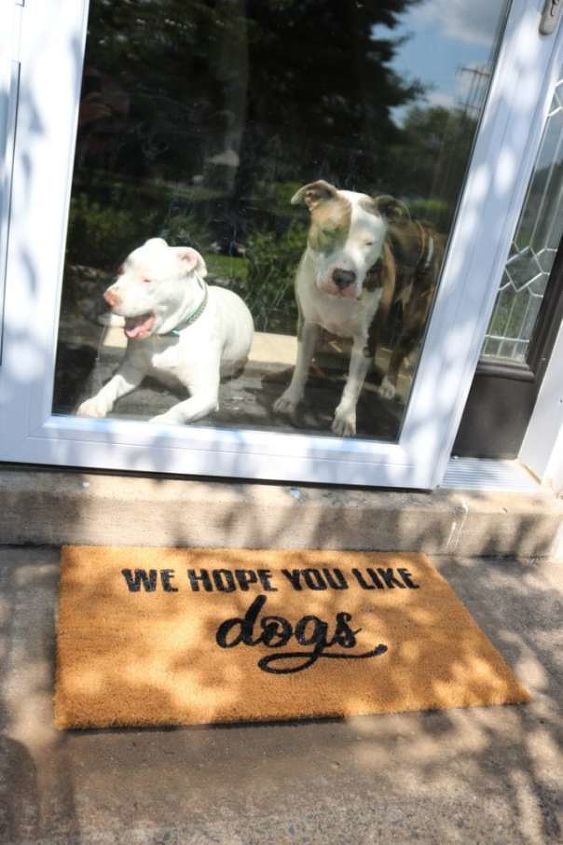
Here’s our new welcome mat and the welcoming committee! and yes, that’s their nose art (I’ve given up on cleaning that everyday).

Want more details about this and other DIY projects? Check out my blog post!
Comments
Join the conversation
2 of 5 comments
-
Mine will say "We hope you like BIG DOGS!" Love this idea and your dogs!
-
We have 3 dogs, always alert to company. Beautiful idea and beautiful dogs.


Frequently asked questions
Have a question about this project?
LOVE this! Where did you get the stencil from? could you please share a link?
Thanks! great job!