


What I Learned From My First Real Upholstery Project
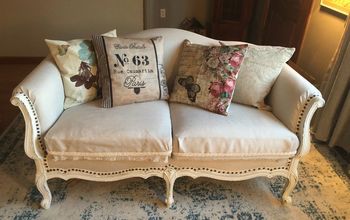
My first "real" upholstery experience was such a huge project for me. I had done upholstery projects in the past, but they only involved stapling and gluing. This is the first one that involved (a lot of) sewing! And since I hate sewing, it scared me! Although my first project is far from perfect, I'm proud of myself for pushing through and finishing it! Find out what worked for me and what didn't and some tips I learned along the way.
First of all, don’t let it overwhelm you. Take it one step at a time. Once the first step is complete, focus on the next step. I can’t count how many times I thought “now this is the part I’m most scared of”. And then I would get past that step and the next one would be the one I was most scared of. But I had confidence from the previous step that helped propel me through the next one. Keep building on your little victories and soon you’ll be impressing yourself with your mad skills!
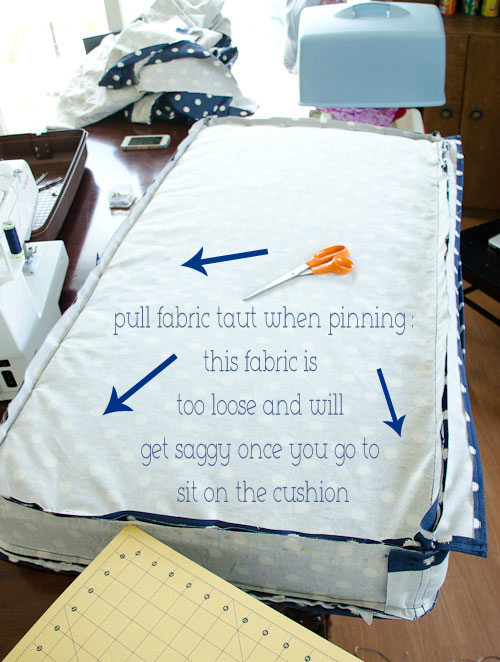
Pull your fabric taut – tighter than you’d think – when pinning it together. I learned this the hard way by sewing one cushion that wasn’t tight enough. You don’t want to pull it super tight, but tight enough so that there are no wrinkles left.
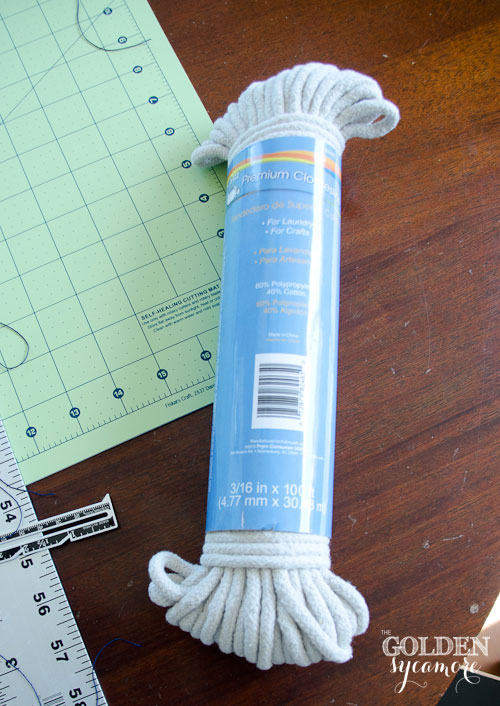
Use clothesline for piping instead of welt cord, it’s way cheaper! This is probably one of my favorite tips. The welt cord I found at the store was $5.99 for 6 yards. When I spotted this clothesline for $5.29 for 100 feet (about 33 yards), I knew it was a better choice. The clothesline is a bit thicker than the welt cord, but unless you’re doing a really small scale project, I don’t think it will make a difference.
See even more great tips and tricks I learned along the way on my blog!

Want more details about this and other DIY projects? Check out my blog post!


Frequently asked questions
Have a question about this project?