


5 Things to Know Before Revamping Your Walk-in Closet

by
Sabrina
2 Materials
$1000
1 Week
Advanced
Designing and building your own closet system has its challenges, here are 5 things you should know before beginning your own closet project.
Progress continues in my walk-in closet.
I’ve completely empty this space. I’ve prepped it. Scraped it. Painted it. The built-ins are finally underway.
However, this projects doesn’t come as easy as my videos on Instagram make it look. There’s always unforeseen things, delays or learning curves that unfortunately you have to overcome, especially if this is your first attempt at a custom closet system (nudge, nudge, wink, wink).
So let me start from the beginning. I’ll walk you through my progress and all the lessons I learned along the way.
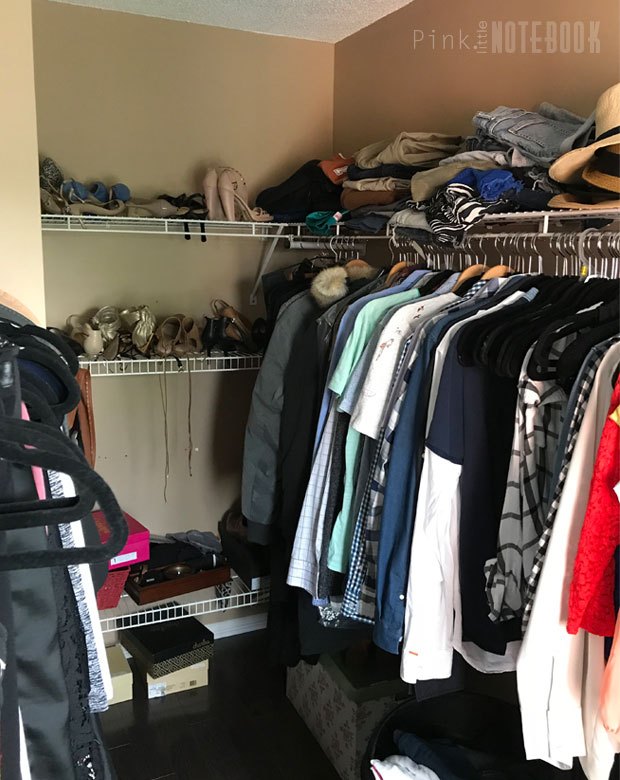
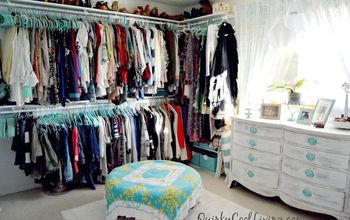
Removing your belonging from your closet.
This should be the easy part. I went into my closet, happily grabbed my first batch of hanging clothes, turned to walk out the door and then stopped. Oh shit! Where the hell am I going to store all these clothes?
LESSON Arrange for temporary clothing racks or make space in other areas of your home before you begin this project.
With every single closet full, I did what any normal person with limited time does. I threw some stuff over an empty chair in one room. I threw things over a spare crib in another room. I even crammed as many things as I could possibly get into boxes. Thanks to my lack of pre-planning, I’ve been wearing the same clothes for weeks! I’m too scared to look through the mountain of clothes piled in every corner of our home.
Taking out wire shelves.
Right after that craze, I was ready to pull some wire shelves out of the wall. Damn it, hubby took the drill to work today. Okay let’s use the screw driver. That thought lasted about 2 minutes before I realized there were a billion screws in the wall, all which required different screw drivers to take them out (thanks to previous owner who probably just used whatever screws he had lying around).
What makes matters worse is that each screw was attached to a plastic bracket which secures the shelves in place. As we patiently backed out each screw one-by-one from the bracket, the bracket still wouldn’t budge from the wall.
LESSON Wire shelves are a b*tch to take out. Just use pliers and rip the brackets out of the wall.

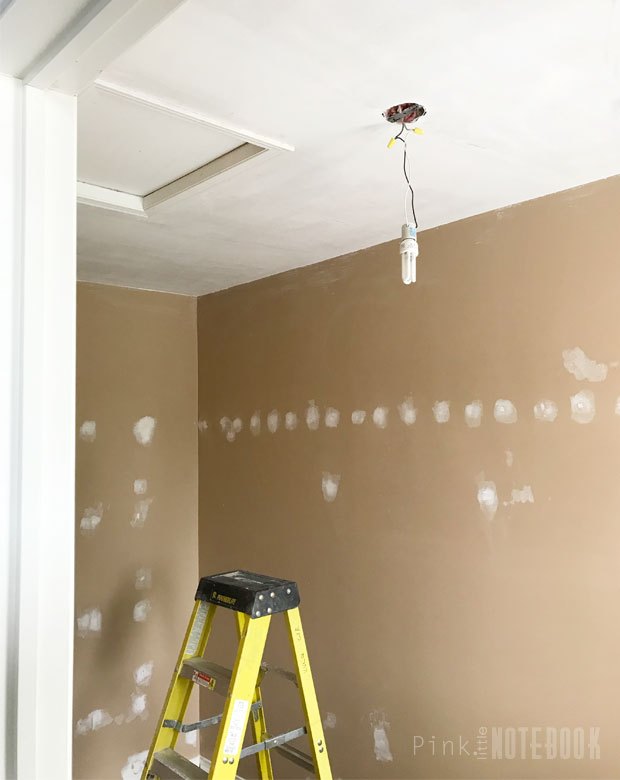
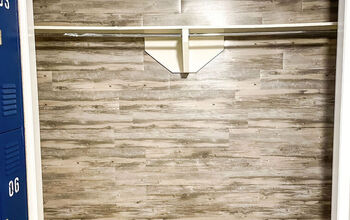
Smoothing a popcorn ceiling.
The end goal one day (and who knows when that will be) is to make our master bedroom feel like the most amazing hotel suite you have ever walked into. A lot of my design inspiration comes from my travels. I’m a huge sucker for a well-designed and comfortable room. Since hotels never have popcorn ceilings, naturally I’m inclined to scrape it off (even in the closet!).
For easy clean up, I prepped everything by covering the floors with cardboard, I taped plastic sheets over the door and windows. I even turned off the AC because I didn’t want any dust traveling around on my second floor. FYI, the closet windows don’t open. What I ended up doing was suffocating myself in this walk-in closet.
LESSON If you want smooth ceilings in a small non-ventilated area, you’re going to pay for it.
(See this post for more info on smoothing ceilings).

Grab a brush and paint!
Finally I’m ready to paint over this beige colour wall that reminds me of a dirty public toilet (which, I all know we have all have accidentally stumbled across at one point in time).
Using the colour white to freshen things up, I start painting. I don’t know what possessed me to try a new brand of paint for this project… Oh wait, it was on sale *sighs*, but I did. Not only did it take me one and half gallons to complete two coats in a small closet less than 65 sq. ft., at the end of it, some areas needed a third coat. Luckily, the built-ins were going to cover many of these spots. The rest I will touch up later.
LESSON with a reputable paint brand that makes great paint. It will cost you more but it make your job sooooooooo much easier. Trust me!
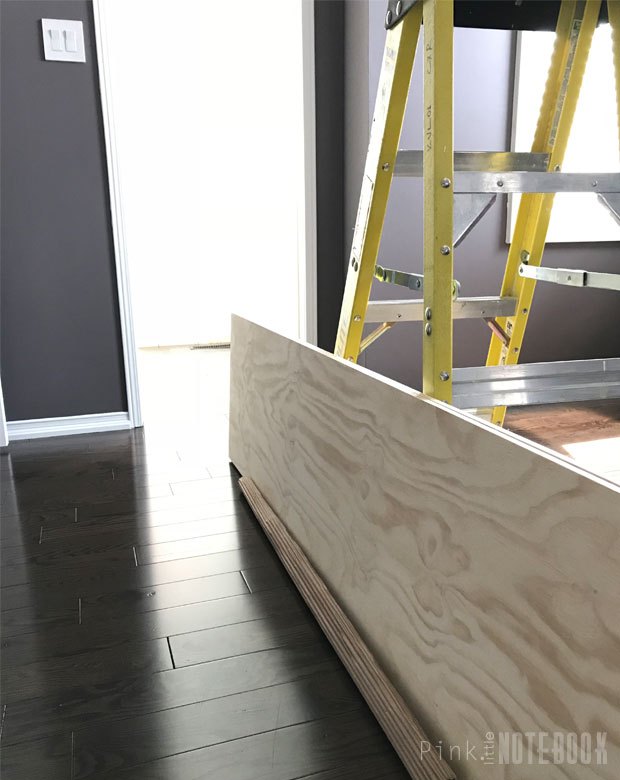
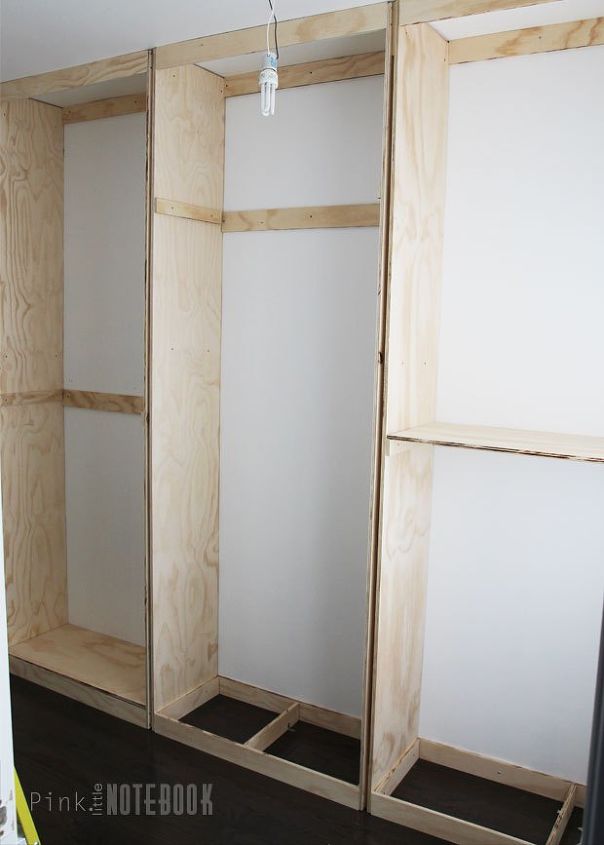
Prepping for built-ins.
We used 4′ x 8′ sheets of sanded pine plywood to create our built-ins. Although it was a little more expensive than MDF but not quite as expensive as the better quality wood (such as fir, maple, oak, etc). I’m happy we went with this choice. It was extremely easy to work with.
We did get some of the larger panels cut by the hardware store, however, there were a gazillon cuts we had to do on our own. Not having the proper tools on hand is probably the most annoying and most frustrating experience. I have definitely learned this the hard way from previous projects. Make sure you know what you need and have them all there before you begin.
LESSON Having the proper tools makes all the difference. If you don’t have them—borrow, rent, purchase, whatever. Just make sure you have everything you need prior to beginning.
View full blog post on PINKLITTLENOTEBOOK.COM
Want more details about this and other DIY projects? Check out my blog post!


Frequently asked questions
Have a question about this project?