Window treatmentnwith only one rod.?
Is there a trick out there where I can hang a ready made valance on an already installed heavy duty rod and at the same time hang side curtains without putting another rod into the
wall, like some kind of attached rod somehow, or maybe there is something out there I can buy at a window covering store????.
Related Discussions
Blackout curtains behind vertical blinds
I have two 6' patio doors, and I want to add blackout curtains to keep the sun/cold out. What is the best way to hang them, and what can I use to push the curtains ba... See more
How to make a balloon garland?
Does anyone know how to make a balloon garland or a balloon arch?
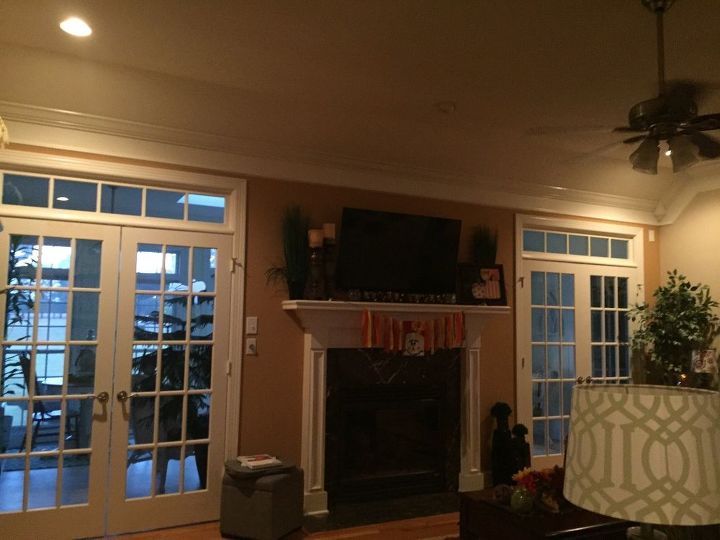
Would you put curtains over french doors?
I have the french doors in my living room. The living room is separated by a large fireplace. It goes out into a sunroom.
How can I update this awful window?
We have this hideous window in our dining room (exterior anterior wall) and have been racking our brains with what to do with it. It's a double pain window and the gr... See more
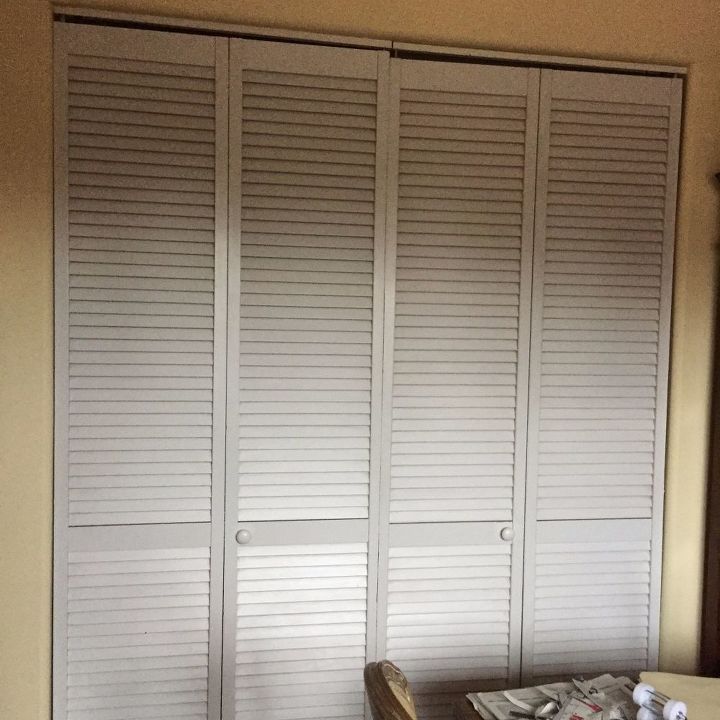
I need ideas for replacing shutter doors please
I need to replace two unsightly shutter doors in my kitchen and I have no idea what to use instead. They hide the washing machine and pantry so they do have to open c... See more
Garage door windows........
What is a tasteful and good looking way to cover up garage door windows? So if someone looks in there they can't see what's in there? Any help is appreciated! Thanks!
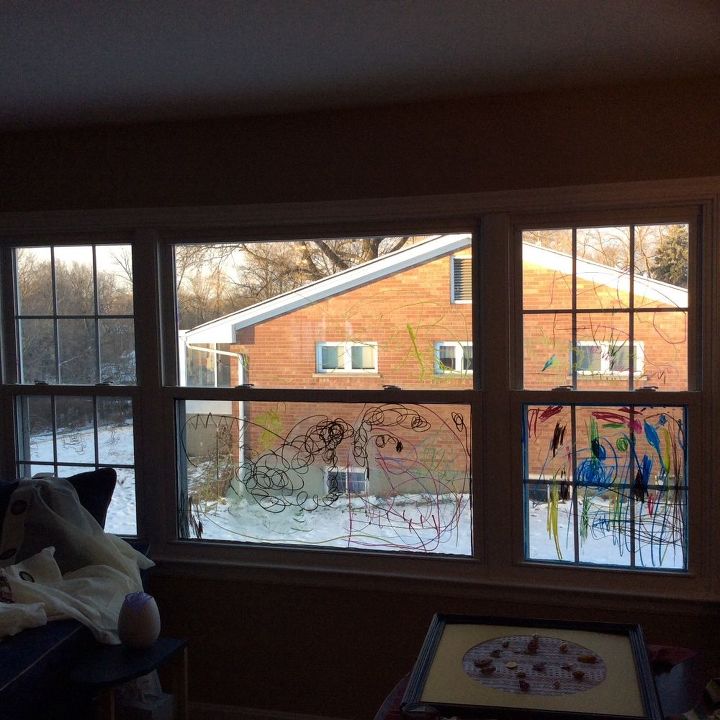
How can I cover this very wide window?
I have a huge window in my living room. All three windows measure 112 inches across. The two on the ends are 25in. across. The one in the middle is 51.5in. I want to... See more

I use double rods. In your case one for the curtains or drapes and another for the valance. I used to have triple rods just for this reason. Sheers, curtains and valance.
Can you put a curtain, valance and the other curtain on the one heavy duty rod? You might also use a tension rod in the window for the side curtains or maybe put the curtains on the existing rod and lay the valance over the top if it's long enough. I keep seeing the valance on the existing rod and something attached to that rod (like shower curtain rings?) to hold a smaller rod for the side curtains. Don't know how exactly to do that, but I'll bet someone on here will know or consult with a drapery department at a fabric store.
You need a double rod
It can be done using a single rod. It will necessitate stitching them together & may include slightly altering some pieces but it's doable. It will take some length in this post to tell you how, so here goes. If anyone needs additional individual help, I will help you if you ask.
Steps to do it.
1. On a big flat working surface, take your sheer panel. If previously hanging, press gently so it lays flat. Set aside laying flat.
2. Take your main curtain or side panel as you called it & press it flat if previously hanging. Set aside laying flat as well.
3. Take your valance now & press it flat & also set aside laying flat.
This prepares your layers for working with them to put them together to hang on a single rod.
4. You will now need to measure & check the lengths of your sheer panel & your main curtain or side panels so they are the same or almost the same lengths. If they are not & one is longer or shorter than the other, now is the time to alter them to the lengths needed. Shorten whichever panel needs to be, or if one needs to be longer, now's the Time to adjust that. When you are happy & satisfied with the lengths of the long panels, NEXT measure the "WIDTHS" of your panels. They need to be the same width just as they are same lengths.
If one panel is wider than the other, you will need to alter or make them the same width at this point in time.
Once the long panels are BOTH the same length & width, place sheer panel on bottom, top side facing up & main long panel on top of it, top side facing up as well. PIN them together along the existing TOP rod pocket stitching line. Carefully STITCH them together along that existing stitching line.
NEXT repeat the process & PIN & STITCH the panels together along the bottom rod pocket stitching line.
To attach the Valance to them, check the length of the Valance that it's the length over the long panels you want it to be. If it's not, lengthen or shorten the Valance "now" to whatever length desired.
NEXT, check the WIDTH of the Valance as it also needs to be the same WIDTH as your long panels. Alter or adjust the width as needed.
Once again, with long panels laying flat, place the Valance on "TOP" of them, top side of fabric facing up, & PIN all layers together along & following the TOP rod pocket stitching line. Carefully STITCH them together. Repeat this process for the bottom existing rod pocket stitching line.
This will likely be pretty thick by the time you get to sewing all three pieces together so take it slow & use a good sharp needle & good thread. Use a straight stitch # 8 length setting.
For those without sewing machines, this CAN be done by hand although it will be much more time consuming & likely not quite as easy as with a machine. Remember, with 3 different fabric panels being put together, there will be some weight to them. Thicker fabrics of course weighing more than thinner & lighter weight fabrics.
TO HANG on the single rod, they look best when the rod is inserted inside the middle of the middle long panel & one that will appear as the "top or main" long panel.
This is the process for simple rod pocket curtains. It can be done with pinch pleated drapes, but the process is different & more detailed.
I'll be anxious to hear how they turn out. 😊
There is one other way I know of to put all 3 window treatments on a single rod, after giving some thought to it, it will however necessitate that "each" piece have some kind of opening in it for a hanging ring to slip thru. That could be grommets maybe or a buttonhole similar to a shower curtain. Hanging each piece on that single ring together would allow all 2 or 3 layers to be hung on a single rod.
To hang them in an organized manner, lay them one on top of the other on a large flat working surface, putting the sheers on the bottom, the top curtains/drapes or side panels on top of the sheers, then the Valance on top of that.
Make sure the grommets or buttonholes of each fabric layer lines up together so the shower curtain ring passes through all of them at the same time.
Close each curtain ring as you place the fabrics on to them to prevent having them slide back off & out of alignment causing frustration & to keep weight on rod lighter. Once rings are all loaded & window treatment fabrics secure, starting at one end, simply slide all of the rings on to your rod & hang.
You "can" hang each fabric layer separately, but it can be challenging to get all of them hanging on the single rod in an evenly manner, adds weight to the rod, plus you will not be able to open them separately on the rod. This is an either/or hanging procedure. All open & pushed to the side OR all closed across the window with exception of divided panels which may be pulled back with hooks to open them & expose sheers or glass, just as with being sewn together.
A word of caution, to have them look professionally done, follow the previous guidelines I provided so that your fabric layers will all match up in lengths & widths. Using the grommets or buttonholes for shower curtain rings will allow all layers to hang together on a single rod for those who would choose to not sew them together but will also look better on a larger more decorative rod rather than a common curtain rod.
Alternatives to shower curtain rings might be cords, ribbons, zip ties, or whatever you choose. Hanging would be pretty much the same.
Hope this simplifies & helps.