


A Sunny Mailbox

by
Cynthia H
2 Materials
$33
2 Hours
Medium
My husband and I recently purchased our little dream home. It had been completely gutted, with everything new inside. Across the street from my daughter's house, we had been watching them work on it on days we let my daughter's dogs out. It was so cool, watching them gut it and then put it back together for the last year. I could see enough through the front window to know it intrigued me, but, I wasn't sure if the house was being flipped or renovated for a specific family. It became my daydream house! I went to the open house, to see it in person (there were pictures online) and convince myself that we really didn't need a new house. Totally didn't work since I fell in love with it! Some conversation with my husband, negotiating a price, and we became homeowners of a second house! We are cleaning out the old house, going to spruce it up a little and already have a prospective buyer for it!
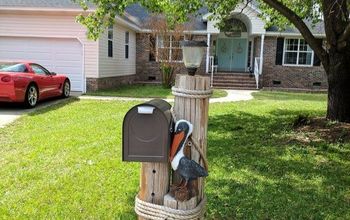
When they put on the new siding onto our new house they removed the old (I imagine rusty) mailbox. I had already done blue on my old mailbox, and the new house has light green siding. I decided it was time to add a cheery pop of color. There aren't too many choices out there for mailboxes, especially for under $30, which is what I wanted to spend. I wanted metal, because they are sturdier, and I wanted a big enough one to hold all my mail, including magazines. I found one on Amazon for $28.19, that was "medium" sized at 4.4 x 16.6 x 9.8 inches. I wanted white because it makes a good base for one of my makeovers. Then I purchased a cheery yellow spray paint.
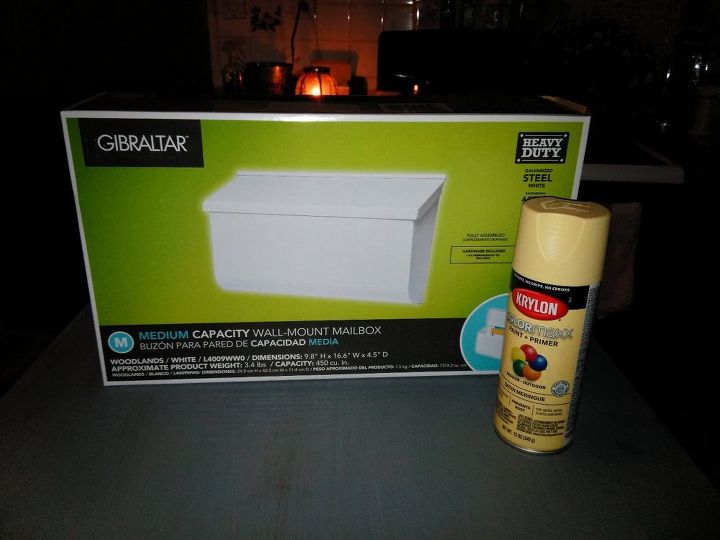
This is what I started with. I liked the color of this indoor/outdoor paint so I bought this brand. I like the colors that they have, and have used it before.
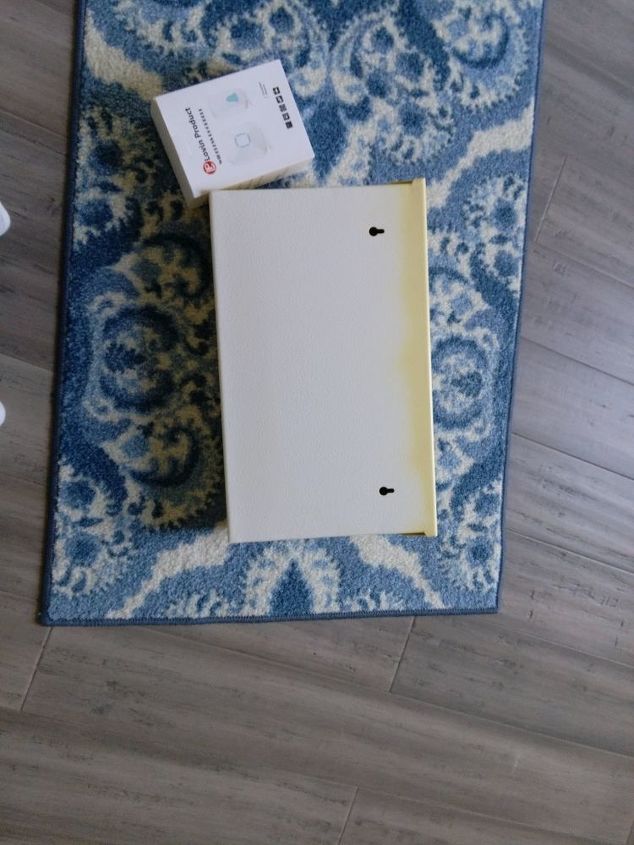
I was so excited about painting it that I started before I remembered to take a picture, but, I hadn't finished. This is the back of the mailbox. The box next to the partially finished mailbox is the electronic doorbell I also installed.
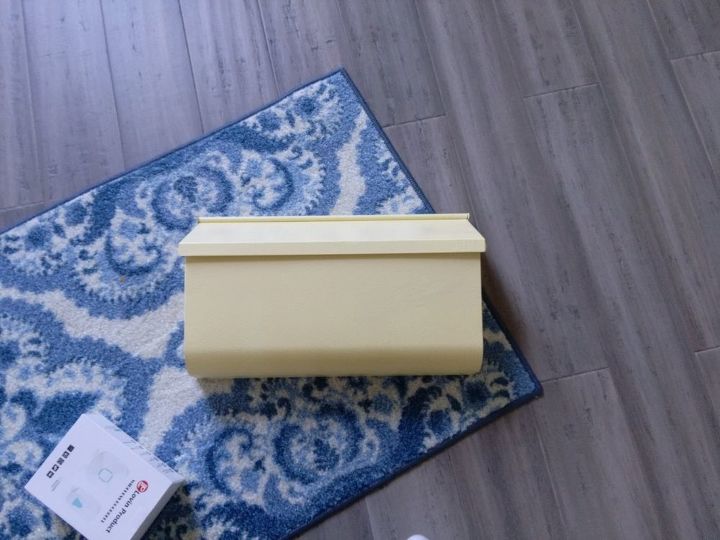
Here is the side I had already finished. I'm by no means an expert spray painter, but, I've learned a few important things. One is that spray paint is better used outside, so I had to wait for a mild, sunny day. Two: start with a clean surface. Three: use a paint meant for the surface you are painting, in this case, metal. Four: A light spray is better than a heavy one, because a heavy coat will run and drip. Five: Let it dry between coats. Six: If it's going to be exposed to the weather, a clear sealer is a good idea.
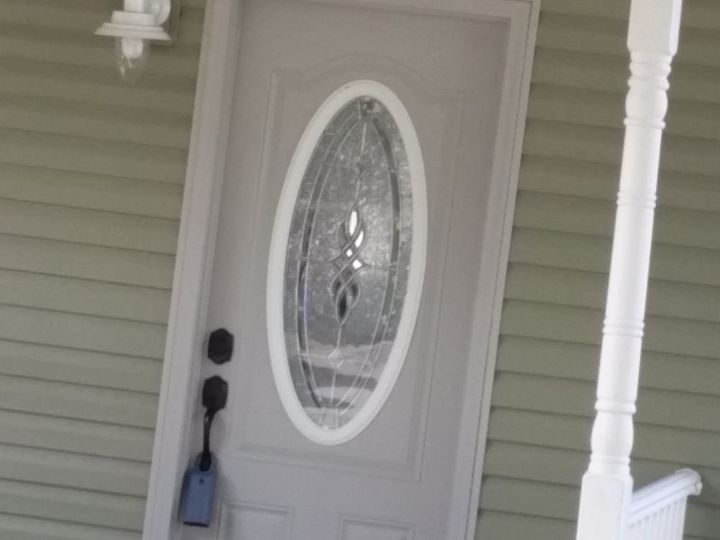
Here is the front door of my new house. No mailbox, no numbers, no door bell (that's the key box before the closing) . Also, just a primer gray front door. I plan on painting it a pretty yellow. I'll post that soon.
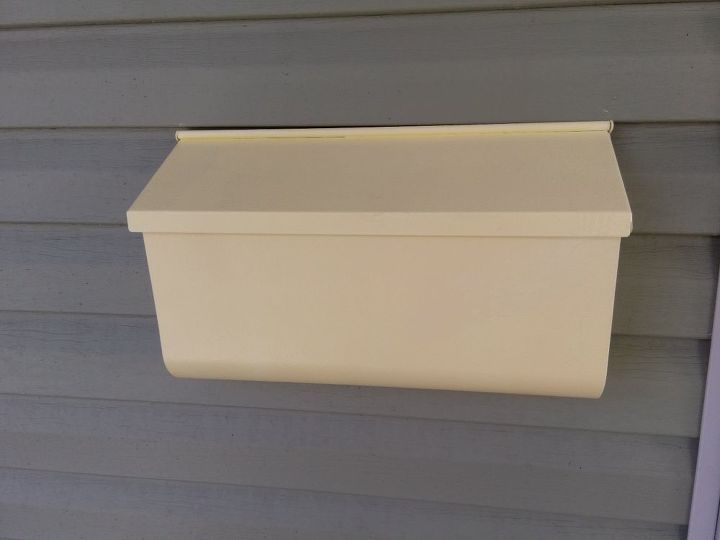
Isn't it pretty?!
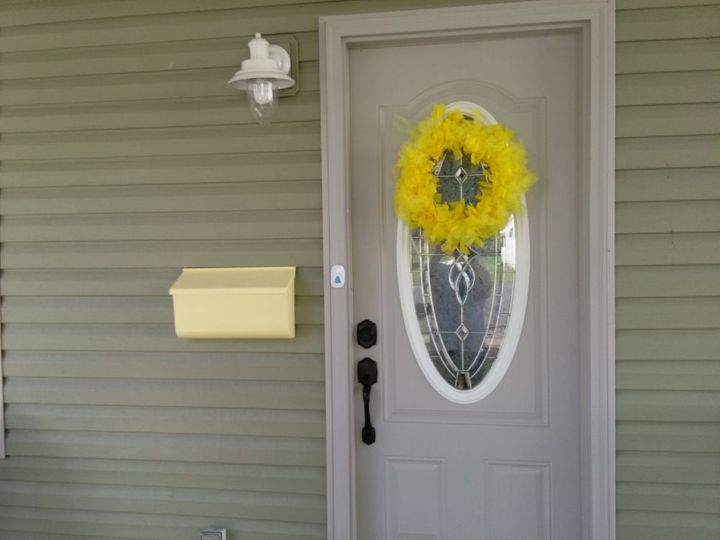
We need some more dry weather before I can paint the door (it's pouring as I write this). There will be another trip to the hardware store to buy longer screws for the numbers. So for now, a sunny yellow wreath to brighten up the door, and you can see the doorbell button which was super easy to install (the receiver plugs in and the button, which has a battery can be screwed in or adhered to the molding). The doorbell was a lightning deal on Amazon for about ten dollars, but, I didn't include the cost with this project since I didn't take pictures of the process (but, it is truly easy). The mailbox and paint were about $33. So, time to get these tired muscles moving, since we spent a twelve hour day moving furniture, and I'm so-o-o tired! It's the stairs that get me! Hope you enjoyed this post, and if you have any questions, please ask!
Comments
Join the conversation
4 comments
-
So cheery and welcoming! Congrats to you!

-
Sweet, I love the simplicity!


Frequently asked questions
Have a question about this project?