


How to Make a Paper Fall Leaf Garland
6 Materials
1 Hour
Easy
Paper crafts are one of my favorite crafts because they're so inexpensive. Plus, it's a good way to use up old scrapbook paper since we all know that scrapbook ain't going to happen.
This project uses copies of paint by numbers instead of scrapbook paper, but feel free to make yours with whatever paper you want. Old book pages would also be beautiful.
I just happen to love paint by numbers...
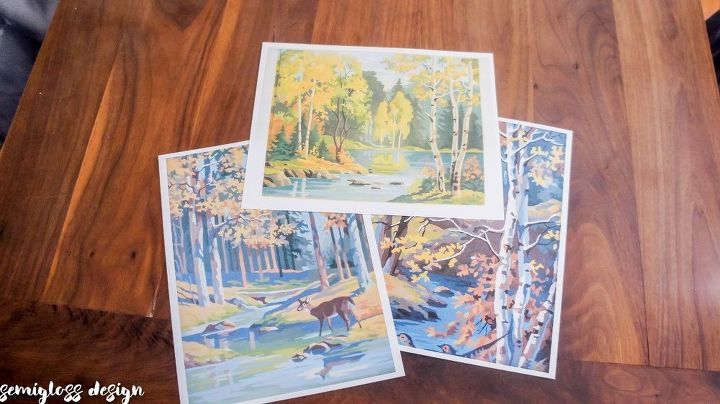
Start by scanning some *Paint by numbers into your computer. Then print them onto card stock. If the entire painting doesn't fit in your scanner, that's okay. You won't be able to tell in the end.
Cardstock is a bit thicker than normal paper, so your leaves are less flimsy.
*I buy paint by numbers at garage sales and thrift stores. It has to be really special for me to spend more than $5 on a piece.
If you can't find paint by numbers, you can also use pbnify.com to turn a normal photo into a paint by number.
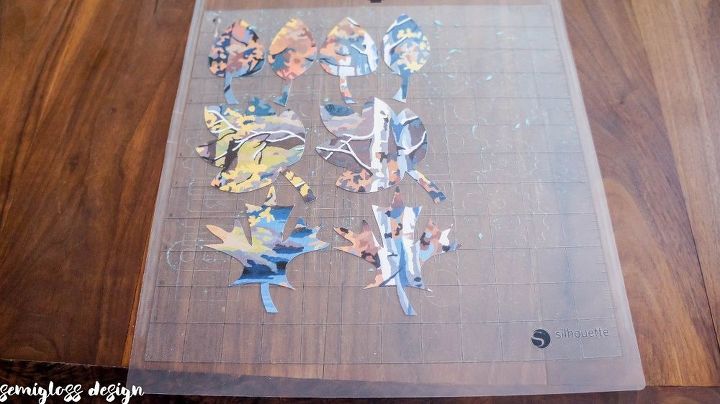
I used my Silhouette to cut leaf shapes from the paper. (Free leaf cut files on my blog. See link below)
You could also freehand simple leaf shapes.
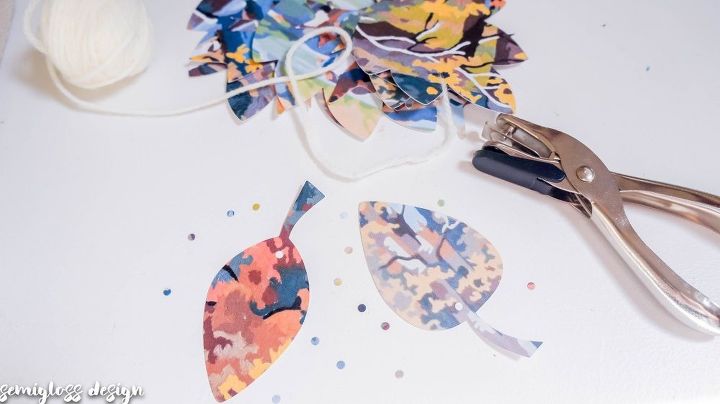
I used a hole punch to make a hole near the top of each leaf.
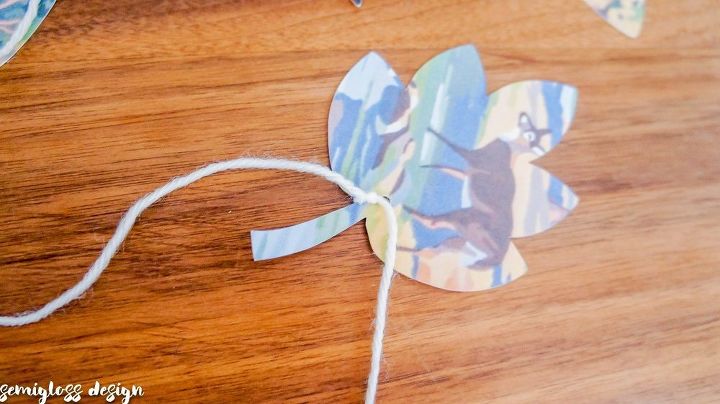
Tie each leaf onto a length of yarn. Your length will be determined by how long you want your garland, plus about 12" extra for tying.
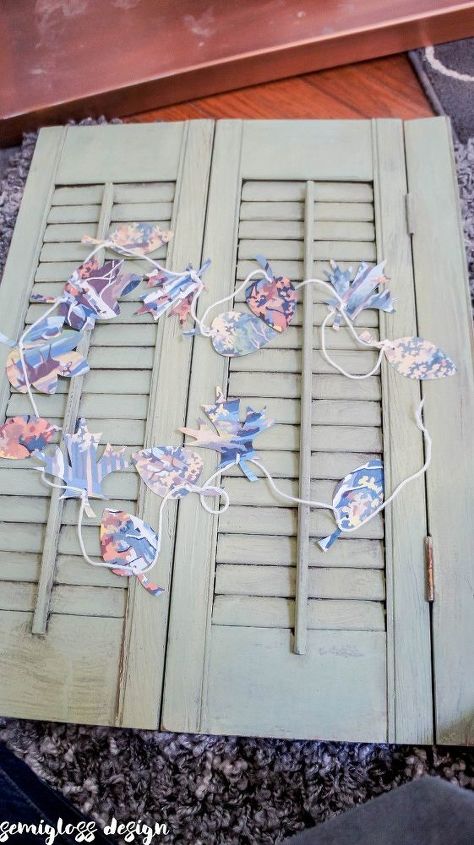
When you're done, tie small loops at the end of the yarn to make hanging easier.
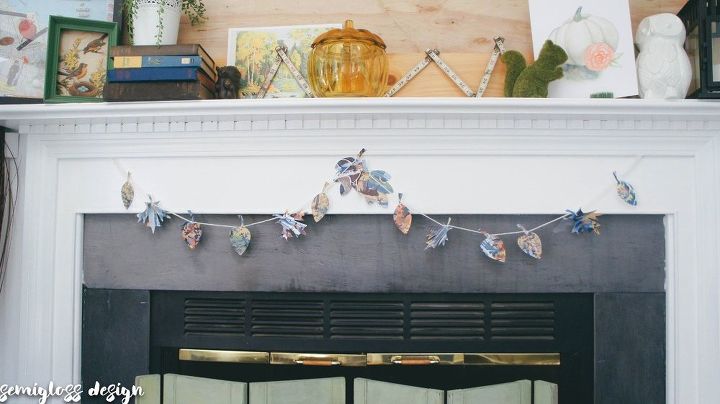
Then hang your garland enjoy. It looks pretty when the wind hits the leaves and they flutter.
For leaf cut files, visit my blog.

Want more details about this and other DIY projects? Check out my blog post!


Frequently asked questions
Have a question about this project?