


The Best Trick for Making a Dipped Look With Spray Paint!
4 Materials
$5
1 Hour
Easy
Hi, it’s Brittany from Our Home Made Easy! I am passionate about sharing easy DIY projects around the house for other busy families.
Today I wanted to share how you can make a fun pipped look to some small containers using spray paint!
You can see the full tutorial on OurHomeMadeEasy here.
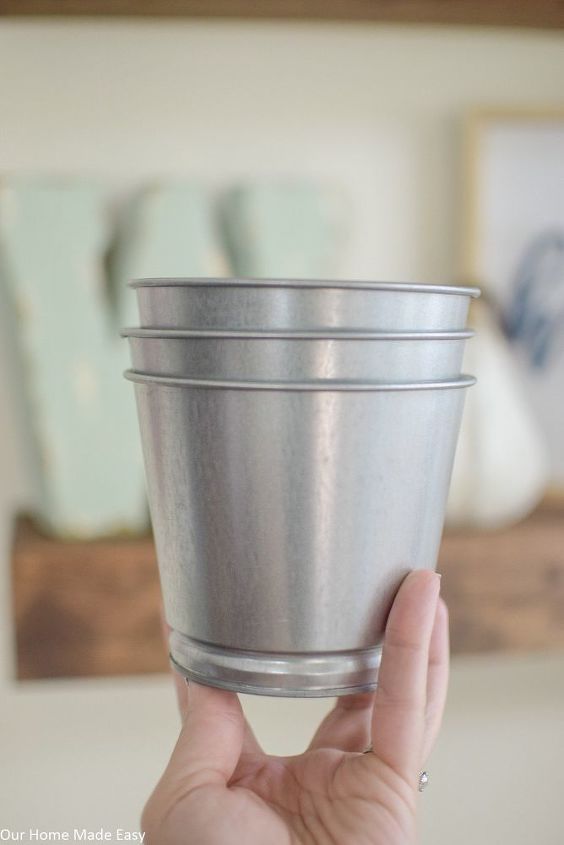
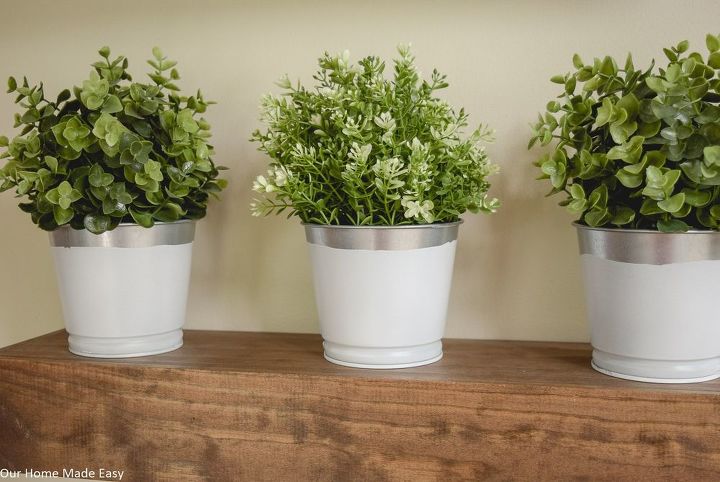
When I thought of what project I wanted to do, I immediately thought of these little galvanized buckets that I had in the house. I've been wanting to give them a new look.
But I didn't want to take painter's tape and make straight lines. Instead, I wanted to give them a dipped look that looked like they were dipped in a tub of paint and pulled out.
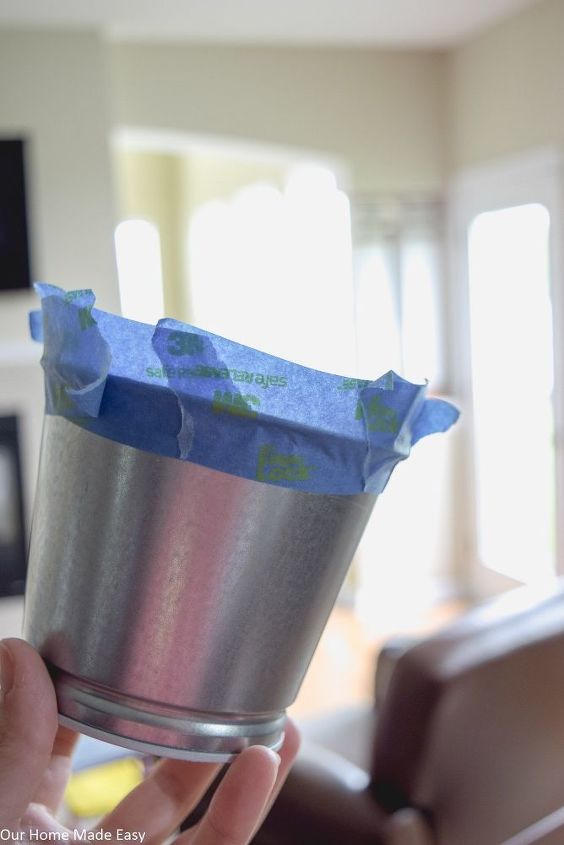
While I used small buckets, you could use this method with just about anything. Using painter's tape, cover your container working from the top, down.
Be sure to let the top of your piece's tape flare up for quick & easy removal (that's really important at the end). Repeat taping down your container until you get to the desired spot for your 'dipped look'
Next, take a pencil and lightly create a curved line that mimics a dipped look.
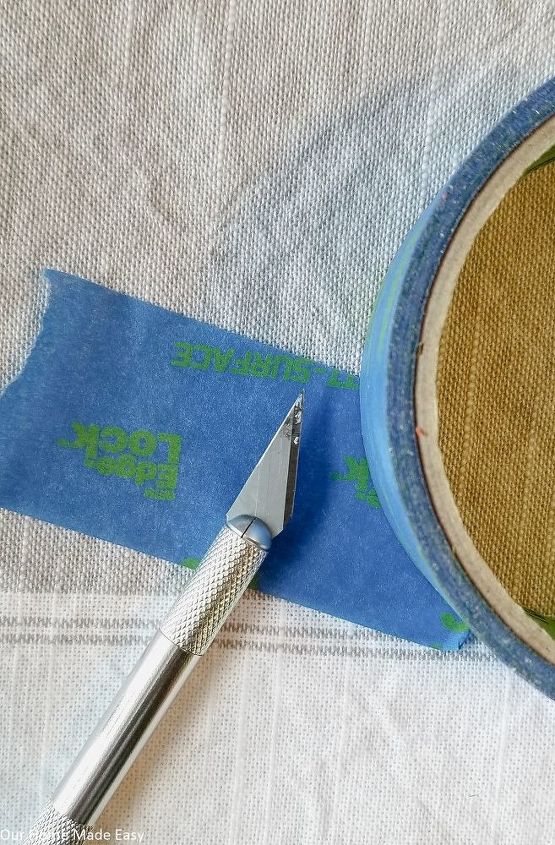
Using an Exacto knife, lightly press down on your container and follow your pencil line. Pull away the excess painter's tape. Run your fingers along the tape edge to seal the dips.
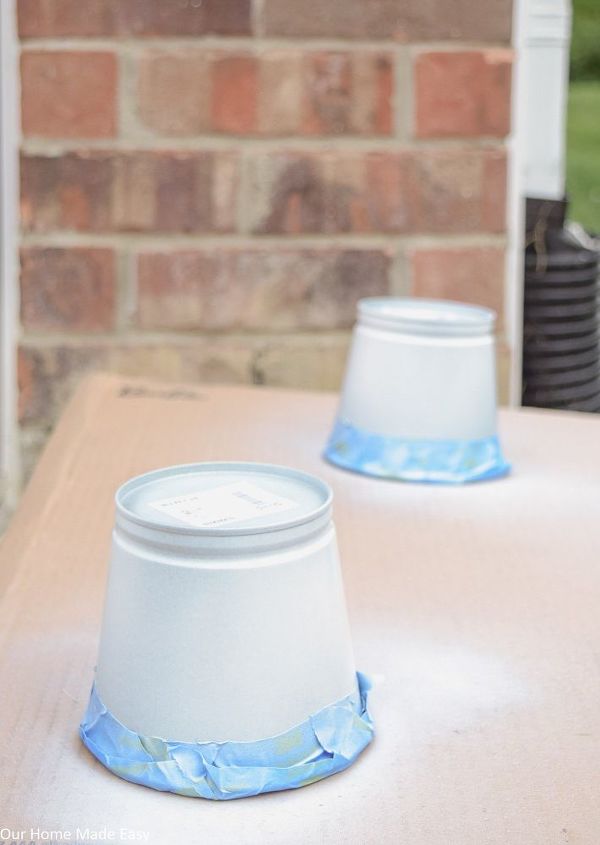
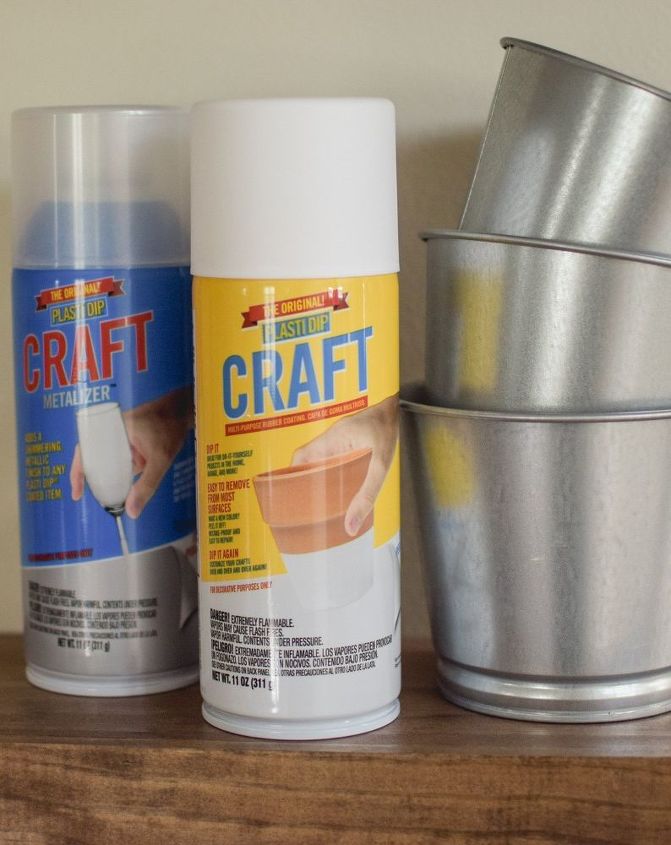
Following the Plasti Dip Craft recommendation, we spray painted our containers outside.
You can do it in any well-ventilated area. Make sure that your painter's tape is flared out like a trumpet-- not like this photo :)
If I were to do it again, I would remove the tape after the last coat is applied and dried, as recommended.
To do this, place your hand inside your container and pull away from the painter's tape from the container.
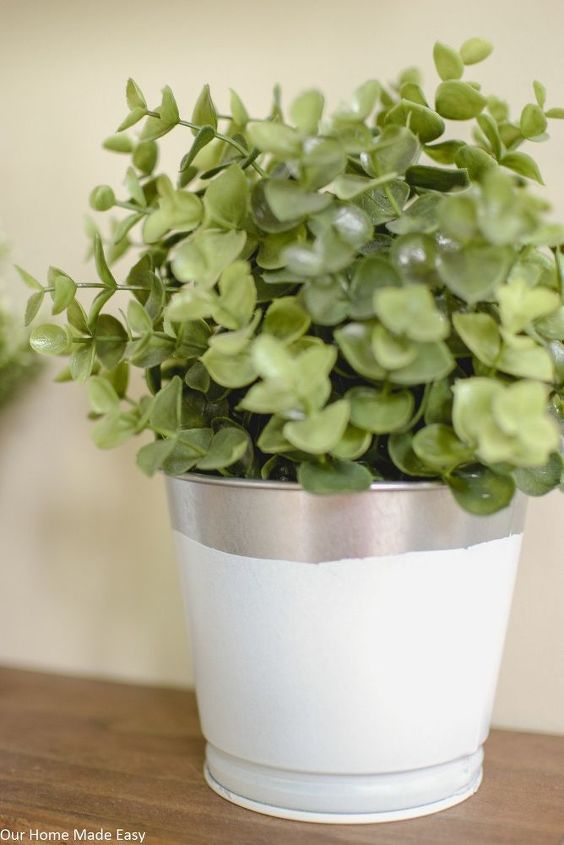
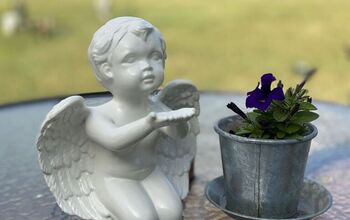
You'll want to make sure you do this quickly so that the paint doesn't stick to the tape and pull away. Once my little buckets dried, I popped in a few greenery pieces and set them on the shelf!
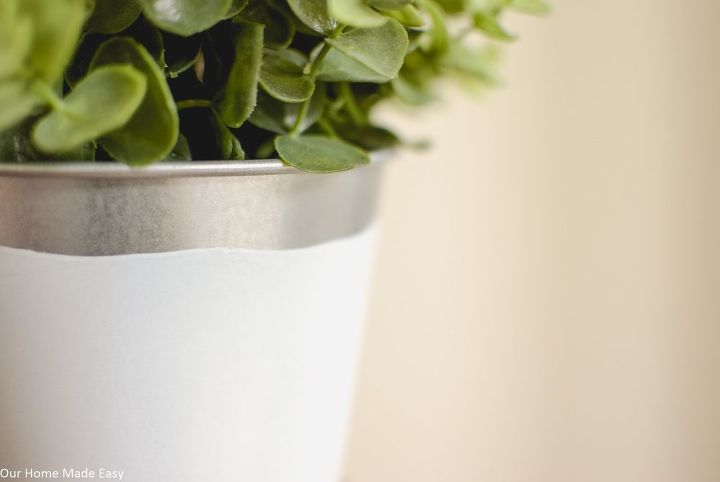
To add some extra fun, I added the Silver Metalizer Enhancer on top of the Crisp White color. While it's a bit hard to see in the photos, it made the entire buckets have a pearlized finish that's just pretty.
Thanks for checking out our dipped paint look tutorial!
Find more easy projects on our Facebook page, www.facebook.com/ourhomemadeeasy !

Want more details about this and other DIY projects? Check out my blog post!


Frequently asked questions
Have a question about this project?