


A Simple Cover for My Footstool

by
Cynthia H
2 Materials
$10
20 Minutes
Easy
As I mentioned in my previous post, we are moving into our much smaller dream house. We are using some of our old furniture, but, not all of it. My husband was willing to give up his oversized recliner as long as he could keep his favorite ottoman. The recliner had seen better days, as has the ottoman, but the ottoman is still very sturdy, comfy to rest your feet on, and much easier to cover. Since I'm between two houses right now, I decided to use something I had on hand (drop cloths), that washes easily and could be replaced at a later date if I find a sturdy fabric I want to use. So I selected one of my smaller drop cloths (I use them for many things, even painting!).
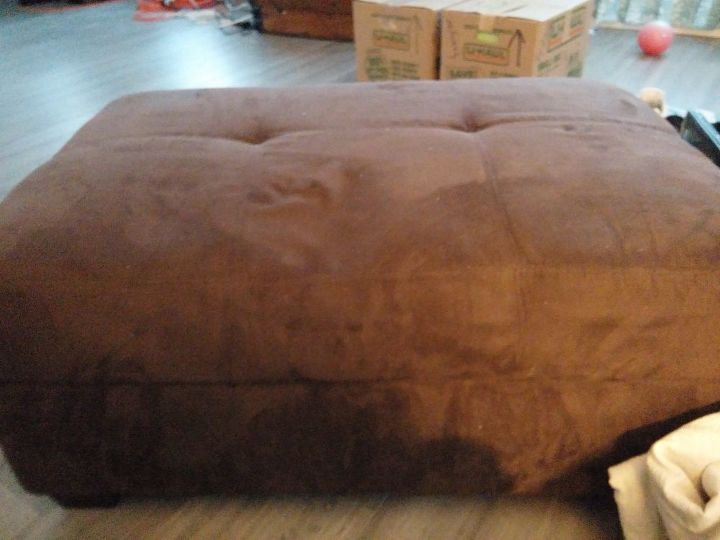
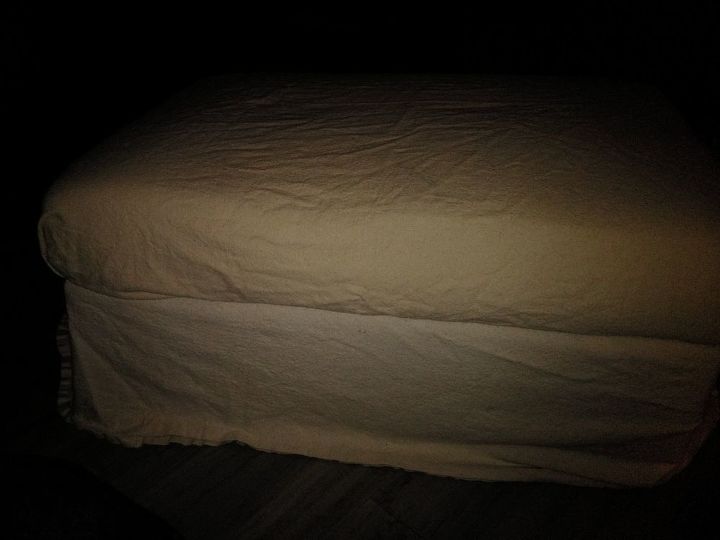
my old ottoman
Here is the tired brown microfiber cover that is still intact, but, tired (and I'm tired of it!).
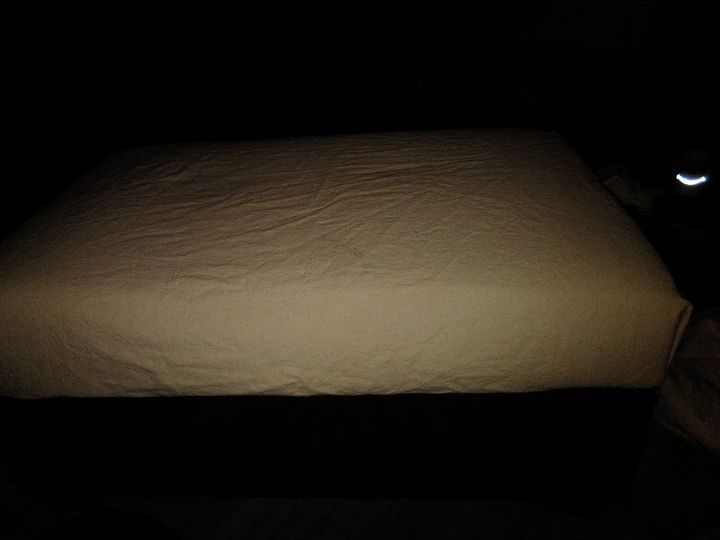
folded and pinned
Next I tidied up some of the ragged edges. A tip to share is that it is easy to tear a cotton drop cloth in a straight line. Just cut where you want the piece to end, and then pull both sides of the cut. You will find it tears easily in a straight line. I draped, tucked and pinned until I liked the way the cover fit on top. I needed to be able to open it on this side, since I'm able to store my sewing supplies inside.
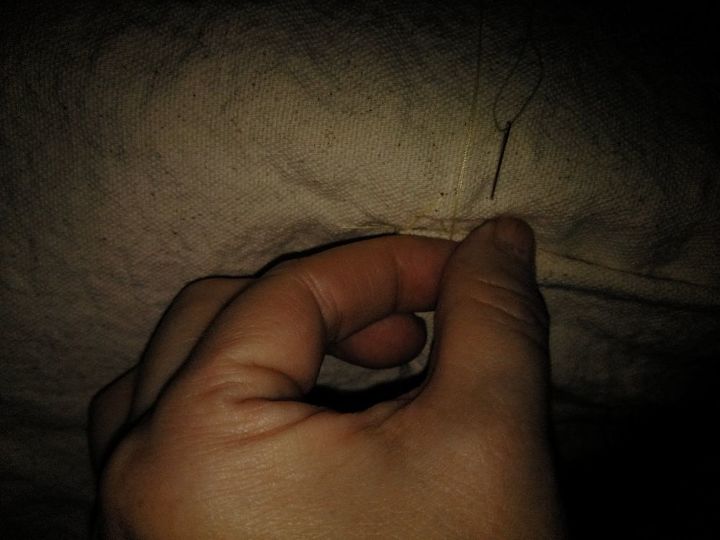
sewing the tucked corners
Then, I made neat folds at the top, so that I could sew them in place. Be careful to not pull the needle through the fabric of the stool, unless you won't be removing it for washing. Don't panic if you accidentally sew into the cover underneath - just cut the thread, tie it off, and start again where you had your whoops, avoiding the fabric underneath. Don't sew? you could use upholstery pins and tucking to hold the fabric in place. Then, using some more of the fabric, I made a super simple skirt - a straight length of the fabric, wrapped, folded and then stitched into place.
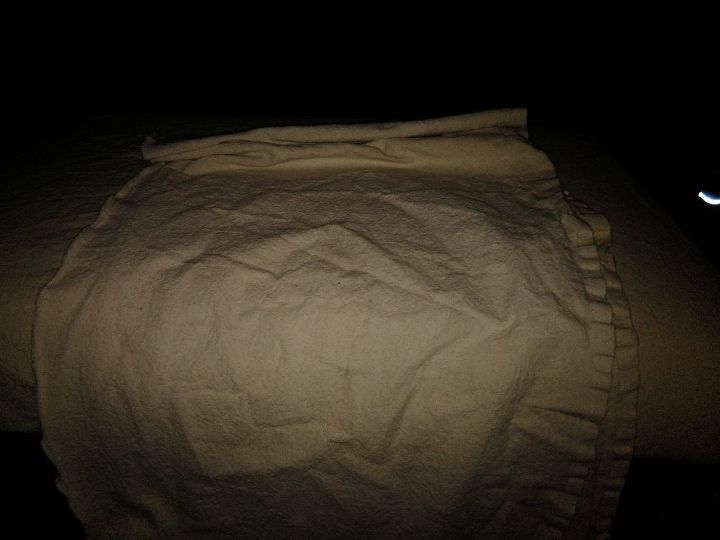
Again, I made a cut, and tore the length and width I wanted from the remaining fabric. This is the piece for the skirt.
After the corners are sewn.
Here it is. I didn't hem the bottom, just used a finished edge on the drop cloth. I don't mind it being a little wrinkly, but, ironing it or steaming it smooth could easily be done. Since both of those are at the other house, I like the current look!
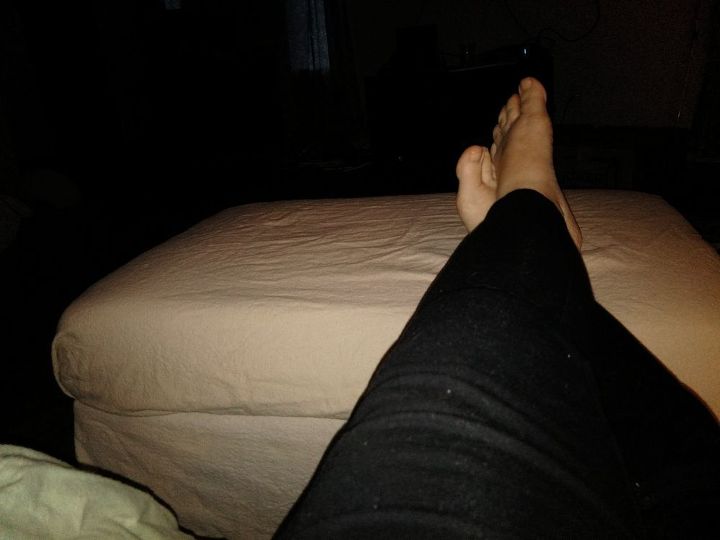
Ahh! Super comfy, easy to do, and easy to wash. After all the hard work I've been doing with this move, I found this super easy, and much better for a new look. Remember, you don't have to sew it, since I've tucked and pinned drop cloths many times for super simple covers. Projects don't have to be expensive or difficult for a new look. Don't like the cotton canvas look? A pretty sheet, curtain, or length of fabric could be used in the same way. Just make sure you have enough fabric to fold it under, make corners, etc. Canvas drop cloths wash well, and soften up with each washing. I had mine, but, have purchased smaller ones for less than ten dollars that had enough material for a project. This fabric was from a long drop cloth that I had cut in half. The only tools I used were a needle, thread, quilter's pins for holding it in place while I sewed, and scissors.
Comments
Join the conversation
3 comments
-
How dedicated of you to even try to redo this ottoman. It’s hard to tell what it actually looks like, but what I see looks comfortable and well done. But the best thing, in my opinion, is that you can easily change the cover again if it makes the cut when you finish moving. Great idea! ☺️
-
It looks super comfy!


Frequently asked questions
Have a question about this project?