


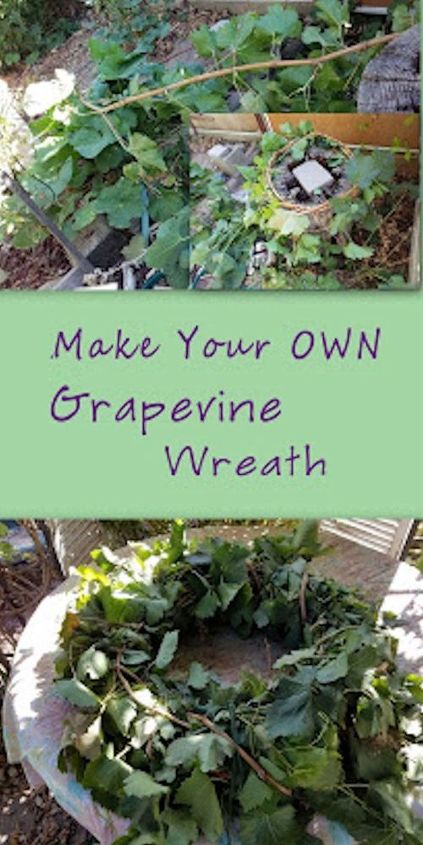
Make Your Own Grapevine Wreath
2 Materials
30 Minutes
Easy
It's nearing that time of the year that I dread ~ Pruning.
Does your yard look like a jungle too?
Does your grapevine reach out to touch you from the other side of the garden? 
It's just about time to prune back this grabby gal this Fall!
Let's dig out those clippers and let's get started!
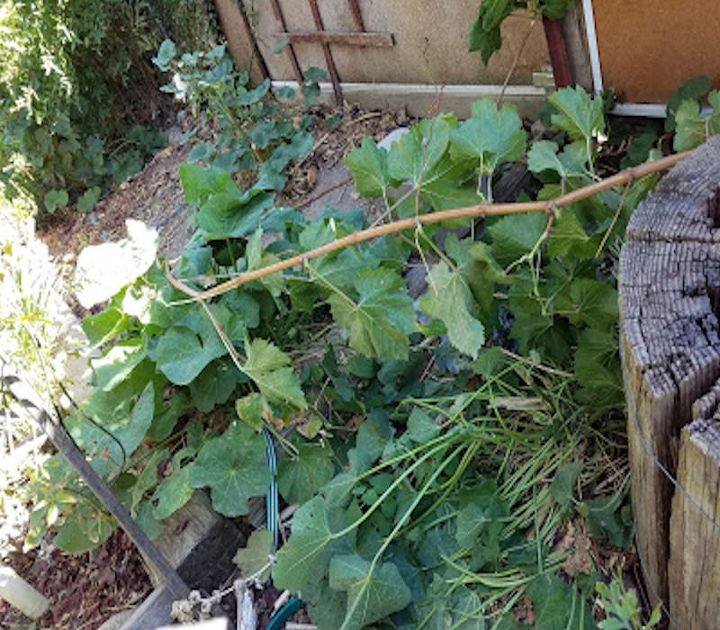
After you've pruned your grapevine, lay all the vines out.
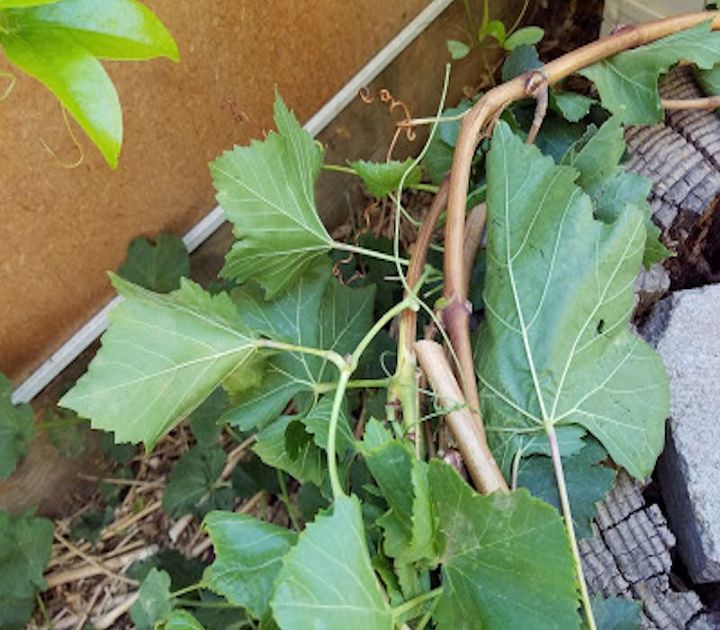
Remove all the leaves.
I'm leaving my leaves on due to the fact mine will end up being a large nest (that's for future post) not a wreath per se but, still needs to be made the same way, so I thought I'd show you how I do it.

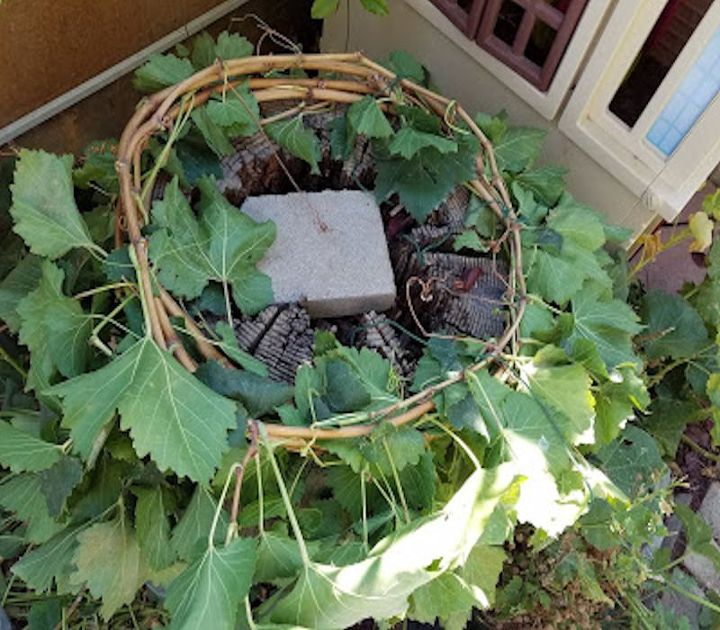
First, take a long, fresh vine and form a circle in the diameter you want your wreath to be.
I want mine to be approximately the size of this log
(you'll see why in the upcoming post) so I've started it on the top for sizing purposes.
Most likely you will have excess vine ~ wind this excess vine around the vine circle you just formed ~ using it as if it were wire/string, around the base, in and out of the circle. When the vine is to the end, tuck this end in between two wound vines.
On the first round there might not be two wound vines to tuck the end into, so just hold the vine end until you can wrap around it with the second vine or tie it with something inconspicuous to hold it. You can see I've used florists wire to tie mine, just because that's what I had on hand.
Now take another vine, insert the beginning end between two wound vines and begin the winding and ending process all over again. Keep adding vines and repeating this until the wreath is the thickness/size you want.
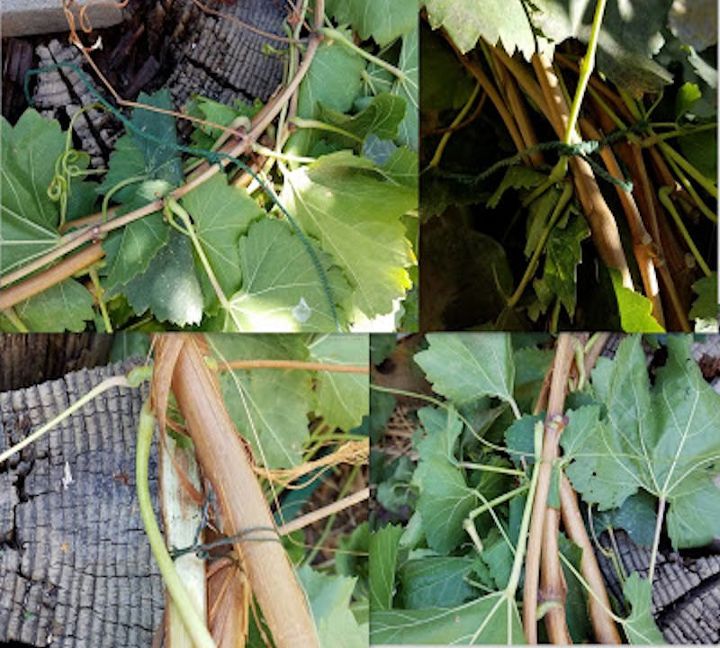
If necessary, you can tie the wreath here and there with florist wire,
cording, string, whatever you have on hand to hold it secure.
Sometimes the vines just don't want to seem to cooperate and need some persuasion. You can do this as you go or at the end.
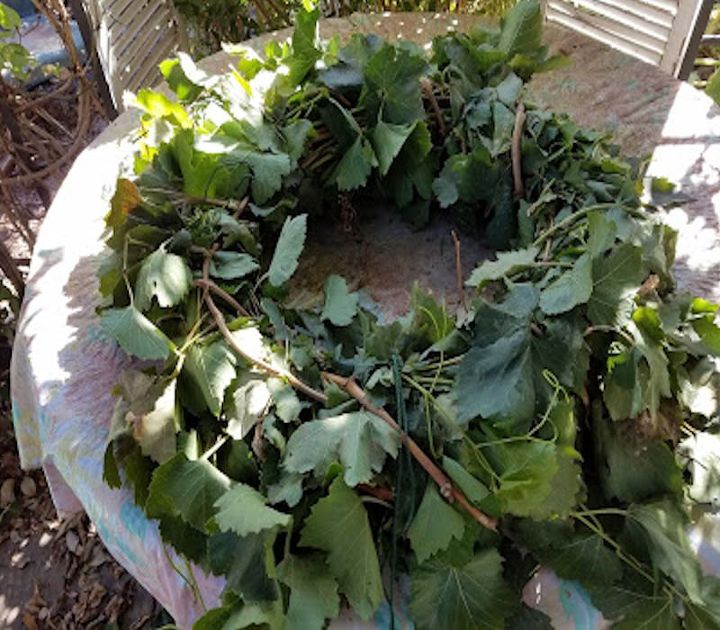
When you have finished your wreath, lay it in a dry dark place for a few weeks until dry. Do not hang ~ your wreath it will dry misshapen.
I have different plans for this one. It's still "drying" in the garage from last Fall. Yes, I'm sure it's completely dry and ready for the next step. One of these days I plan to have time to finish it!
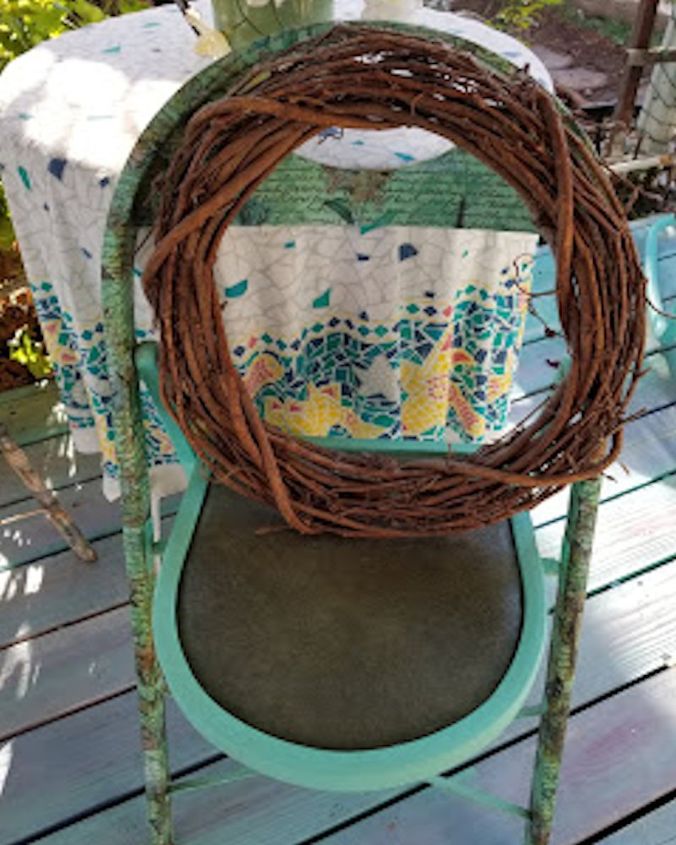
Your's won't have leaves, it will look like this one I made a few years ago.
These wreaths are fun to give as gifts ~ as they are or decorated with ribbon, dried flowers or whatever else you like. You may use a glue gun or wire to attach your decorations to the wreath.
It took maybe 30 minutes to actually make the wreath, not including pruning time. Drying time depends on the temperature of where it's placed to dry.

Want more details about this and other DIY projects? Check out my blog post!


Frequently asked questions
Have a question about this project?