


Chair Redo — From Junk to Beautiful

2 Materials
$15
3 Hours
Easy
We live in my husband’s ancestral home which is a 70-year-old farmhouse sitting on 40 acres. Digging through the basement can reveal treasure after treasure ... even when something doesn’t look like a treasure to begin with!
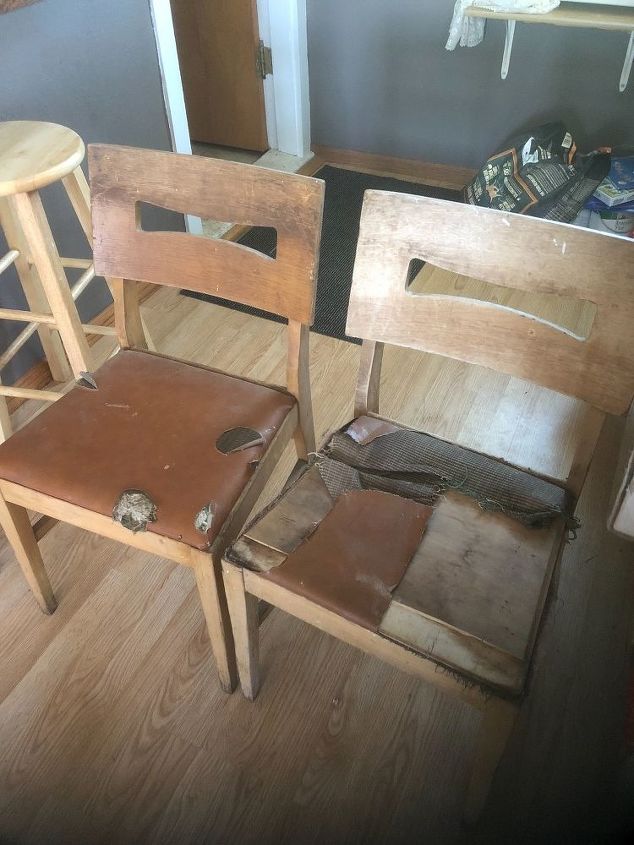
Enter these two chairs — solid wood, but scratched and worn with “cushions” are ripped and moth-eaten. There was no stamp or identification under the seat to determine the chairs’ ages, but our guess is that they had been in the family for 50+ years. So what do you think? Trash or treasure??
We chose treasure!
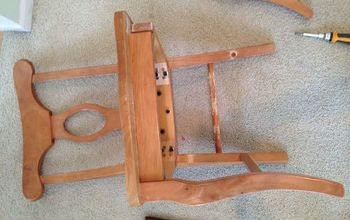
In order to restore the chairs, I removed 4 rusty screws that held on each seat and soaked the screws in vinegar to help remove the rust while I worked on other parts of the chair.
Setting the seat aside, it was time to clean and sand the wooden chair frame — nothing like 120-grit sand paper on my rotary sander and some TSP to get rid of imperfections and grime on wood!
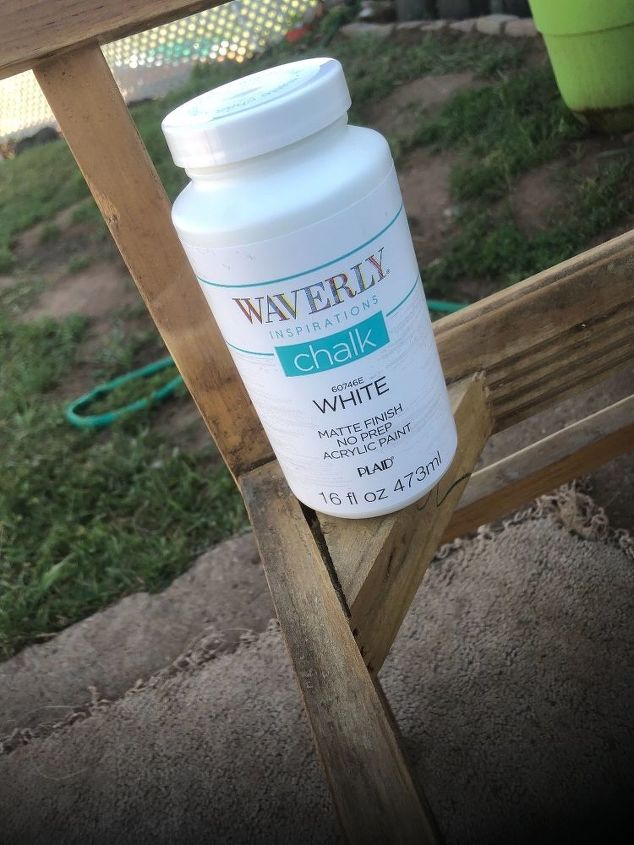
Next, it was time to paint. I had never tried chalk paint before, but I had heard of it so many times on Hometalk that I thought this may be the perfect project to give it a try.
As as you can see in the photo above, I chose Waverly chalk paint in white.
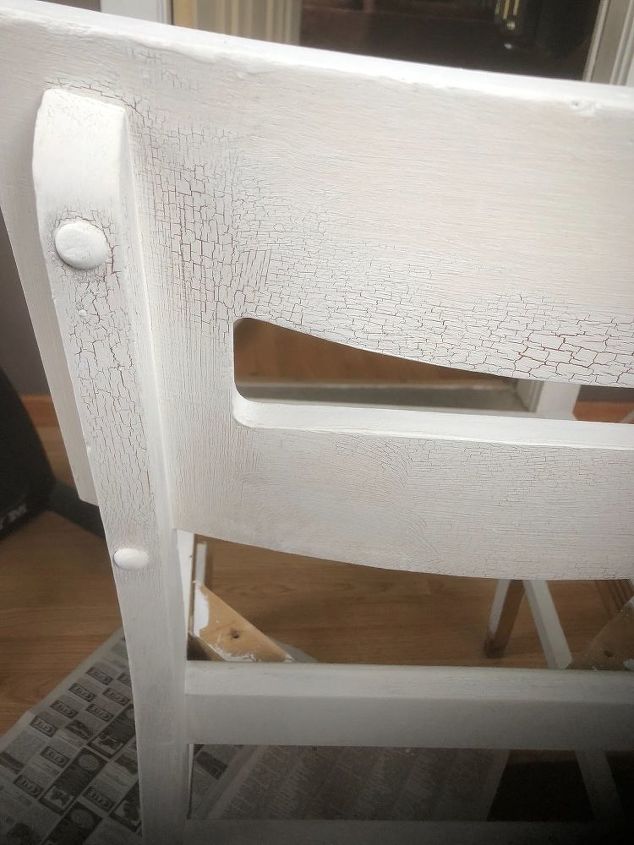
After I applied a few coats of chalk paint to the chair frame, something interesting began to happen. The finish started to crackle in different places. Not everywhere but just in a few and in different patterns. Very interesting!!
Those of you who are more familiar with chalk paint can probably explain why this happened (perhaps the dryness of the wood or the dryness of the weather), but I really liked the result. It gave the paint a weathered look to match the chair’s age.
I’m going to buy some dark wax to go over the chalk paint to make the crackles look even cooler!
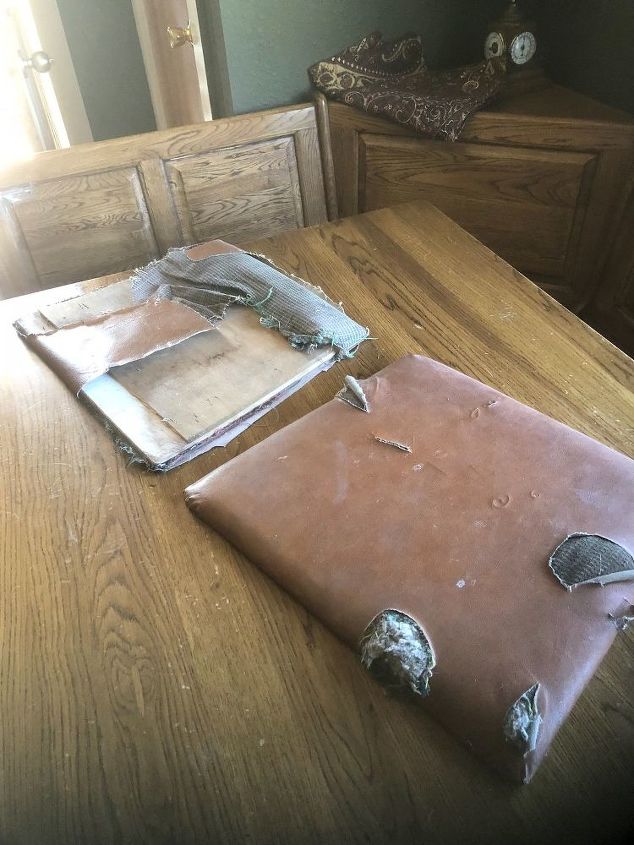
Now that the chair frames are painted, it’s time to move on to the cushions. Ick. I turned them over and removed whatever staples were there so I could remove whatever padding or vinyl was left. (Sometimes you’re glad you don’t have microscopic vision so you’re unaware of what kind of germ, flea, or other icky bug habitat you’re disturbing.)
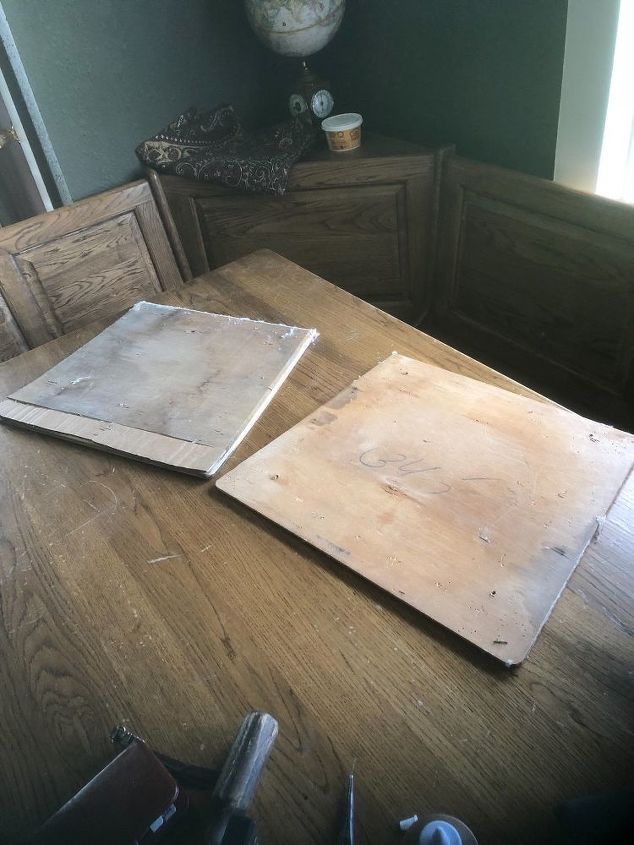
Once the icky stuff was removed and tossed to a galaxy far, far away, you can see what remained — a decent wooden seat base, a little warped but usable. These got a good cleaning and sanding as well.
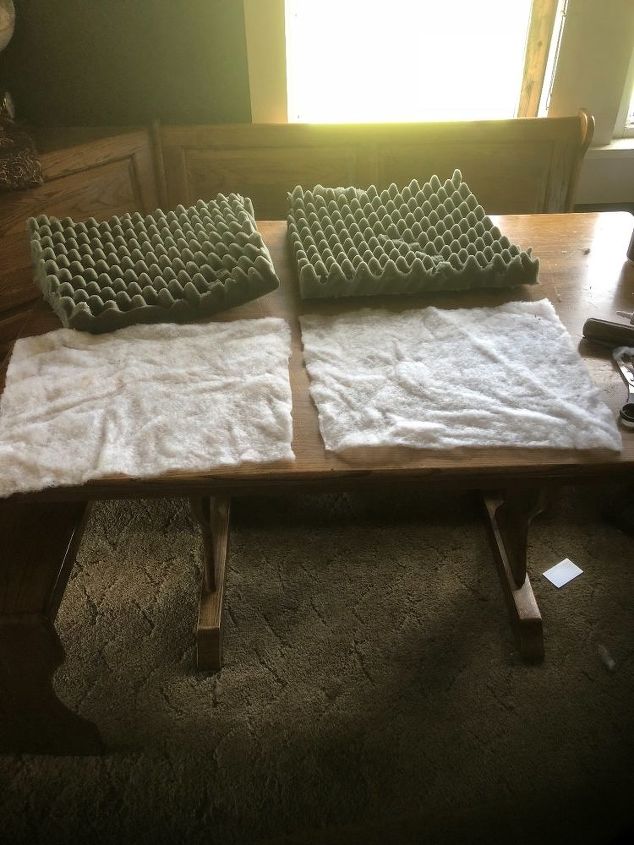
A little digging in the craft room revealed some nice thick foam and a roll of PolyFluff batting. I cut two pieces out of each, using the wooden chair base as a template.
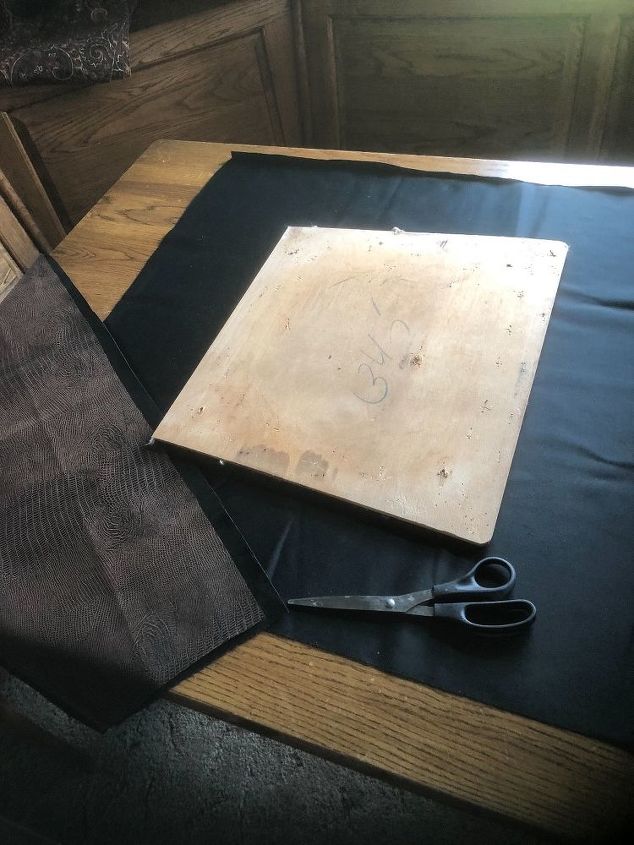
I cut out a square of some cool fabric I bought at WalMart — a soft flexible faux alligator skin type of material that was easy to cut and work with. I placed this fabric face down, and then making a kind of sandwich, added the PolyFluff batting, the foam, and finally the wooden seat base.
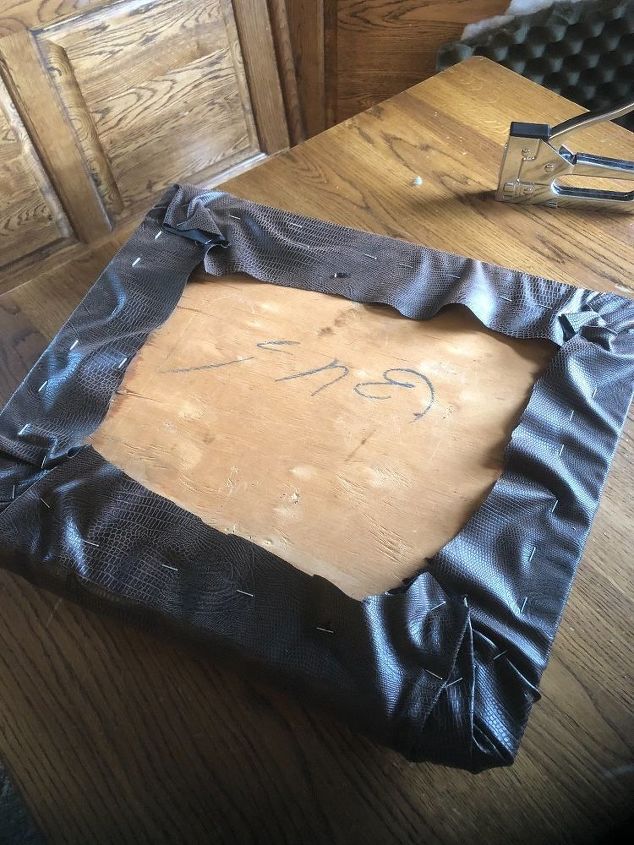
Then, I used my nifty staple gun to secure the fabric sandwich to the base. Be sure to pull the fabric pretty tight before stapling to remove any wrinkles and cut away any excess fabric after stapling.
For anyone who is afraid of upholstering furniture (and I was one), don’t be. It can be one of the easiest and cheapest ways to give a piece new life!
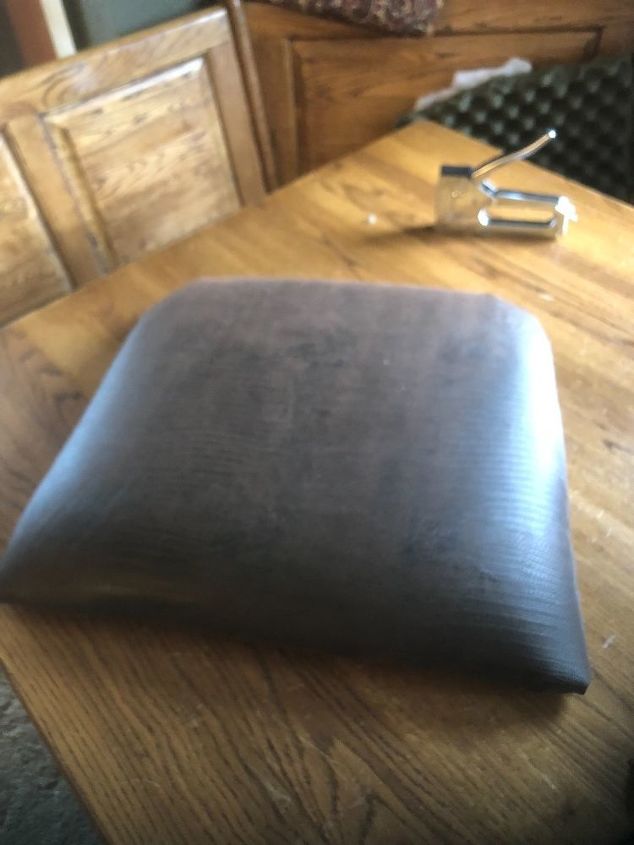
Here is what the restored cushion looks like. Nice improvement, huh?
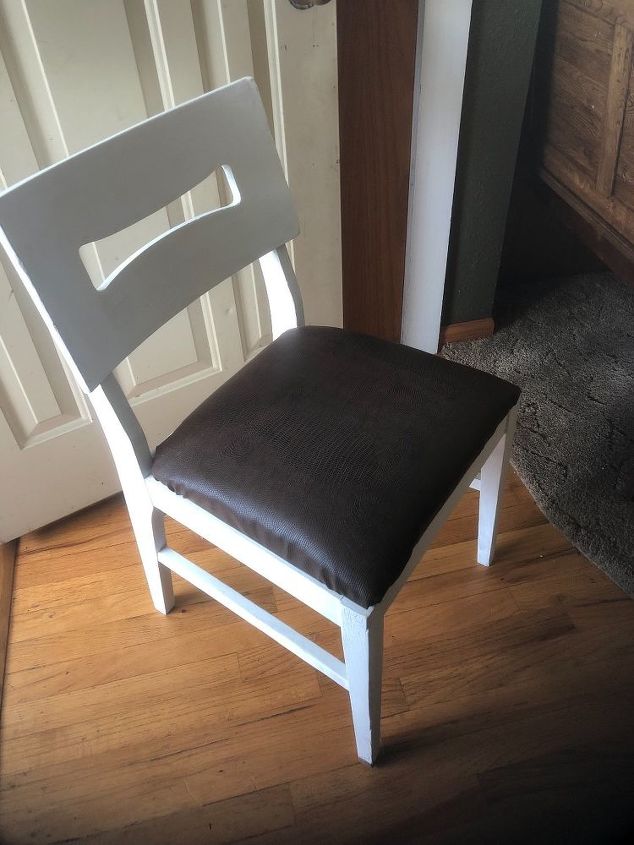
Now it’s time to reattach the cushion to the painted frame. The screws are in much better condition after soaking in vinegar, so I could reuse them to reattach the cushion. Simply use the holes in the frame and seat base that already exist.
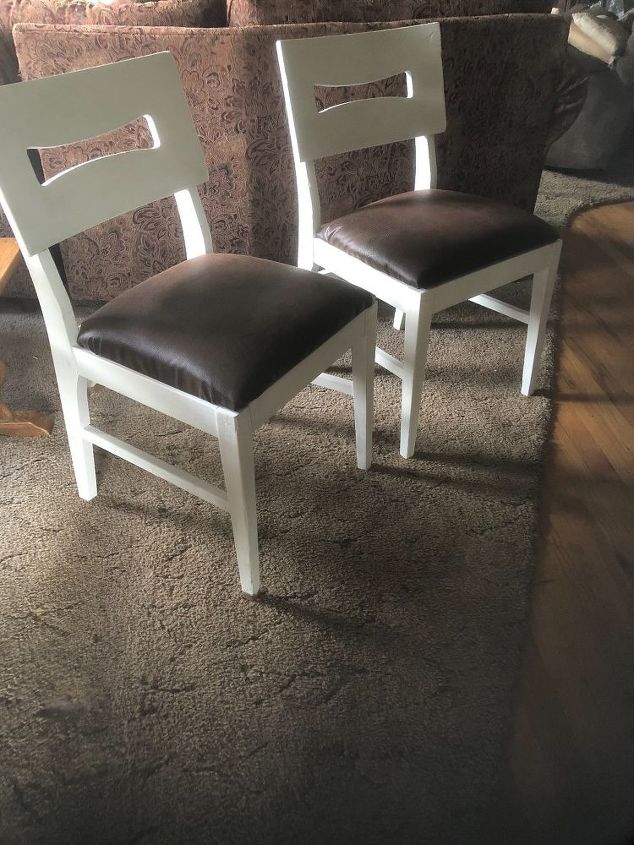
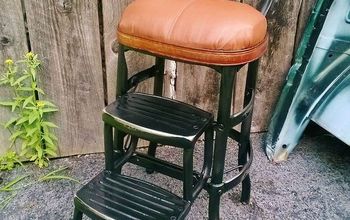
And here are the twins after their restoration! Isn’t it nice to give a worn out piece of furniture new life??
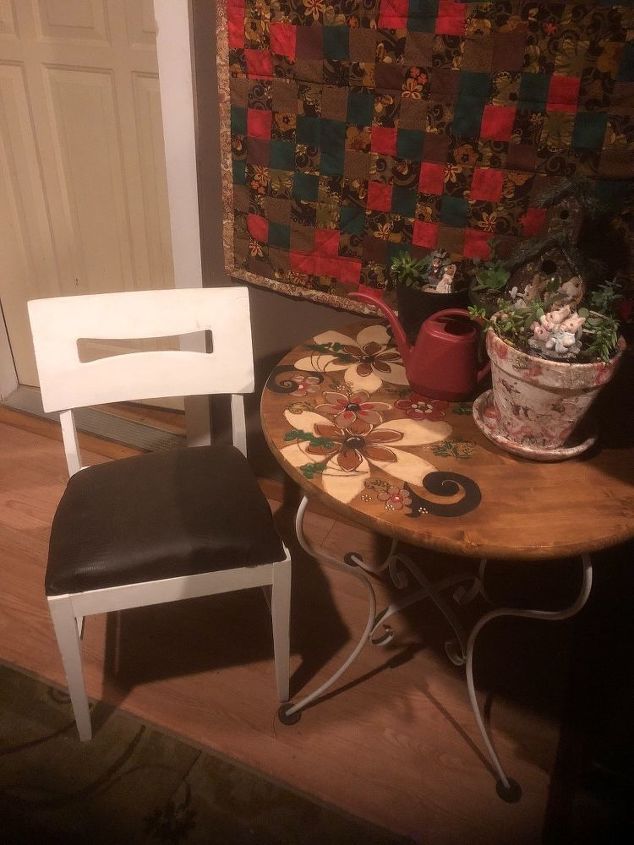
A nice addition to this corner don’t you think?
If you’d like more information on the painted tabletop, here’s the link showing how that came about:
If you like the bunny garden, here the link to that project:
Comments
Join the conversation
3 comments
-
Wow wow, they look phenomenal! You must feel proud!
-
I can't believe, are de same chairs ????? And the table is so cute


Frequently asked questions
Have a question about this project?