


Hanging Farmhouse Hutch

by
Megan Quinn
14 Materials
$150
7 Hours
Medium
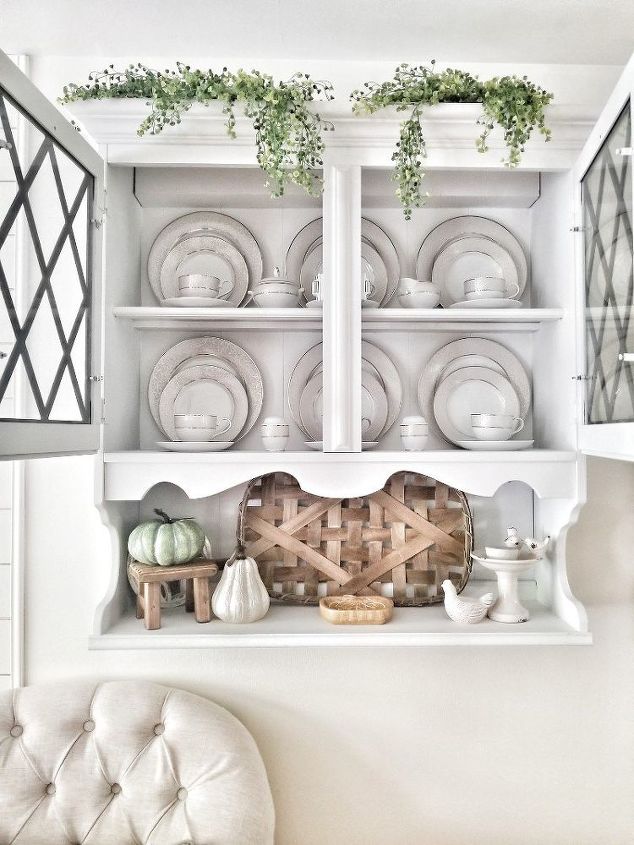
Who doesn’t love a good hutch? I know I do! I love their character and charm, but mostly, I love their versatility! Where else can you display your fine china and greenery and ceramic pots and signs and random decor? Nowhere!
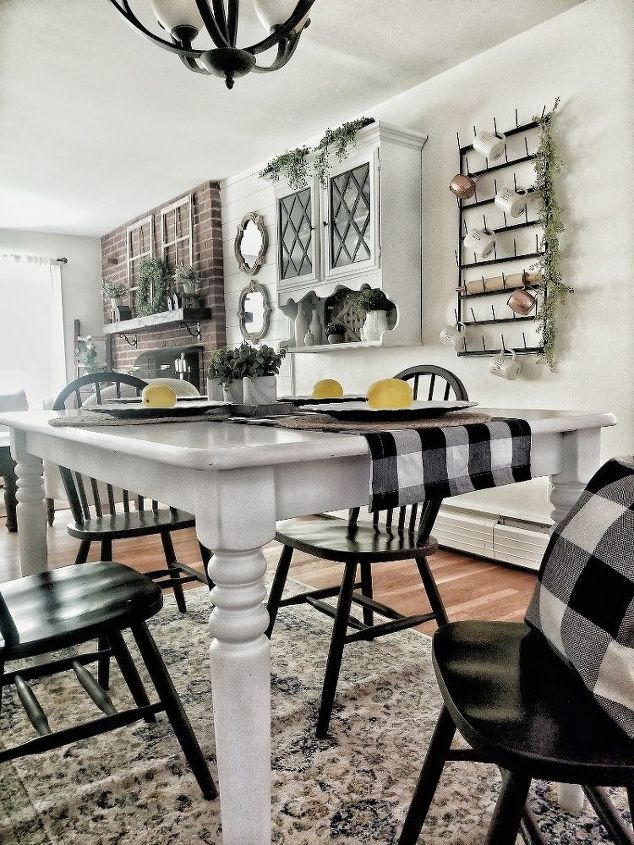
When we moved into our home, I couldn’t wait to find the perfect hutch. The problem was, my dining room is on the smaller side and I knew I wouldn’t have space for a full hutch and a dining room table.
I searched and searched for an alternative and was thrilled when I came across with step by step instructions to help get me started.
If you’re dying for a hutch, but tight on space (like me), keep reading! I promise you’ll have a beautiful hutch in no time.
Find your hutch! This is the first step and definitely the most important. As you search, keep in mind this will be hanging on your wall – so you want something that is sturdy, but not so heavy that you can’t lift it. I searched Craigslist and Facebook Marketplace and found the perfect one for a whopping $50!
Note: Hutches are generally sold as a set (top and bottom). In some cases, they may even be attached and unable to be separated. I asked the sellers if they were willing to sell the top piece individually.
STEP ONE
Find your hutch! This is the first step and definitely the most important. As you search, keep in mind this will be hanging on your wall – so you want something that is sturdy, but not so heavy that you can’t lift it. I searched Craigslist and Facebook Marketplace and found the perfect one for a whopping $50!
Note: Hutches are generally sold as a set (top and bottom). In some cases, they may even be attached and unable to be separated. I asked the sellers if they were willing to sell the top piece individually.
STEP TWO
Remove any existing hardware. If yours has ornate hardware (like mine did), you can simply unscrew the pieces and they will pop right off with a little pressure. Then, make sure to reinforce any areas on the hutch to add support and keep everything together.
STEP THREE
Measure the length and width of the bottom portion of the hutch where you want to put your shelf. Cut the wood board to size and nail it in place with a . We used Rustoleum Spray Paint in White Linen. I have also heard a lot of good things about Annie Sloan Chalk Paint. I can not speak from experience, but I hear it does not require any prep or sanding!
STEP NINE
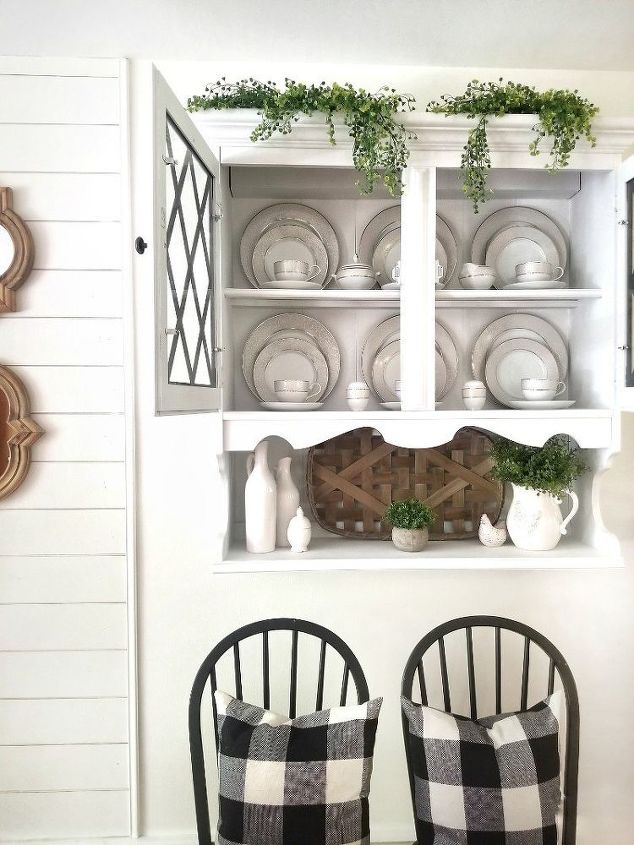
Our hutch doors came with a wooden design insert (like lattice). We spray painted it black and reinserted it behind the glass doors.
If you’re looking for alternate options, check out how Carissa used chicken wire in place of the standard glass doors.
Yay! Your hutch is complete!

Now for the hard part… mounting it!
I really shouldn’t say it was “hard” because Kris made it look pretty simple. Going into it though, this was the part I was most concerned with.
STEP ONE
We went to Home Depot and purchased and screwed the bolts all the way in.
Note: We had to use a ratchet because space was tight and we could not get a drill in there to drive the bolts in.
At this point, the hutch is up on the wall, just make sure to tighten all the bolts so they are nice and snug, but make sure you do not split the blocks.
Last, but not least, DECORATE! This is the best part and there are so many possibilities. I love switching out the decor for the various seasons.
Do you have space for a full-size hutch in your dining room? What is your favorite season to decorate it?
Disclosure: This post may contain affiliate links, which means we may receive a commission if you click a link and purchase something that we have recommended. While clicking these links won’t cost you any extra money, they will help us keep this site up and running! Please check out our for more details. Thank you for your support!
Tiny Farmhouse Touches is a participant in the Amazon Services LLC Associates Program, an affiliate advertising program designed to provide a means for sites to earn advertising fees by advertising and linking to Amazon.com.
Want more details about this and other DIY projects? Check out my blog post!
Comments
Join the conversation
1 comment
-
Absolutely stunning!! Wonderful job!


Frequently asked questions
Have a question about this project?