


Antique Steamer Trunk Project

by
Lindsey
7 Materials
$20
4 Hours
Medium
Do you know what an steamer trunk is? I had no idea what a steamer trunk was until a friend gave me his trunk to refinish. Honestly, this furniture flip was a little intimidating because I didn’t want to destroy the historical elements of this vintage piece. It took a little trial and error, but I learned a few tips and tricks on making over a steamer trunk.
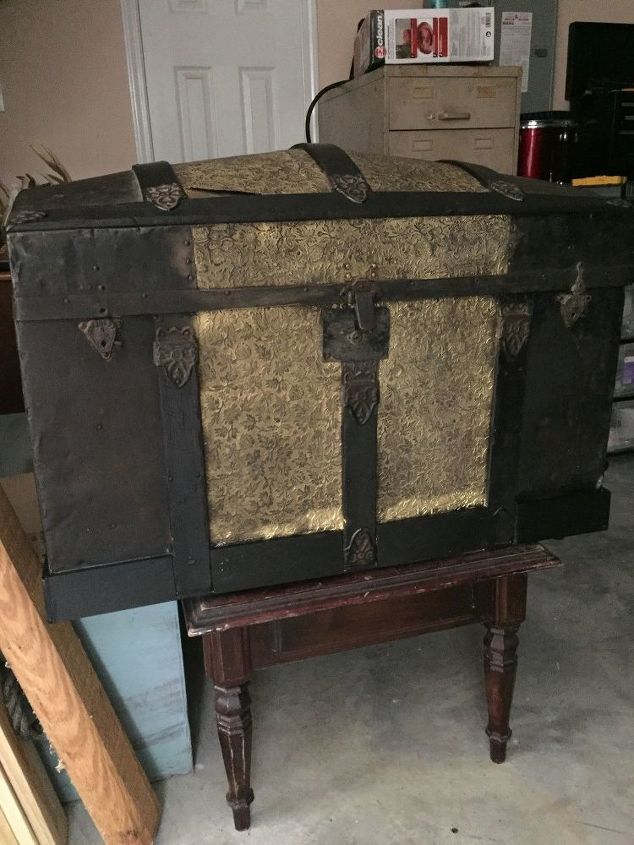
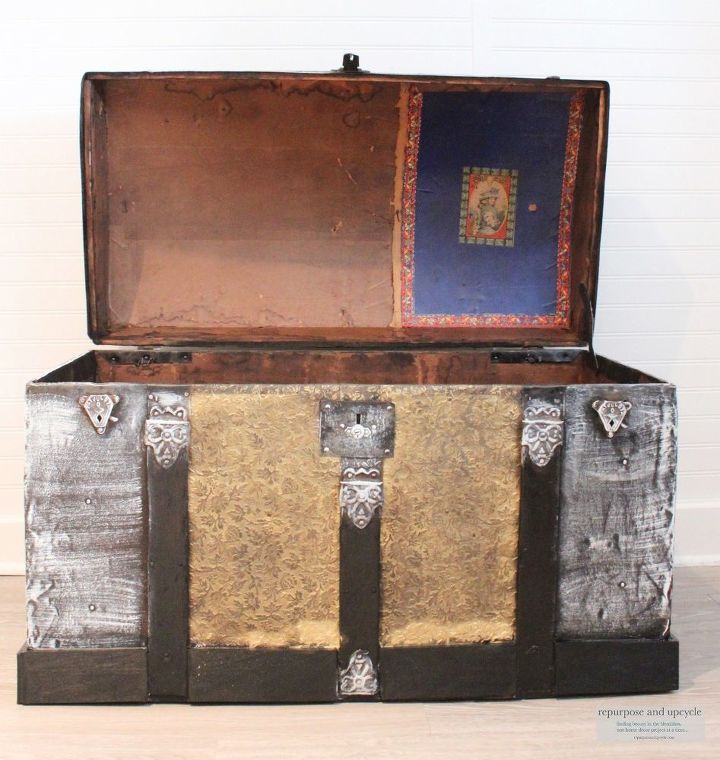
This trunk was in bad condition when I received it. Granted, it is over 100 years old, but the bottom was about destroyed.
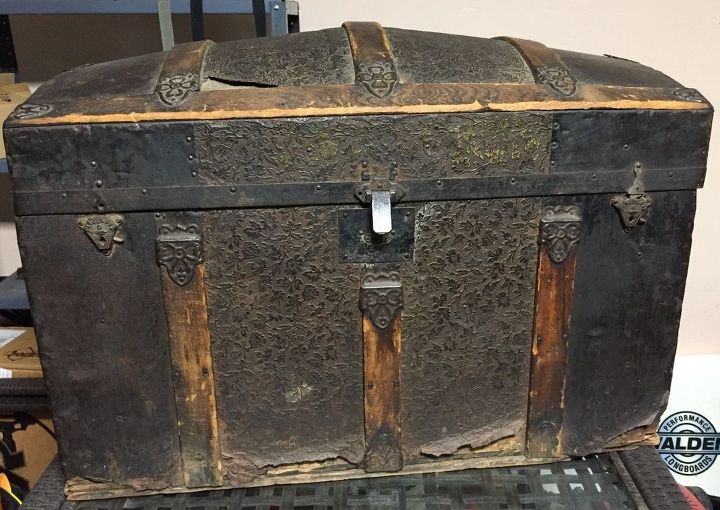
I love to refinish furniture, but I also like to keep the historic value intact. This made me a little nervous to touch it with paint!
The first thing I had to do was clean up the trunk. The best way for me to clean all the nooks and cranny’s is with a shop vac.
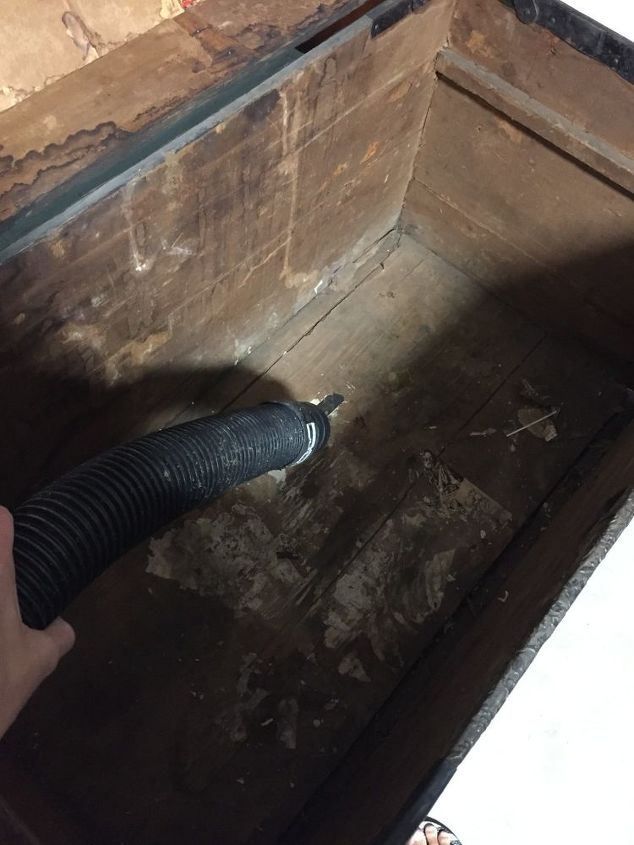
Once the inside was clean of debris, I decided to spray it with a coat of polycrylic to help preserve the old wood and paper finish.

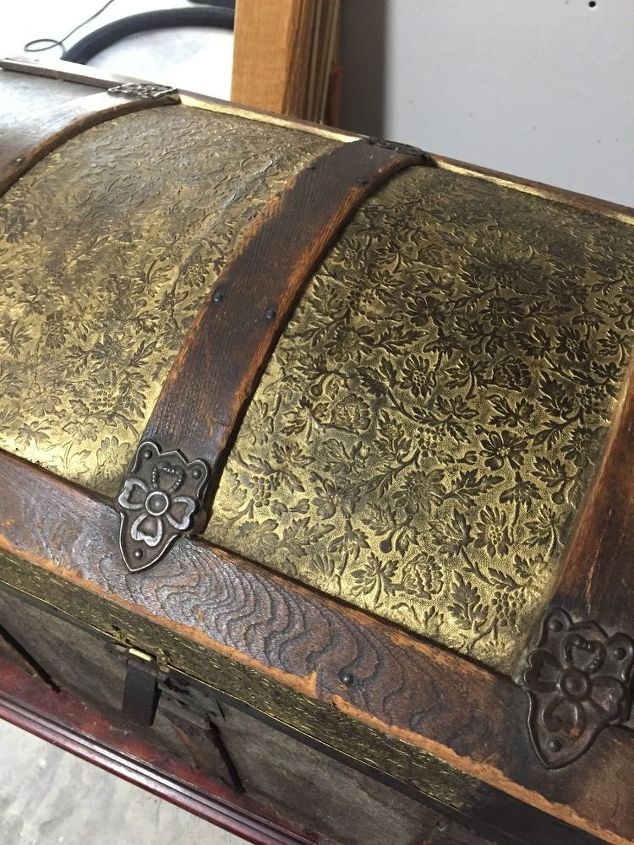
I wanted to keep as many of the historic elements the same if I could. One of these elements was the pressed tin.
Since I wanted to restore the gold color of the tin, I thought my gold leaf spray paint would work great.

I used painters tape to tape off the wood around the tin. After I finished using the gold spray paint, I took a wet rag and dabbed lightly over the spray paint to make it look “aged.”
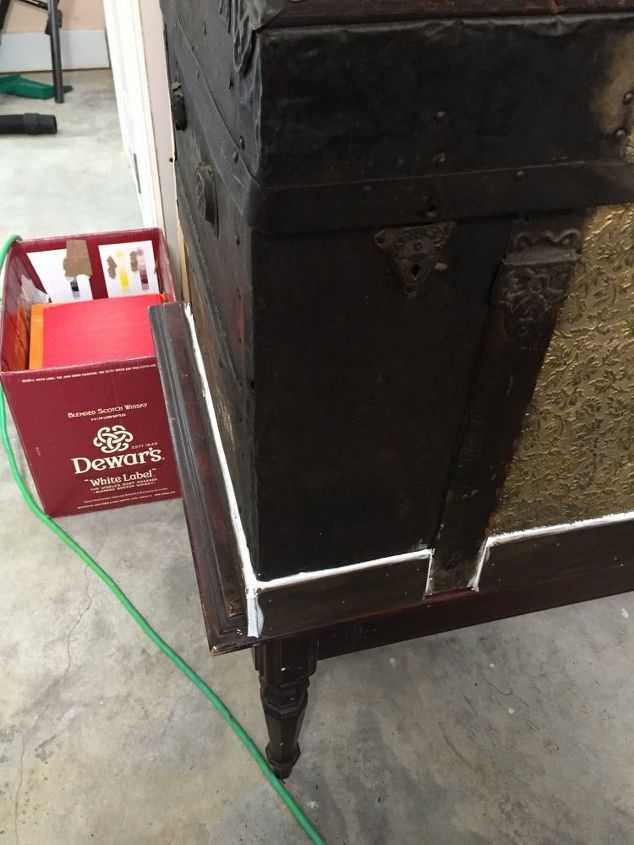
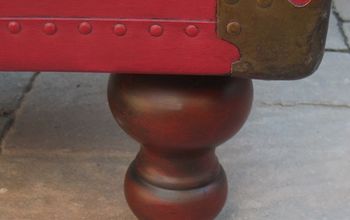
Now it was time to cover up the rotted base of the trunk.
I used pre cut wood pieces (poplar 1/4 by 3 by 4) around the base of the trunk to cover up the rotted areas.
I decided it would be best to paint all the wood black, especially since I needed to caulk around the new wood.
I used a jigsaw to cut the pieces around the trunk.

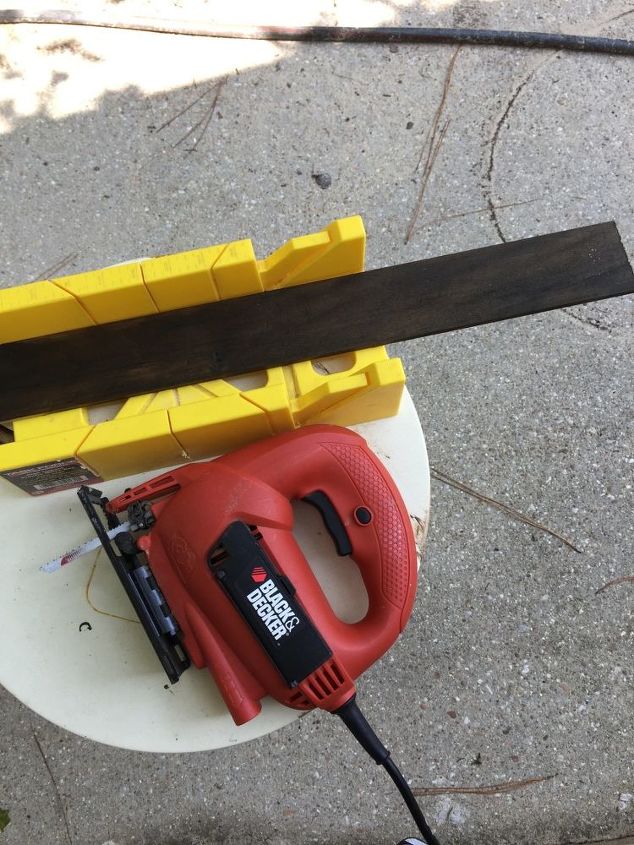
I applied the wood to the trunk with a nail gun.
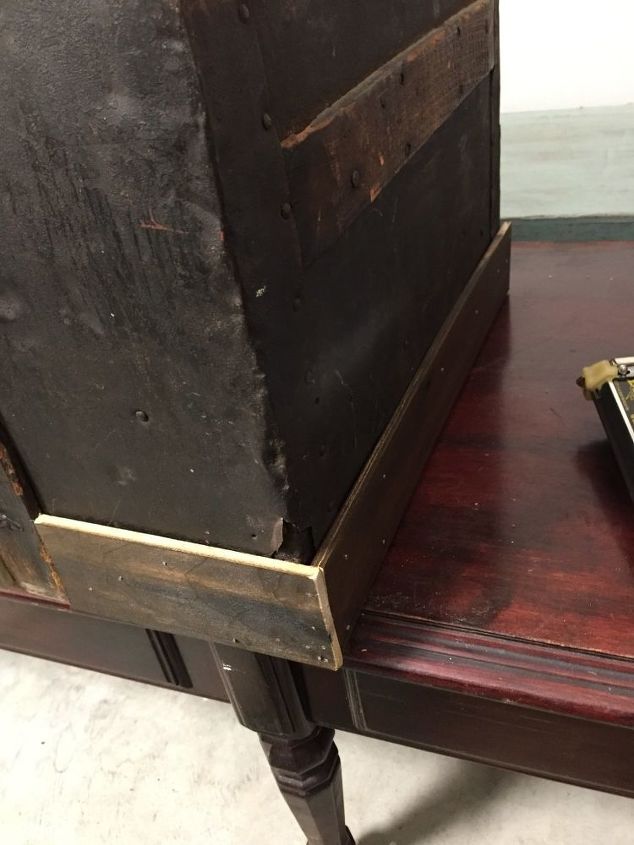
After I was done applying the wood to the base, I caulked to make the wood look seamless.
I used a flat black paint on the wood. I went with a black color because I thought it would contrast the gold without taking away from the historical elements of the trunk.
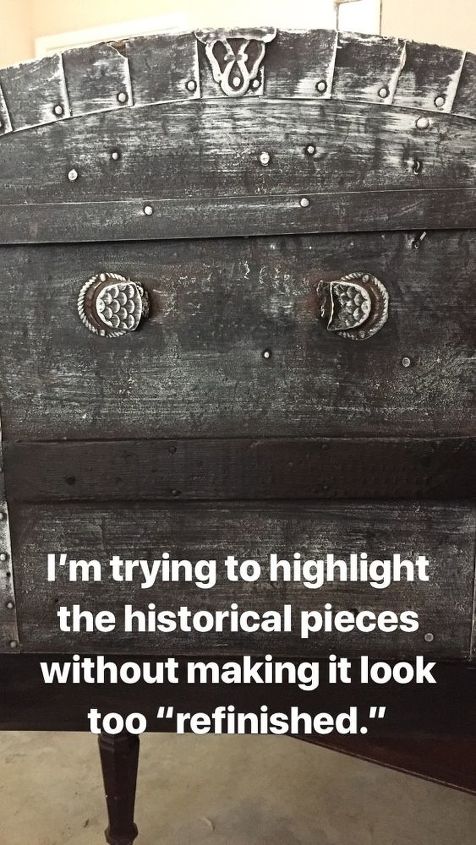
Next on the list to finish this trunk is the metal sides. I kept thinking “how could I add a finish that would highlight the handles and brackets without completely “refinishing” it.”
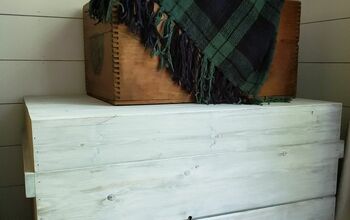
I finally decided to “whitewash” it.
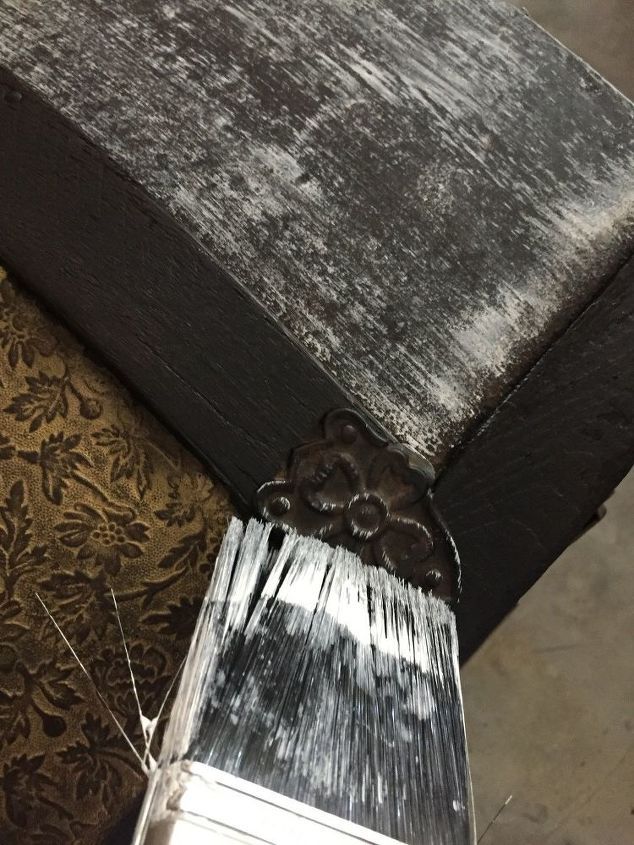
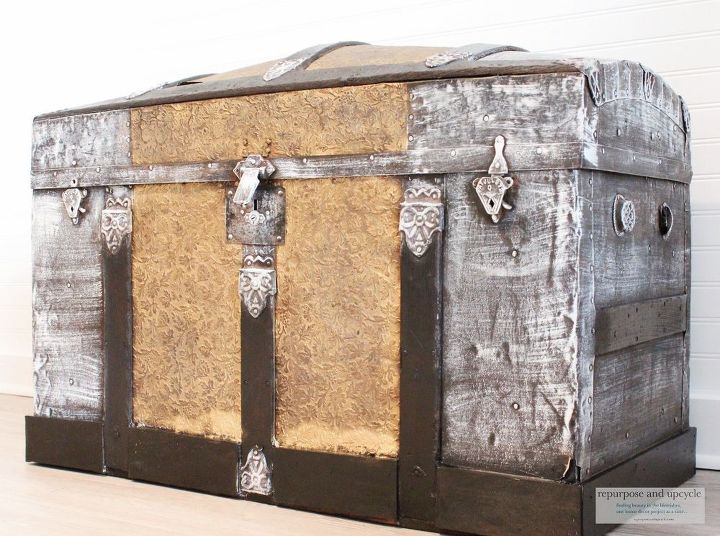
Once the sides of the steamer trunk were white washed, it was almost done.

Want more details about this and other DIY projects? Check out my blog post!
Comments
Join the conversation
1 comment
-
I thought it was nice... You Did a Great job... Although i did not care for the white wash... Maybe if it was
Thinned out more... For lack of a word for it right now... It looks like
To much white... I have an old trunk
Used by an Airforce Captain... I think(im not where it is right now)
But... It stands up... You open it and it has 3 or 4 drawers on one side...
And a place for hanging clothes on the other... It came with orignal hangers..... You have given me some idea's... And it's good to know
How to clean it... Thank You...
Keep up the Great Redo's...
Alice


Frequently asked questions
Have a question about this project?