


Seaglass Dolphin Shadow Box
4 Materials
$20
2 Hours
Medium
Step 1…
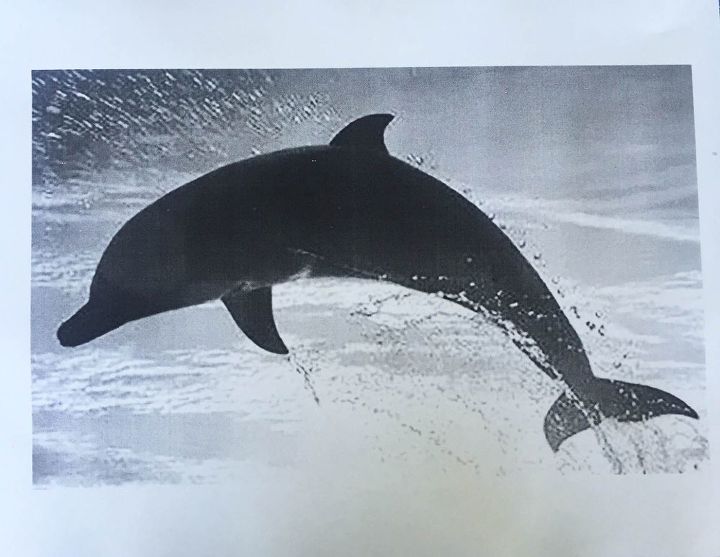
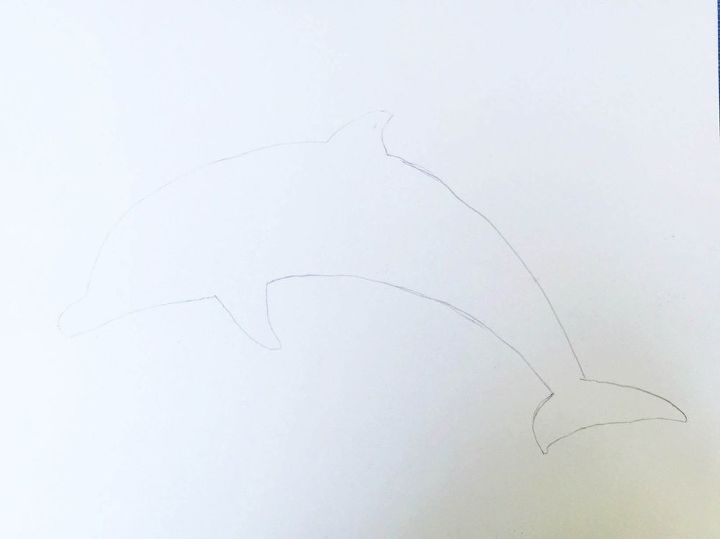
To begin, I found the perfect dolphin image online and saved it. Then I enlarged the image to the size I needed in Photoshop, and printed it out. Next, I traced the image onto a standard size 8.5 x 11 but very thick piece of stock paper which would end up in the shadow box. Of course, you can use any shape/animal you like. I just happen to love dolphins!
Step 2...
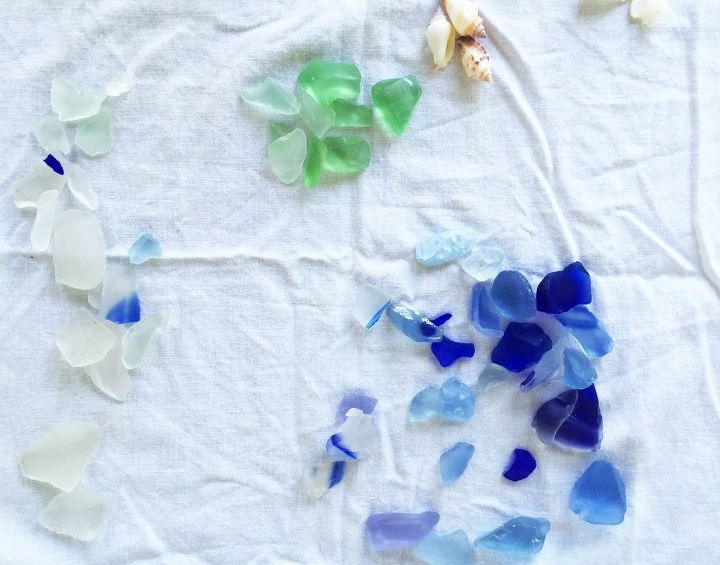
I dumped out all the sea glass I could find in all the vases and various places around my house. I have lots of it. I organized it by color. I have lots of shells too, most of which were collected on the beaches here in Naples, so I made a pile of shells too. If you don't have sea glass laying around like I did, you can pick some up here or at most craft stores.
Step 3…
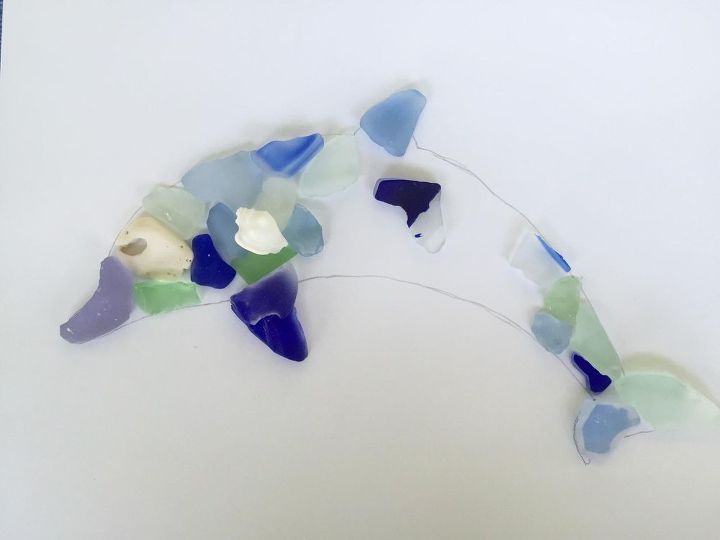
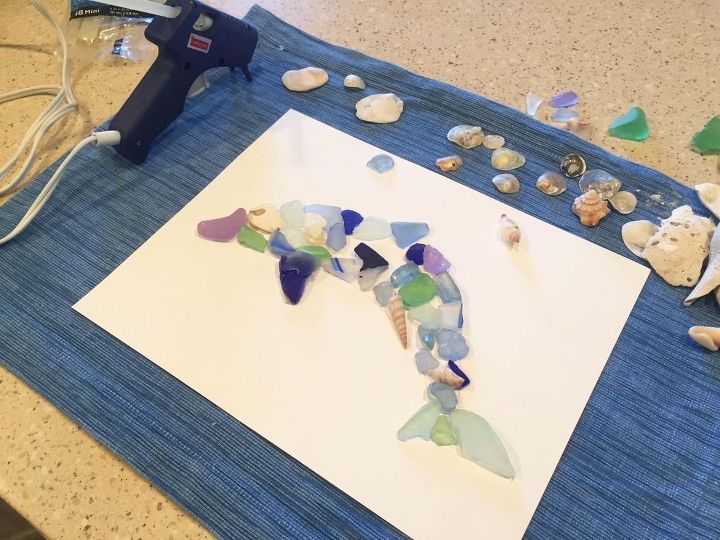
Then I began to place the sea glass into the dolphin shape. This took a while to get everything to look right.
Step 4…
Once I had everything where I wanted it, I fired up the old hot glue gun and started gluing. This took a long time as I ended up moving things around quite a bit, but I was happy with the way it turned out. Oh, and don’t forget to erase your pencil marks as you are gluing so they won’t be visible.
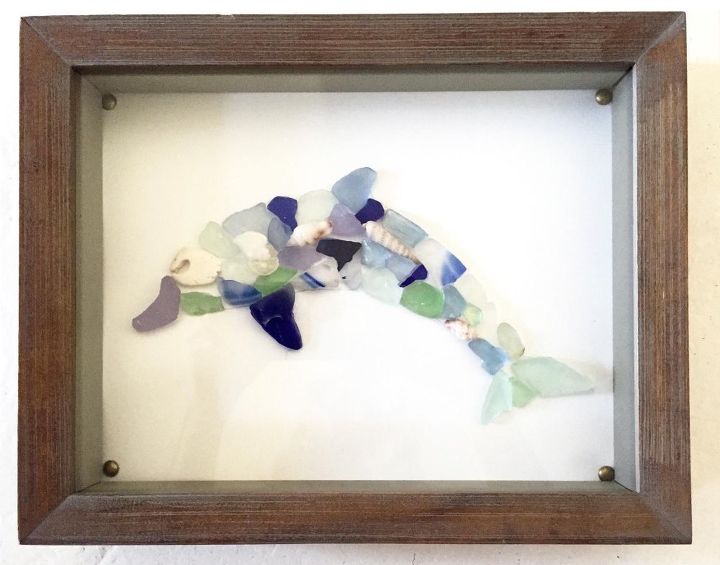
Step 5…
Once everything is all glued down and you are happy with how it looks put it in your shadow box and hang it up! So simple and easy and looks great in my kids bathroom.
Please check out my blog for lots more easy DIY Projects.

Want more details about this and other DIY projects? Check out my blog post!


Frequently asked questions
Have a question about this project?