


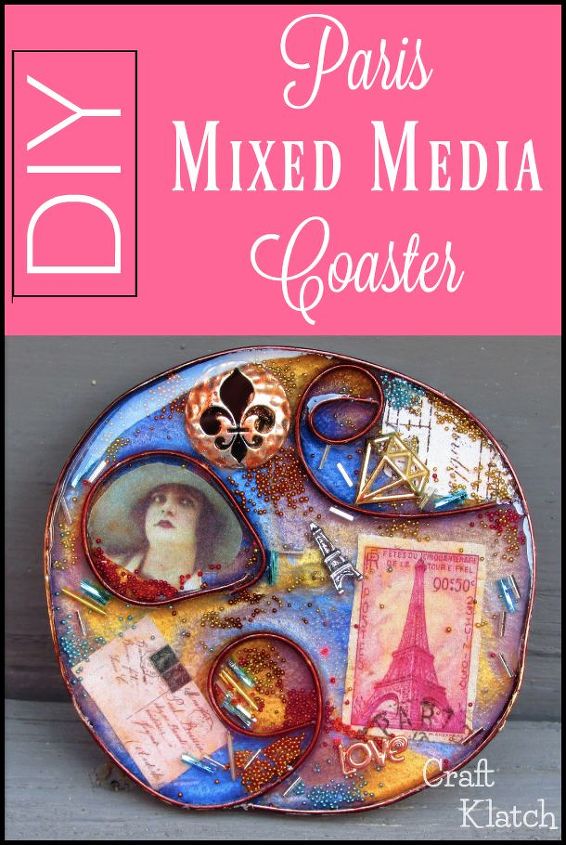
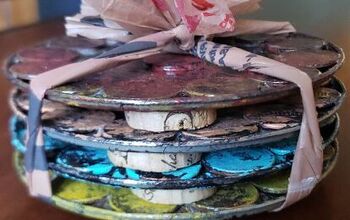
Paris Mixed Media Resin Coaster
10 Materials
$10
1 Hour
Medium
Learn how to make a Paris Mixed Media Resin Coaster! Great resin DIY project!
Be sure to watch the video, to see exactly how I made it!
Here are a few highlights. For more pics, be sure to check out the post on my blog HERE!
{
"id": "5115839",
"alt": "",
"title": "",
"video_link": "https://www.youtube.com/embed/CxBCYZDpJrs",
"youtube_video_id": "CxBCYZDpJrs"
}
{
"width": 634,
"height": 357,
"showRelated": true
}
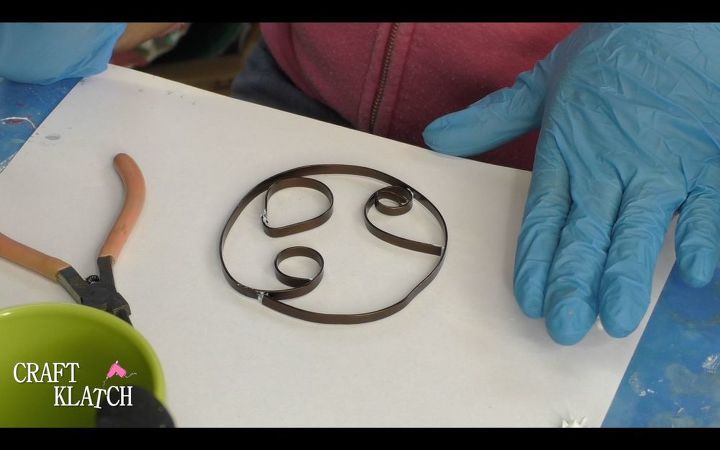
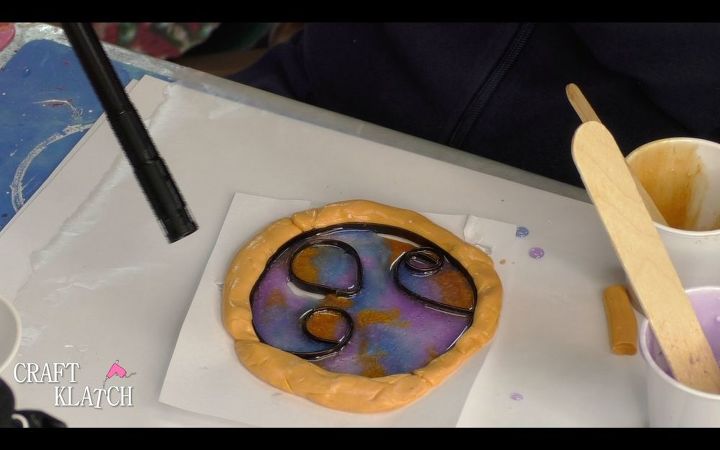
I found some flat wire and cut enough to make a coaster sized shape. I went roundish, but it does not have to be. It can be any shape you like.
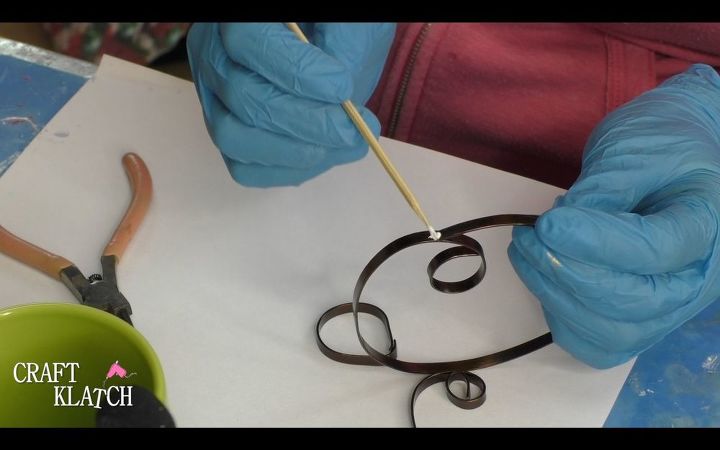
Then I used some clear drying glue and put glue at every seam, or where it is attached. Make sure to run the glue from the top to the bottom of the wire. The glue will stop the resin running out, when we pour it.
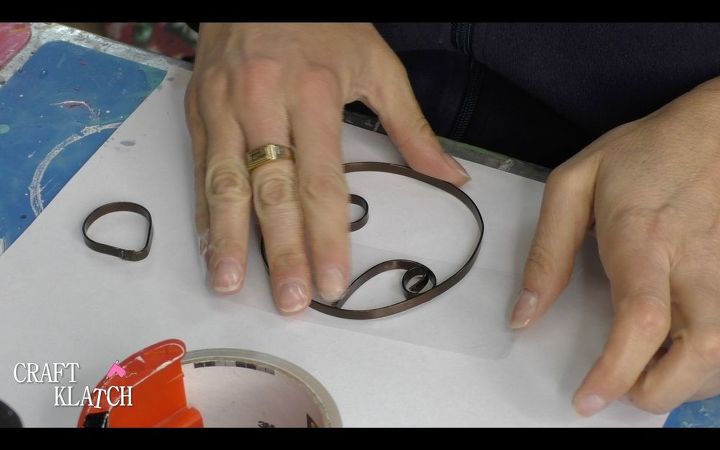
Once the glue dried, I used packing tape and put it on the back of the wire form. Be sure to rub the tape onto the wire.
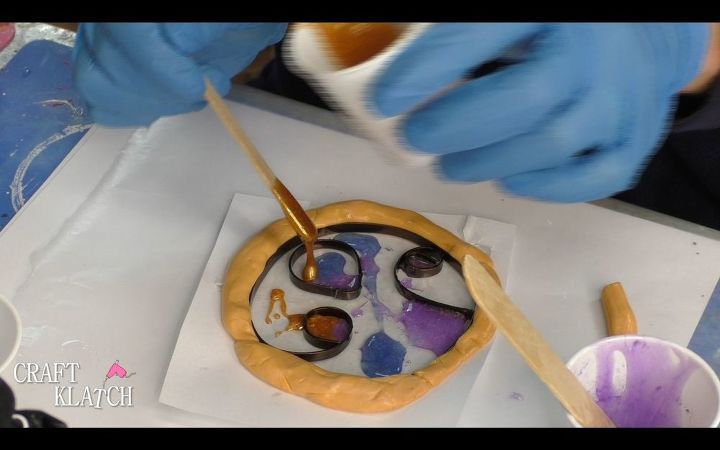
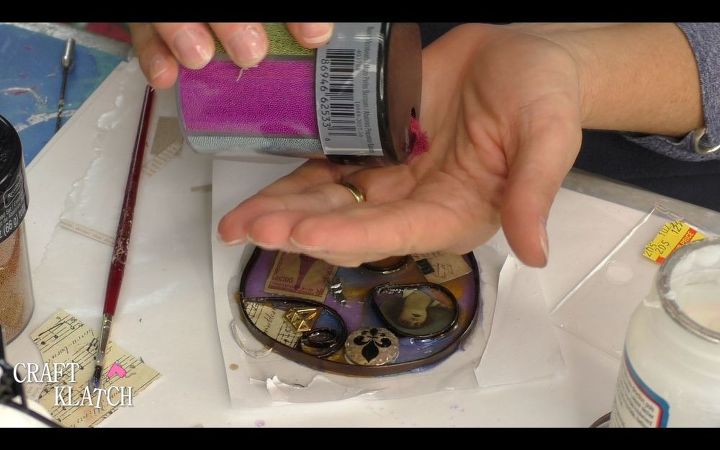
I then took Silly Putty and put it on the tape, around the outside of the wire form. This will help keep the resin in the form as well. I mixed my resin - roughly one ounce - and separated it into three cups. I added different pigment powders into each. I began adding the different resin colors into the form.

Once full, I took my lighter and popped the bubbles. Then, I let it cure for a minimum of 12 hours.
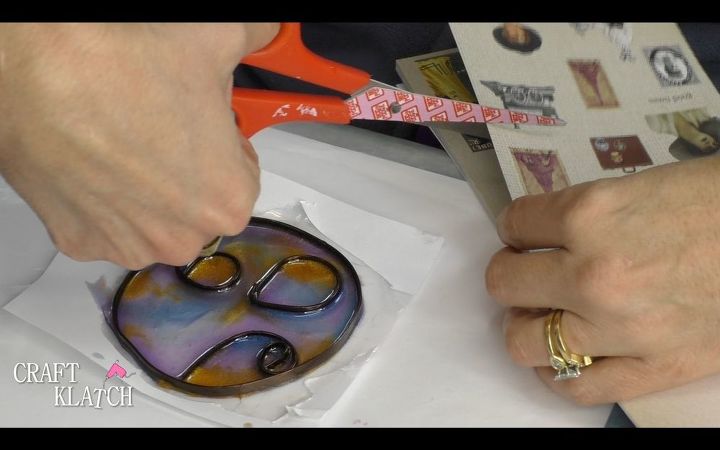
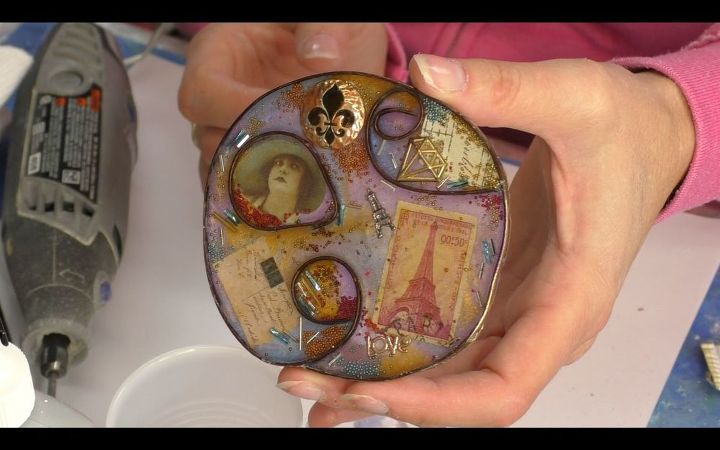
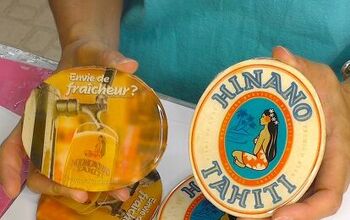
Once cured, I removed the Silly Putty. I selected images that I wanted to include in the coaster and cut them to size. I laid them into the coaster to get an idea of the layout.
I took Mod Podge and brushed it on the coaster and on the backs of the images.
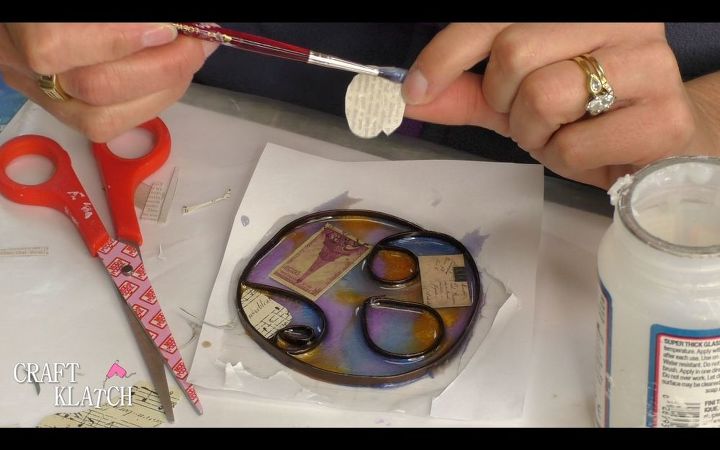
I made sure to paint the Mod Podge over the images. I did this two to three times to make sure they were fully sealed.
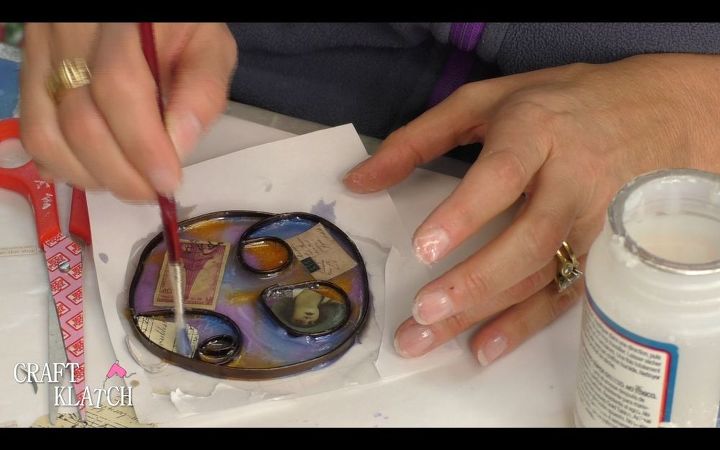
I like to wander through the clearance sections at the craft stores. I found beads, charms and other items. I added more Mod Podge and some microbeads and bugle beads, for additional texture and interest. The most important thing to remember is to leave the coaster to dry overnight. Don't skimp on this step! If the Mod Podge is not 100% dry, it will become cloudy when you add your next layer of resin.
I mixed some more resin and began dripping it into the coaster. Once full, I used a lighter to pop the bubbles and let it cure a minimum of 12 hours.

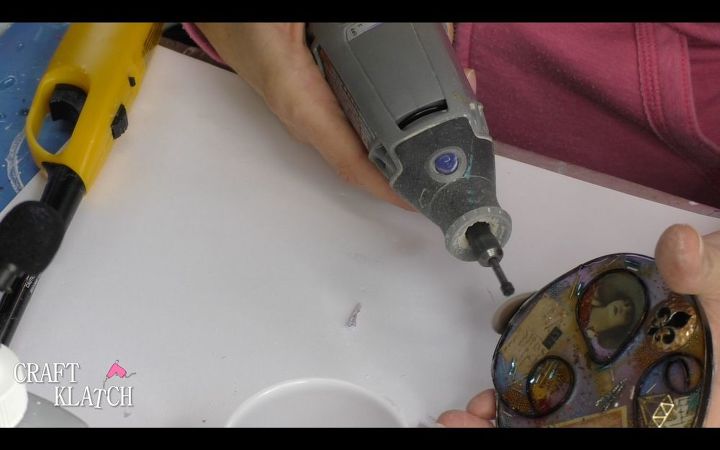
Once cured, I peeled off the tape. Despite taking precautions, some resin seeped under the wire. I broke out my Dremel and cut it right off! I used a little Rub and Buff wax on the edge to cover any scratches.
Once cured, I peeled off the tape. Despite taking precautions, some resin seeped under the wire. I broke out my Dremel and cut it right off! I used a little Rub and Buff wax on the edge to cover any scratches.
Here is another Paris themed project you might enjoy!

Want more details about this and other DIY projects? Check out my blog post!
Comments
Join the conversation
2 comments
-
Very Creative! Nice job

-
love this - so pretty!


Frequently asked questions
Have a question about this project?